30+ controls to fine tune your videos
Google recently rolled out its much awaited Video Editor, which has been baked directly into the Google Photos app! With multiple, quick and easy to use features, the video editor is a handy feature for people on the go, or those who are getting into video editing but are wary of full feature editing software. Read on to find out more!
Google Video Editor 101
Take your videos to the next level with the brand new editing tools, that include 30+ controls such as cropping, filters, colour grading, stabilisation, contrast and brightness adjustment and more! Google had originally unleashed the power of its mobile video editing on iOS but now Android has joined the party.
Edit your video with Google Video Editor
The App features a fairly straightforward layout which is intuitive enough for newcomers and video veterans alike.
Basic Edits
- Open the video you want to edit.
- Tap Edit Edit.
- Trim your video to a different length: Tap and Drag the Trim Handles to select the portion of your video you want to keep.
- Tap Save Copy to save a copy of your video with your new edits!
- To mute your video: Tap
.
- To Stabilise your video: Tap .
- Export a frame from your video by tapping Export frame
Crop/Rotate
- Open the video you want to edit.
- Tap Edit
Crop.
- To crop the video to a different aspect ratio, like a square: Tap Aspect ratio
.
- To change the video’s perspective:
- Tap Transform
.
- Drag the dots to the edges of your video or tap Auto.
- Tap Transform
- To rotate a video 90 degrees, tap Rotate
.
- To make minor adjustments to straighten the video, use the dial above Rotate
.
- To make minor adjustments to straighten the video, use the dial above Rotate
- Automatically straighten the video, tap Auto.
- Tip: Auto straighten availability depends on the video.
- To crop the video to a different aspect ratio, like a square: Tap Aspect ratio
- When done, save a copy of the video with your edits, at the bottom right, tap Save copy.
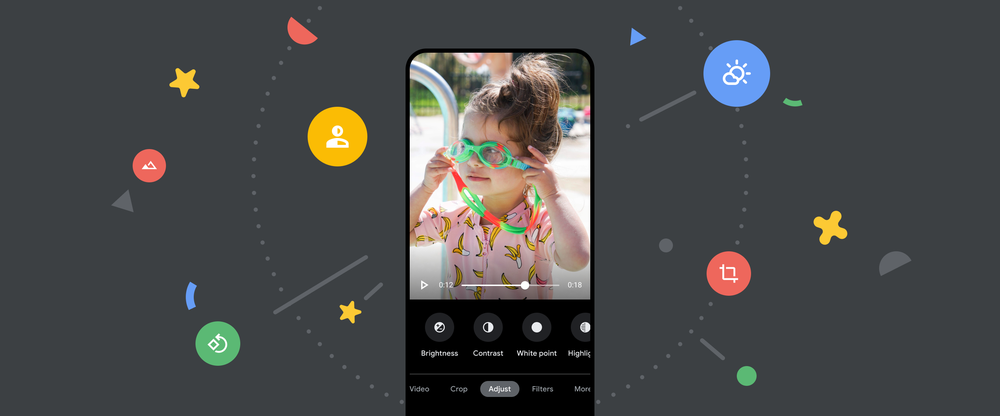
Adjustments and Effects
- Open the video you want to edit.
- Tap Edit
Adjust.
- Select the type of effect you want to apply to your video and move the dial to make changes.
- When you’re finished, tap Done.
- To undo an effect, deselect the option or tap Cancel.
Effects you can Adjust
- Brightness
to adjust the exposure.
- Contrast
to adjust the difference in tones.
- White point
to adjust the brightest value.
- Highlights
to adjust the detail in the brightest areas.
- Shadows
to adjust the detail in the darkest areas.
- Black point
to adjust the darkest value.
- Saturation
to adjust the intensity of colors.
- Warmth
adjust the color temperature.
- Tint
to adjust the hue.
- Skin tone
to adjust the saturation of the skin-colored tones.
- Blue tone
to adjust the saturation of the blue tones, like sky or water.
- Vignette
to reduce the brightness around the edges of the video.
Filters and more Filters!
- Open the video you want to edit.
- Tap Edit
Filters.
- Select a filter.
- To change the strength of the filter on the video, tap the filter again and move the dial.
- To undo a filter, select None.
Conclusion
Now that you’ve understood the nitty gritty of the newly launched Google Photos Video Editor, you’re well on your way to making masterpieces and sharing them with the world! You can even use the Google Editor on the videos you extract via Eklipse, and edit your gaming highlight clips on the flight!