
Personalizing the panel section on Twitch is actually essential to make your channel more visible and appealing to viewers. You can start customizing it once you are at your channel. Still not sure where to begin? This post will explain step-by-step how to add panels on Twitch.
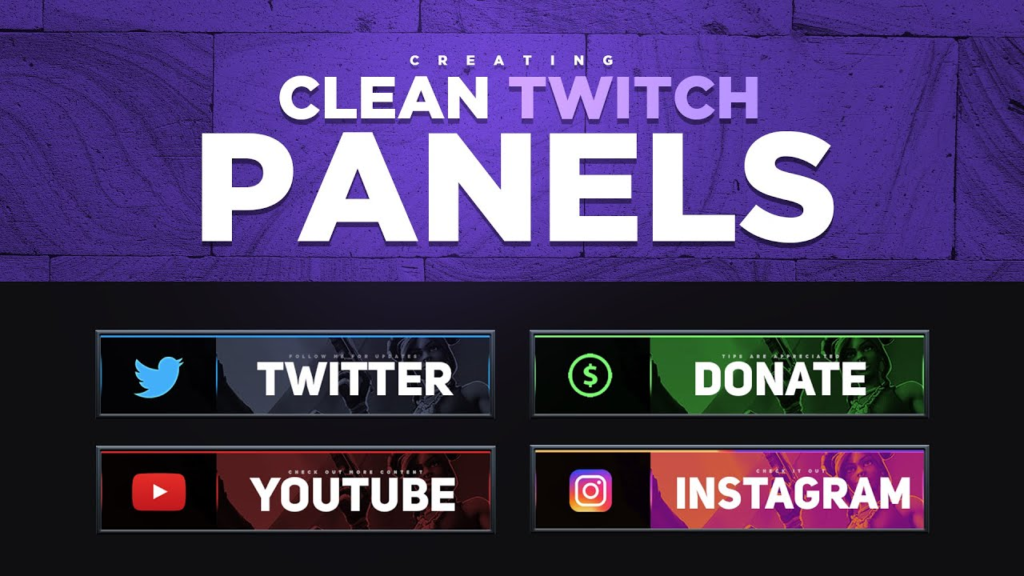
Additionally, Twitch panels refer to graphics that cover information about who you are and what your Twitch channel is about. Not only should it be informative, but the panel should look creative as well to attract new audiences. So, without more ado, let’s get to the point.
Why Streamers Need Twitch Panels?
Twitch panels can be a useful tool for streamers to provide important information to viewers about who you are and what your Twitch channel is about. You can display information such as the streamer’s social media links, schedule, and donation information there. In another word, Twitch panels are important to promote your channel.
However, the panel should not only be informative, but it also needs to be visually appealing. So it can create a consistent and professional-looking brand for the channel.
How to Add Panels on Twitch Profile
Before adding panels to your profile, make sure that you have created your own, or find some you can customize. To be able to create them, you can try any panel services all around the internet. Once you’ve managed that, let’s attach them.
- To begin with, open Twitch and log in with your account.
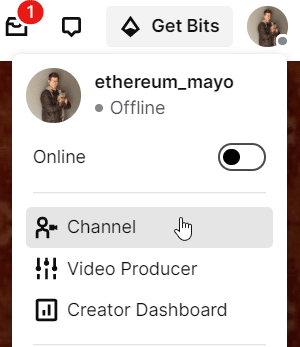
- Then, click on your profile icon in the upper right corner.
- HIt the Channel option from the drop-down menu.
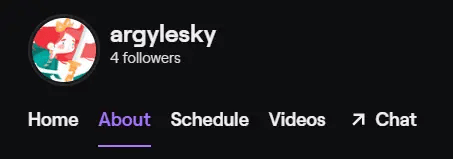
- On your channel page, hit the About tab.
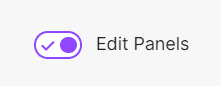
- After that, scroll down to find the Edit Panels option and toggle the button to be in a position to enable you to customize your ‘about me’ section.
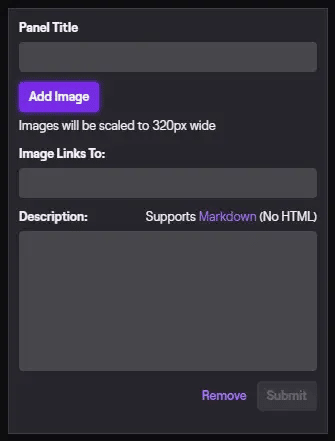
- On a panel box, hit the Add Image button. Do a drag and drop to upload a panel image from your PC.
- Finally, add a description and URL you want the image to link to, and press Submit.
Voila! You have succeeded to add a panel on your Twitch page. If you want to add and customize the Twitch panel, follow the same steps above.
Which Panels Should You Add to Your Twitch Profile?
Basically, you can add any panels to your profile if you really try to attract more viewers. But there are some panels you should prioritize. Have a look at the list below.
1. Streaming Schedule
The panel that should be on your top list is stream time. Adding this information will let your viewers know when you will stream on Twitch so that they can manage time to visit your page.
2. About Me
Keep your viewers informed about who you are. Try to give them a glimpse of yourself. For instance, who you are on Twitch, what game you stream, and more.
3. Social Media
By letting them know about your social media, you can passively build your influence over time and increase the engagement of your viewers. Just make the image link as panels for each network.
Conclusion
That’s all about how to add panels on Twitch. Isn’t it simple as ABC? Actually, creating panels for your Twitch profile is one of the strategies to promote your channel. Giving a quick explanation of yourself and your work can attract more viewers with similar interests. So make sure to put more effort to make your incredible panels.
Tech writer, gaming, streaming, gadgets. A decade’s experience. Informative, engaging.
Featured in web publications. Reviews new products. Loves gaming, tinkering.