
Closed captions and subtitles are a great way to make your Twitch streams more accessible to a wider audience. Whether you’re streaming gameplay, chatting with your viewers, or hosting a creative event, learning how to add captions to your Twitch Streams is a simple and effective way to ensure that everyone can enjoy your content.
In this article, we’ll walk you through the steps of how to add closed captions and subtitles to your Twitch stream, using a variety of methods. We’ll also cover the benefits of adding closed captions and subtitles, and discuss some tips for creating high-quality captions.
So whether you’re a seasoned streamer or just starting out, read on to learn how to make your Twitch streams more accessible and inclusive for everyone.
How to Add Captions to Your Twitch Stream
Unfortunately, there are no official tools to add captions to your Twitch livestream. But, you can try a third-party tool to provide subtitles for those who are hard of hearing your live stream.
Adding Captions to Your Twitch Stream via OBS
Even though Twitch does not support live stream captions officially, you can still add them via your broadcasting software like OBS.
Recently, OBS just added the auto-captions feature, though it’s still in the experimental phase.
So please turn this feature on at your own risk, since there’s no guarantee that this option will work.
Here are the step-by-step to turn on the OBS auto caption feature.
- Make sure you are using the latest OBS app (update it if you are not using it)
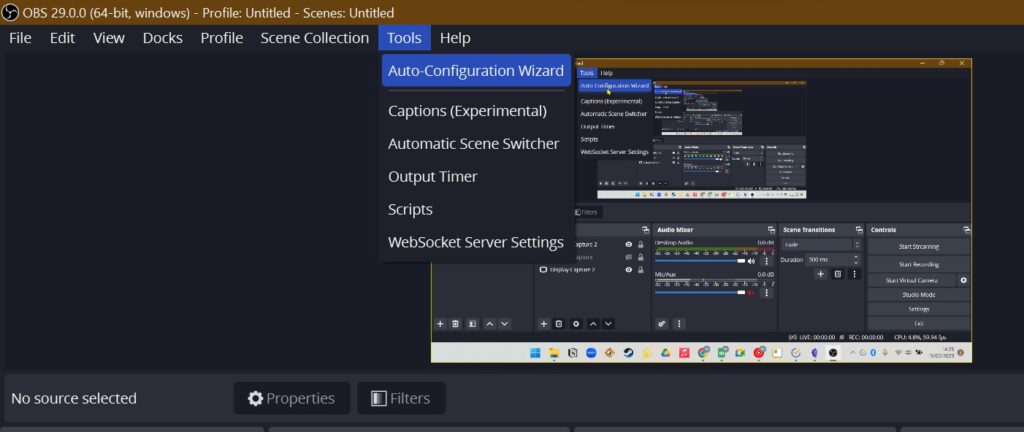
- Select “Tools” in your top toolbar
- Choose “Captions (Experimental)”
- Done
Adding Captions to Your Twitch Stream with Third-Party Tool
Another method of adding captions to your Twitch streams is via a third-party tool. But, before you start adding captions to your stream, you will need to prepare these apps:
- Updated OBS app
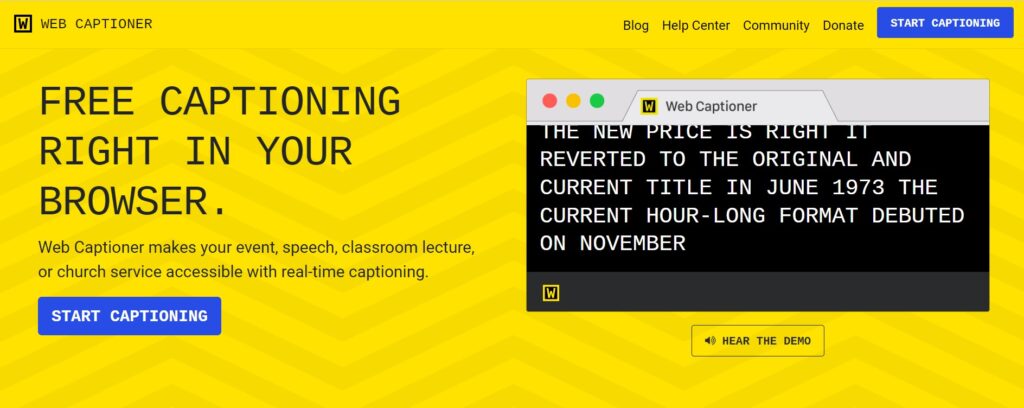
- The live-caption tools like webcaptioner.com
This guide will give you instructions to use that app to start adding subtitles to your Twitch live stream.
There are two options you can add it to your Twitch stream. Make sure you are following it step-by-step, for a proper setup
Options 1: Setting up Caption via OBS WebServer
- Make sure you are using the latest OBS studio
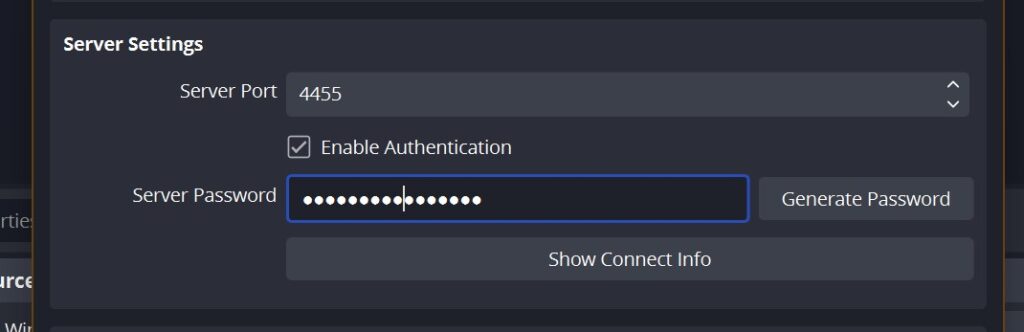
- Go to Tools > WebSocket Server Settings
- Click the “Show Connect Info” on the Server Settings option
- Copy the Server Port and Password
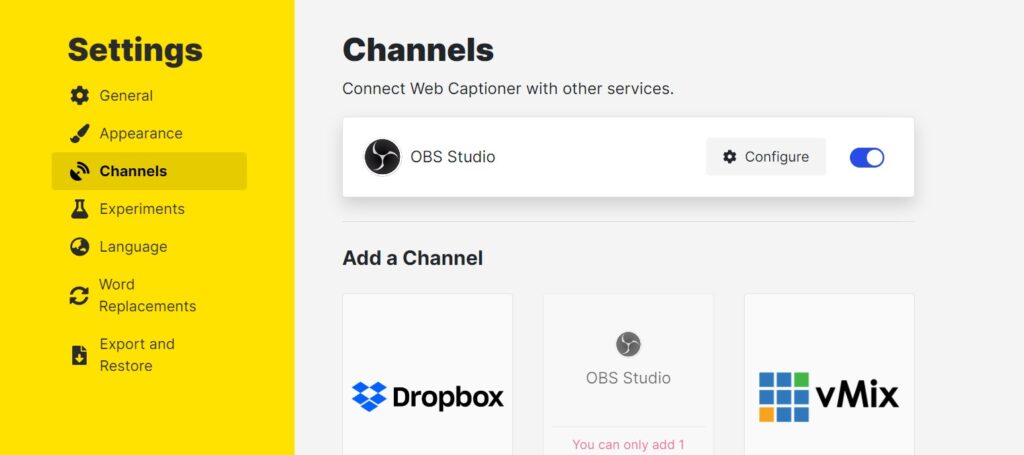
- Open the webcaptioner.com settings > channels
- Open OBS Studio, paste your Server Port and Passwords, and done
Your caption won’t be shown on your OBS preview. But, the caption will available when you live stream on Twitch.
Options 2: Setting up Caption via OBS using Window Capture
This option is easier and it has a preview on the OBS so you can set your overlay easier. Here are the steps.
- Open OBS
- Click the “+” button on the “Source” section
- Choose “browser source”
- Select a window of your browser with the caption app opened
- Click start captioning
- Then resize the source accordingly on OBS
More on Eklipse Blog >> How to Make a Poll on Twitch: 2 Options You Can Try
Conclusion
Adding captions to your Twitch stream is an important step towards making your content accessible and inclusive for all viewers.
By following the tips outlined in this article, you can improve the accessibility and engagement of your Twitch stream for all viewers!
Boost Your Streaming Presence in Social Media with AI Highlights
Eklipse help streamer improve their social media presence with AI highlights that clip your Twitch / Kick streams automatically & converts them to TikTok / Reels / Shorts
Tech writer, gaming, streaming, gadgets. A decade’s experience. Informative, engaging.
Featured in web publications. Reviews new products. Loves gaming, tinkering.