Level Up Your Marvel Rivals Gameplay
Capture your epic wins, clutch moments, and even hilarious fails with Eklipse. Easily create and share highlight reels with your friends—even if you're not streaming!
Learn MoreStreaming on Twitch has exploded in popularity, offering a platform for gamers, creators, and entertainers to connect with audiences worldwide. Setting up your own Twitch stream can seem daunting at first, but with the right tools and guidance, you can be broadcasting in no time. Worry not, we will walk you through the essential steps to get your Twitch channel up and running while highlighting important features you’ll need for a successful streaming experience.
With this guide, you’ll be well on your way to engaging with viewers and building a community around your content!

Step 1: Create Your Twitch Account

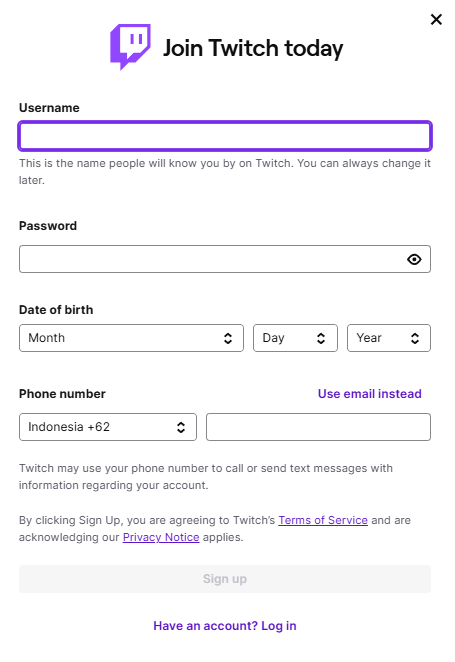
Begin by visiting the Twitch website. Click on “Sign Up” and fill out the required fields such as username, password, date of birth, and email address. Choose a unique username that reflects your brand or personality. Remember that there’s no limit on how many times you can change it later; however, consistency helps build recognition.
Tips:
- Use a memorable name.
- Keep it relevant to your content.
Step 2: Set Up Your Streaming Software

The most popular choices for streaming software are OBS Studio (Open Broadcaster Software) and Streamlabs OBS (SLOBS). Both are free and offer powerful features for live streaming.
- Download and Install OBS Studio
- Go to the official OBS website.
- Select “Download” based on your operating system.
- Follow installation prompts until completed.
- Configure Settings:
- Open OBS Studio.
- Go to “Settings” > “Stream”.
- Select “Twitch” from the service dropdown menu.
- Copy your stream key from Twitch (found under “Dashboard” > “Settings” > “Stream”) and paste it into OBS. Please remember to not share your stream key publicly and keep it secure.
Step 3: Choose Your Equipment

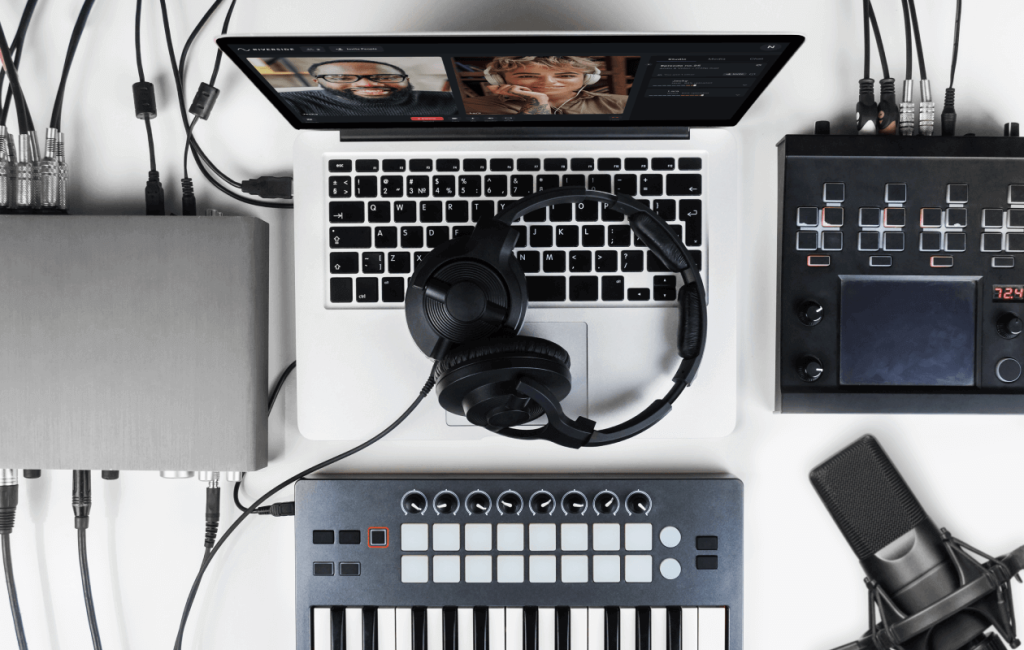
Quality equipment significantly enhances viewer experience:
- Webcam: A Logitech C920 or Elgato Facecam provides excellent video quality without overspending.
- Microphone: USB microphones like Blue Yeti or Audio-Technica AT2020 deliver clear audio.
- Headset: Invest in comfortable headphones with good sound isolation.
Pricing Overview:
| Equipment | Price Range | |——————-|——————-| | Webcam | £60 – £120 | | Microphone | £80 – £200 | | Headset | £30 – £150 |
Step 4: Set Up Your Overlays and Alerts
To make streams visually appealing, you can do the following tips:
- Use services like StreamElements or Streamlabs for templates.
- Customize overlays that match your brand’s theme.
- Add alerts for new followers or donations using built-in options within these platforms.
Step 5: Configure Your Streaming Environment
Ensure you have adequate lighting. Natural light works great but consider investing in softbox lights if indoors isn’t bright enough. The background should also be tidy—consider using green screens if desired!
Step 6: Go Live!
Once everything is set up:
- Return to OBS Studio.
- Click “Start Streaming.”
- Interact with viewers via chat during the stream because engagement is key! Responding actively keeps viewers coming back.
Conclusion
Setting up a Twitch stream involves several straightforward yet crucial steps—from creating an account and choosing effective software to selecting high-quality equipment and designing engaging overlays.
By following these steps carefully and continuously interacting with your audience, you’ll not only enhance their viewing experience but also increase chances of growing as a streamer in 2024. Good luck!
🎮 Play. Clip. Share.
You don’t need to be a streamer to create amazing gaming clips.
Let Eklipse AI auto-detect your best moments and turn them into epic highlights!
Limited free clips available. Don't miss out!
