
Level Up Your Marvel Rivals Gameplay
Capture your epic wins, clutch moments, and even hilarious fails with Eklipse. Easily create and share highlight reels with your friends—even if you're not streaming!
Learn More
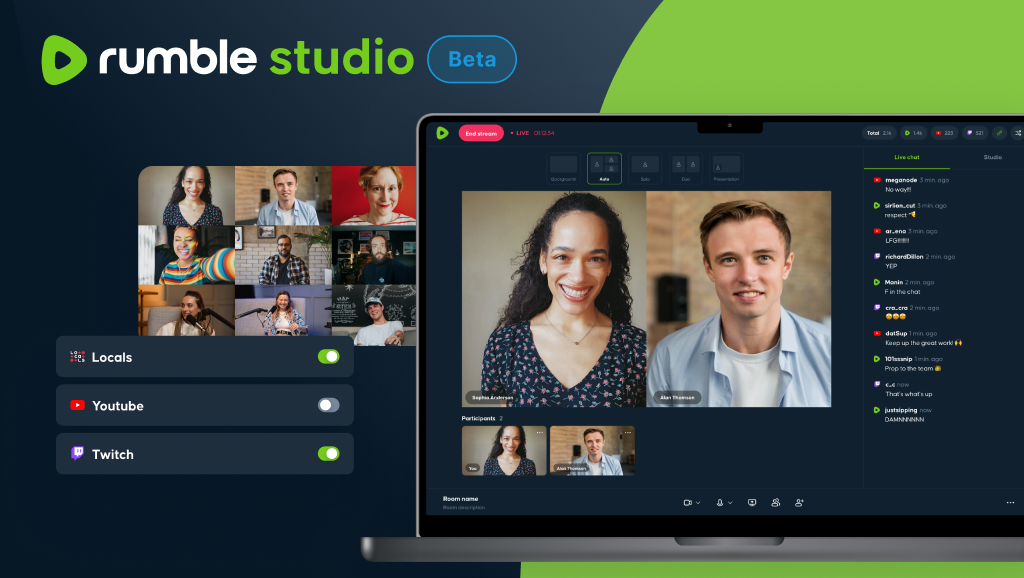
Calling all content creators! Ever dreamt of sharing your talents with a live audience? Rumble, with its user-friendly platform and focus on creators, is the perfect launchpad for your streaming journey!
This guide simplifies everything for you. We’ll cover Rumble account setup, platform features, and optimizing your stream for an amazing experience. Whether you’re a new streamer or a pro looking to expand, Rumble welcomes you!
Ready to unlock your full streaming potential on Rumble? Keep reading to discover everything you need to know!
Step 1: Craft Your Rumble Identity
- Sign Up: Head over to Rumble and create an account if you haven’t already. Fill in the required information and verify your email address to complete the registration process.
- Profile Powerhouse: Don’t underestimate the power of a compelling profile! Add a captivating profile picture, write a descriptive bio that reflects your streaming style and content, and include any relevant links to attract viewers and build an audience.
Step 2: Customize Your Streaming Haven
- Channel Flair: Dive into your account settings and personalize your channel. Design a unique banner, upload a profile picture that matches your overall theme, and craft a detailed channel description that entices viewers to tune in.
- Monetization Marvels: If you’re aiming to turn your passion into profit, explore Rumble’s monetization options. Review the requirements and apply if your channel meets the criteria.
Step 3: Gear Up for Stream Success
- Crystal Clear Communication: Invest in a good quality camera and microphone. Crisp audio and video are fundamental for creating engaging streams that keep viewers hooked.
- Light Up Your Stream: Lighting can dramatically enhance your stream’s visual appeal. Consider investing in softbox lights or ring lights to create a professional and well-lit environment.
- Rock-Solid Connection: A stable and high-speed internet connection is vital to prevent frustrating lag and buffering during your live streams. Ensure your internet plan can handle the demands of streaming.
Step 4: Choose Your Streaming Software Companion
- Open Broadcaster Software (OBS) Studio: It is a popular free and open-source streaming software trusted by many streamers. Download and install OBS Studio from https://obsproject.com/.
- Streamlabs OBS: Another user-friendly choice, offering additional features like built-in alerts and chat management tools. Download it from https://streamlabs.com/.
Step 5: Configure Your Streaming Weaponry
- Unlocking Your Stream: Locate your Stream Key within your Rumble channel settings. This key acts as a bridge, connecting your streaming software to your Rumble channel.
- OBS Setup Walkthrough: Open OBS Studio and navigate to Settings. Head over to the Stream tab and select “Custom…” as the service. Enter the Rumble server URL and paste your Stream Key.
- Dialing in Your Settings: Configure your video and audio settings to match your internet speed and equipment capabilities. Popular settings include a video resolution of 1920×1080 at 30 FPS and ensuring your microphone and desktop audio devices are correctly selected.
Step 6: Craft Your Streaming Experience
- Setting the Stage: Create different scenes in OBS for various segments of your stream. This could include an engaging “starting soon” scene to build anticipation, your main gameplay scene, and an intermission scene for short breaks.
- Building Your Stream World: Add elements to your scenes using sources within OBS. Here are some commonly used sources:
- Display Capture: Showcase your entire screen for content-sharing streams.
- Window Capture: Focus on a specific window or application, ideal for tutorials or showcasing specific software.
- Video Capture Device: Include your webcam feed to connect with your audience on a personal level.
- Audio Input Capture: Capture your microphone audio to ensure clear communication with your viewers.
Step 7: Go Live and Captivate Your Audience!
- Once everything is configured, click “Start Streaming” in OBS to launch your live broadcast on Rumble.
- Keep an eye on your stream’s health metrics and viewer interaction. Actively engage with your audience through the chat to foster a dynamic and interactive experience.
Bonus Tips to Level Up Your Rumble Streams
- Spread the Word: Promote your upcoming streams on social media platforms and other relevant online communities to attract viewers and build anticipation.
- Consistency is Key: Stream regularly to establish a consistent schedule and cultivate a loyal audience. Viewers appreciate knowing when they can expect to catch your content.
- Building a Community: Actively interact with your viewers during your streams. Respond to comments, answer questions, and create a welcoming atmosphere to foster a sense of community around your channel.
Final Thoughts
With a captivating stream and a dedicated audience, you’re well on your way to becoming a Rumble superstar! Remember, consistency is key. Stream regularly, engage with your viewers, and keep experimenting to find your unique voice.
But what if you could effortlessly capture the best moments of your streams and share them on other platforms like YouTube, TikTok, and Instagram? Look no further than Eklipse! This innovative software automatically identifies the highlights from your Rumble streams, transforming them into bite-sized, engaging clips perfect for social media.
Imagine growing your audience across multiple platforms and building a thriving online presence. Eklipse streamlines the process, letting you focus on what you do best – creating incredible content. Visit and sign up Eklipse today and unlock the full potential of your Rumble streams!

🎮 Play. Clip. Share.
You don’t need to be a streamer to create amazing gaming clips.
Let Eklipse AI auto-detect your best moments and turn them into epic highlights!
Limited free clips available. Don't miss out!
