Level Up Your Marvel Rivals Gameplay
Capture your epic wins, clutch moments, and even hilarious fails with Eklipse. Easily create and share highlight reels with your friends—even if you're not streaming!
Learn MoreCo-streaming on Twitch is a powerful way to combine creativity, expand your reach, and create memorable content with fellow streamers.
Whether you’re gaming, discussing hot topics, or hosting a special event, co-streaming offers endless possibilities for engaging your audience. Here’s how to set it up and make the most of this collaborative feature.

What Is Co-Streaming on Twitch?
Co-streaming on Twitch is more than just streaming together; it’s about creating an integrated experience for viewers. By broadcasting simultaneously with another streamer, you offer a richer, more dynamic stream.
Whether for shared gameplay, interviews, or co-hosted events, co-streaming opens the door to broader engagement and cross-audience interaction.
What You Need to Get Started

Preparation is key to a successful co-stream. Before diving in, it’s essential to gather the right tools and set up your streaming environment.
With the right software, equipment, and account readiness, you’ll ensure a smooth and professional experience for both you and your viewers.
Step-by-Step Co-Streaming Setup
Ready to set up your co-stream? Follow these straightforward steps to start broadcasting with a partner. Whether you use OBS Studio or XSplit, this guide ensures a seamless process from start to finish.
1. Using OBS Studio

- Install OBS Studio: Download and install OBS Studio from its official website.
- Add a Browser Source: Open OBS, click the + icon in the “Sources” panel, and select Browser. Enter your partner’s Twitch URL in the URL field.
- Adjust the Layout: Position and resize the browser source to fit your stream layout.
- Set Stream Info: Access your Twitch Creator Dashboard and add “Co-stream” as a tag in your stream info.
- Test the Stream: Run a test to ensure video and audio settings are optimized.
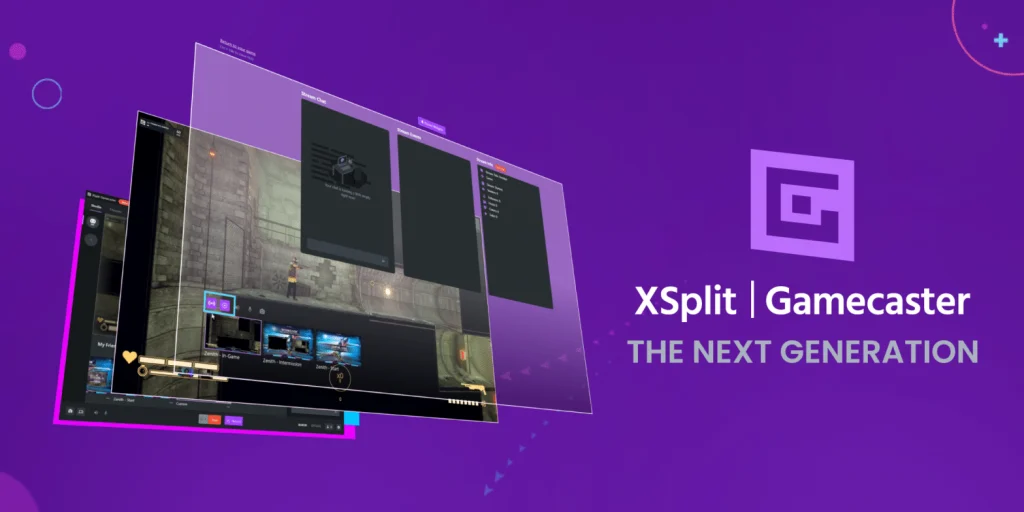
2. Using XSplit

- Install XSplit: Ensure you have version 3.0.1 or higher.
- Add a Webpage Source: In XSplit, click Add Source, select Webpage, and input the URL of your co-stream partner.
- Set Up the Layout: Configure the stream visuals and balance audio levels for clarity.
- Start Streaming: Begin your co-stream, ensuring both content sources are visible.
Troubleshooting Common Issues
Even the best-planned streams can hit a few snags. From audio issues to layout glitches, here’s how to tackle common co-streaming problems and keep your broadcast running smoothly.
- Audio Overlap: Use headphones and balance audio levels to prevent feedback or overlapping sounds.
- Lagging Streams: Optimize your internet connection by using a wired setup and adjusting your bitrate settings.
- Layout Errors: Double-check your sources and make real-time adjustments to fix any alignment problems.
Final Thoughts
Co-streaming on Twitch is an incredible way to connect with your community, collaborate with fellow creators, and produce engaging content.
By preparing effectively and following this guide, you can deliver a high-quality co-stream that resonates with viewers and helps you grow your audience. So, gear up, team up, and make your co-stream an unforgettable experience!
Want to level up your co-stream highlights? Try Eklipse Gaming Highlights for instant clips and shareable moments. Eklipse can automatically capture the best parts of your streams, so you can focus on having fun while it does the clipping for you. Check it out here!
🎮 Play. Clip. Share.
You don’t need to be a streamer to create amazing gaming clips.
Let Eklipse AI auto-detect your best moments and turn them into epic highlights!
Limited free clips available. Don't miss out!
