
Level Up Your Marvel Rivals Gameplay
Capture your epic wins, clutch moments, and even hilarious fails with Eklipse. Easily create and share highlight reels with your friends—even if you're not streaming!
Learn MoreIf you’re looking to grow your streaming channel, one of the fastest way to do so is to record gameplay for TikTok! Today we’re going to give you a crash course on how to record your streams, and then use Eklipse to get your highlight clips for TikTok!
Twitch Streaming and Recording
Twitch is the undisputed king of streaming. Streaming your gameplay live is one of the surefire ways to build up your followers. However, just because you’ve streamed a session, does not mean its gone forever!
There are multiple options available to archive your streams, both online and locally! This ensures that you always have a high quality backup of your streams at all time. Let’s break down just how you can record gameplay for later use on apps such as TikTok.
Twitch – Recording Locally
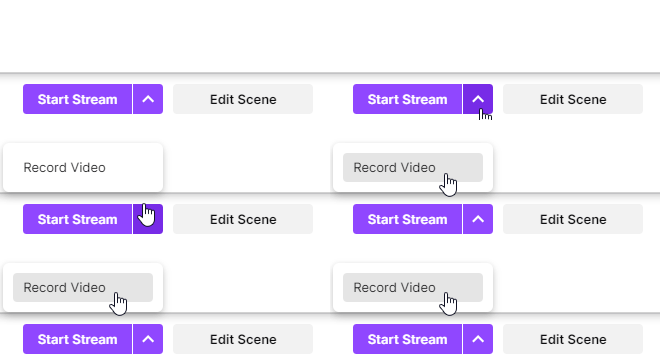
To record locally with Twitch Studio, click the ^ button next to Start Stream and select Record Video.
Twitch Studio – Video On Demand
The Twitch VOD facility is essential in recording your streams for later download. However, you have to enable it.
Step 1: Log on to your Twitch account, and open the Creator Dashboard from the Profile button in the top right hand corner. Then, select the three-lined hamburger icon at the top-left of the window to open settings.
Step 2: Hit the ‘Settings‘ drop down menu and choose ‘Stream‘.
Step 3: Scroll down to VOD Settings and enable ‘Store Past Broadcasts‘.
And you’re done! Bear in mind, if you’re a Twitch Partner, Turbo or Prime user, your videos will be saved for 60 days. Others will only have 14 days before their videos are removed.
Note: You can choose where your recordings are saved and their format. To do so, click the Hamburger in the top left-hand corner, then navigate through File -> Settings -> Recording.
Click Browse to select a folder for your recordings and use the dropdown menu to switch between .mp4 and .flv recording formats.

Recording high quality streams
At times, the Twitch VOD function may not be enough for your recording needs, whether it be length or quality. Twitch even recommends using the free to use Open Broadcaster Software (OBS) in times where Twitch VOD may fall short.
Follow the steps below to record locally with OBS!
OBS
1: Download OBS
2: Select the Settings menu at the top
3: In the Settings side menu, select Broadcast Settings and select ‘Save to File’
4: Choose your file download path from the File Path option. Click Apply when you’re finished.
You’re all set! Your streams will save to your local storage automatically. You can edit these clips for use on TikTok later.
Create your highlight clips for TikTok
Now that you’ve recorded your epic gameplay moments, the time has come to upload them to TikTok. There are several methods on how to do this;
- Use Eklipse to create highlight clips
- Use an online video trimmer to get short videos for TikTok
However, we’re going to stick with Eklipse for the purposes of this article.
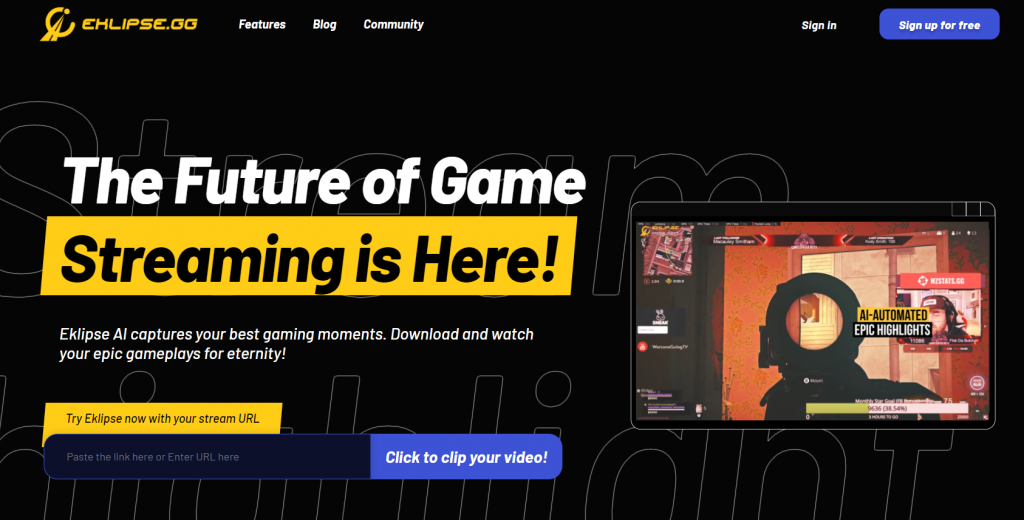
Eklipse – Your gameplay highlight partner
Eklipse is an A.I powered tool that can extract your best gameplay highlights with the click of a button! Simply sign up and connect your Twitch account, paste a URL to your stream and click the ‘Get Highlights’ button!
TikTok – Promote your streams!
Now that you’ve got your clips, all that is left to do is upload them to TikTok!
- In order to upload your clips via the TikTok app, use a filesharing/cloud service/USB data transfer to move them from your PC to your phone.
- Open the TikTok app
- Hit the ‘+’ button
- Choose your clip(s) and upload!
Be sure to mention your Twitch channel in the description of the video in order to drive more traffic towards your streams!
Conclusion
To sum up, TikTok is a great way to use the short form video format to gain more followers for your streams. You can even promote your streaming schedule via TikTok shorts, hence driving more traffic towards your stream!
Short and entertaining clips are the way to go, and using the Eklipse A.I tool can help you reach your goals!
🎮 Play. Clip. Share.
You don’t need to be a streamer to create amazing gaming clips.
Let Eklipse AI auto-detect your best moments and turn them into epic highlights!
Limited free clips available. Don't miss out!
