Level Up Your Marvel Rivals Gameplay
Capture your epic wins, clutch moments, and even hilarious fails with Eklipse. Easily create and share highlight reels with your friends—even if you're not streaming!
Learn MorePosting Twitch clips to Shorts is one of the best ways to enhance your discoverability and enlarge the viewer community. This platform has gained more popularity since it’s first launched several years ago. Additionally, you can use it as a place to share and introduce your streaming video through the clips.
Yes, through a clip. As the name suggests, YouTube Shorts shows shorter videos than regular YouTube. The video must be less than 60 seconds and in a vertical orientation. It’s so much like TikTok or Reel. So if you want to transfer your Twitch clip into YouTube Shorts, make sure the clip has met the requirement.
In today’s article, we’re going to guide you on how to clip twitch stream into Shorts. It may take several steps, but we promise, it won’t be difficult. Without further ado, let’s dive right into the tutorial.
Turning The Twitch Clips To YouTube Shorts

The first thing before sharing your clip video to YouTube shorts, of course, you need to have the clip. Whether from the live streaming or from the saved ones, you have to make some clips ready for posting.
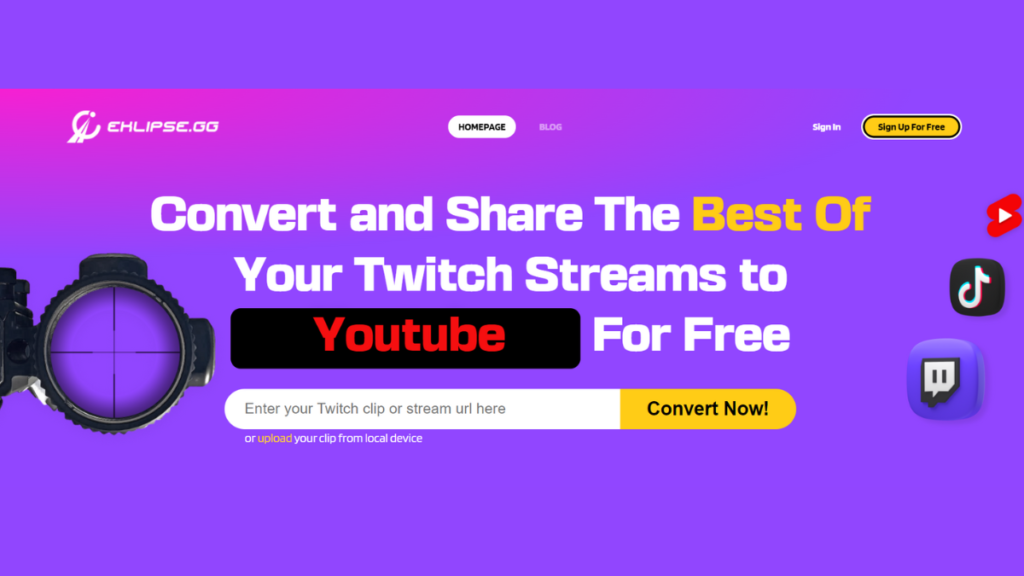
If you want to know how to clip a Twitch stream, you can either use the Twitch clip feature or other Twitch converters. But if you are looking for the best Twitch converter, try Eklipse. Eklipse is basically an AI-generated tool that will help you turn your stream videos into amazing clips in seconds. You can even convert your stream video into TikTok, Reel, or Shorts clip in a snap!
All you need to do is connecting your Twitch account with Eklipse account, and let the AI load your streaming videos. Then, you can simply pick the video you would like to clip and the AI will do its magic. Go to our blog for more tutorial about Eklipse!
On top of that, Eklipse enables you to upload your video directly to Shorts without downloading and posting it manually. As long as your clip has met the Shorts criteria, YouTube will automatically detect it as a Short clip. Want to give it a shot? Just visit eklipse.gg or hit the following button and play around with our features!
Posting The Twitch Clips to Shorts
Since you have the clips, meaning that you’re now ready to post them on YouTube Shorts. It’s quite easy to do it. However, if you haven’t know how just follow our directions below.
- First, open YouTube mobile app and log in to your account
- Second, tap the ‘+’ sign in the middle of the bottom toolbar
- Then, choose to Create a Short
- Tap on the gallery icon at the left bottom of the screen
- Select the saved clips on your gallery
- Adjust the length of your video > tap Add > tap the checkmark icon
- After that, you can add sounds, text, filters, or anything
- Tap Next
- Then, write a caption, set the visibility, and select the audience
- Finally, hit Upload Short
It’s worth noting that if you use Eklipse as your clip maker, you won’t need these steps to post your Twitch clips to Shorts since Eklipse will bring you directly to the YouTube app. So, if you feel like saving your time, try Eklipse!
Best Practices for Clipping Twitch Streams to YouTube Shorts
When it comes to clipping Twitch streams to YouTube Shorts, there are some best practices you should keep in mind to ensure that your content is engaging, high-quality, and optimized for social media. Here are some tips to help you get the most out of your Twitch stream clips:
1. Use High-Quality Video and Audio Equipment
The quality of your video and audio can make a big difference in the success of your Shorts. To ensure that your content looks and sounds professional, use high-quality video and audio equipment, such as a good microphone, camera, and lighting setup.
2. Interact with Your Audience
YouTube Shorts is a great platform for building a community and engaging with your audience. To make the most of your content, try to interact with your audience by asking questions, responding to comments, and creating content that encourages discussion and feedback.
3. Promote Your Shorts on Other Social Media Platforms
To increase the reach of your content and build your brand, promote your Shorts on other social media platforms, such as Instagram, Twitter, and TikTok. This can help you reach a wider audience and attract new followers to your channel.
4. Choose the Best Moments to Clip
To create engaging and shareable Shorts, it’s important to choose the best moments from your Twitch streams to clip. Focus on exciting or informative content, highlight your personality or brand, and use editing tools to create visually appealing and engaging Shorts.
5. Use Editing Tools to Create Engaging and Shareable Shorts
To make your Shorts stand out, use editing tools to add text, graphics, and other visual elements to your content. This can help you create more engaging and shareable Shorts that are optimized for social media platforms.
Conclusion
There you have it. Now you have your Twitch clips to Shorts. Isn’t it easy to do? Now is your turn to do it yourself and post the greatest Shorts you can make. Good luck!
🎮 Play. Clip. Share.
You don’t need to be a streamer to create amazing gaming clips.
Let Eklipse AI auto-detect your best moments and turn them into epic highlights!
Limited free clips available. Don't miss out!
