
Level Up Your Marvel Rivals Gameplay
Capture your epic wins, clutch moments, and even hilarious fails with Eklipse. Easily create and share highlight reels with your friends—even if you're not streaming!
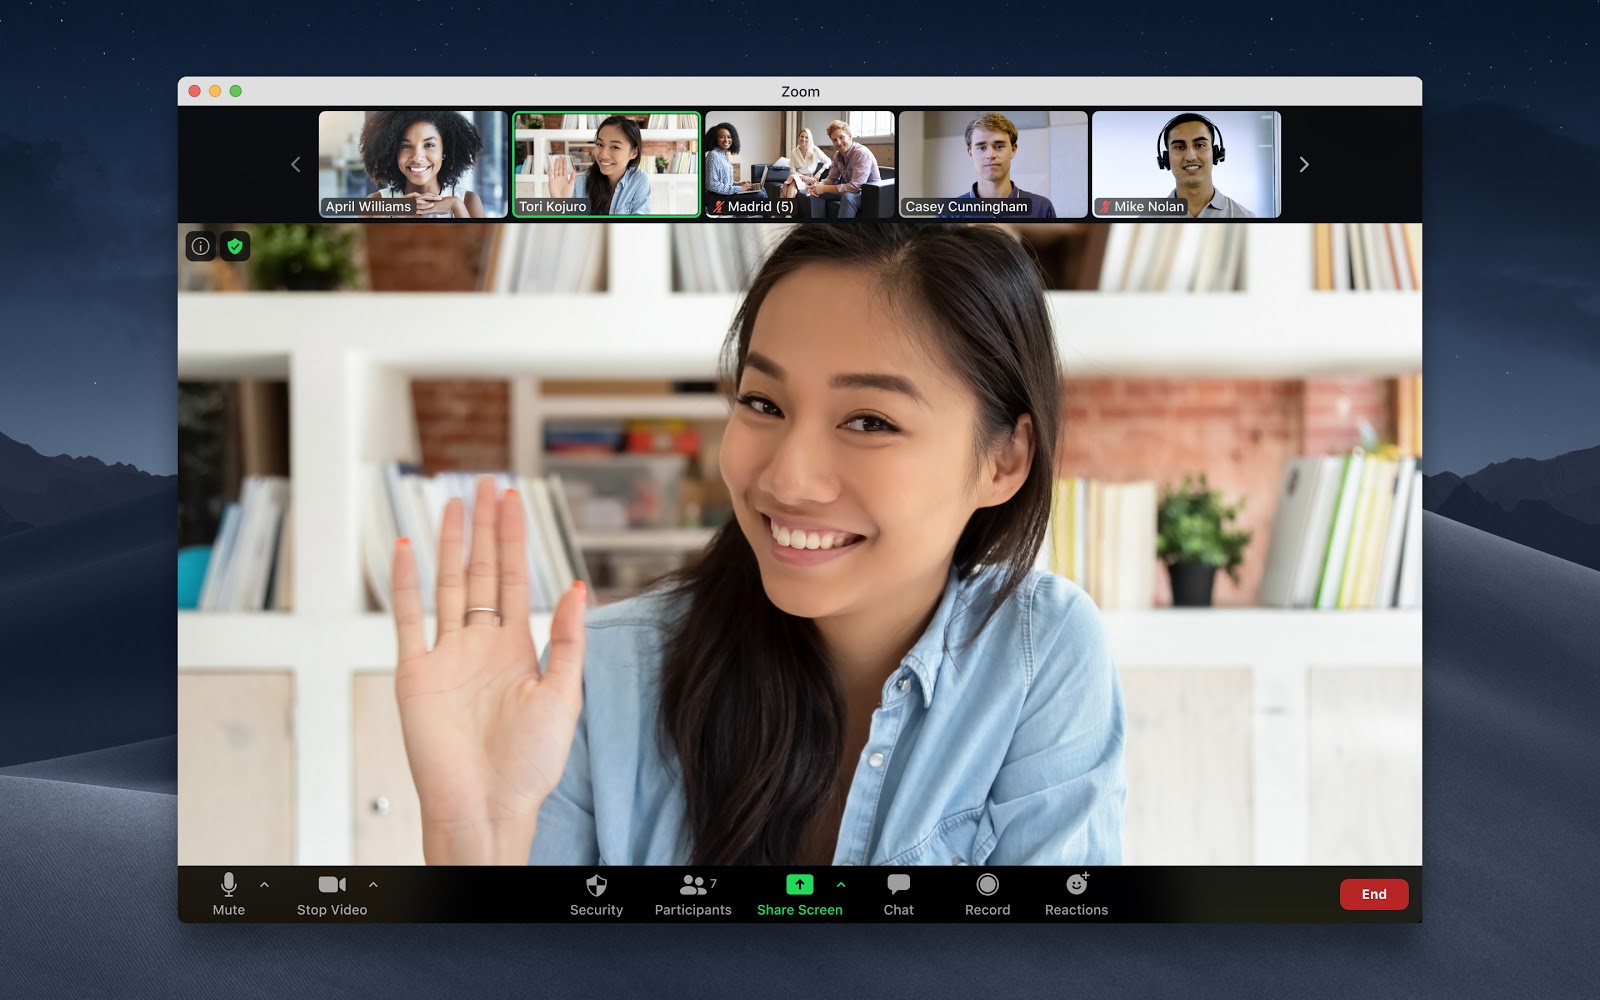
Learn MoreWondering how to edit Zoom recording? You’ve come to the right place. Making sure that you get the most out of your Zoom footage sometimes requires you to do some video editing. Luckily, you can easily trim your footage and make more changes using various digital video editing platforms.
In this article, we’ll give you step-by-step instructions on how to edit your Zoom footage using several different programs.
How to Edit Zoom Recording in iMovie
Follow these steps to edit your Zoom footage using iMovie:
- Open iMovie and press the button with the “+” symbol. Select the “Movie” option.
- Hit “Import” at the top of your screen. Navigate to the Zoom recording you want to edit.
- Select the recording and hit “Import Selected”.
- Drag the recording to the project timeline section to access the editing functions.
- If you want to trim your recording, you can do so by dragging the start and end points to the desired start/end locations.
- You can also insert a theme to a record by including a title and transition. Hit “Settings” at the top right of your project timeline and select “Themes”. Choose your theme and click “Change”.
- To add a filter to a recording, go to “Settings”, select “Filters”, and select the filter of your choice.
- Once you have finished editing, hit the “Share” option and select “File”.
- Select the properties you want to save, such as compression type, quality, resolution, format, and title.
- Finally, hit “Next,” select the location where you want to save the recording, and hit “Save”.
You can now find the recording in the selected location.
How to Edit Zoom Video in the Cloud
Here’s what you need to do to access and edit recordings from the cloud:
- Sign in to your Zoom account.
- Press the “Settings” option.
- Select “Recording” located on the left.
- Press “Cloud Recording”.
- Select the recording you need to edit and start adjusting the sliders to remove the parts of the recording you no longer need.
The recording will now be saved to your Zoom Cloud where you can view it, share it, and download it.
If you like software like Zoom Cloud that allows you to record to Zoom cloud or online storage, we believe our cloud-based software recommendation would suit you: Top 7 Cloud-based Video Editor – Saving Videos Without Taking Up Space.
How to Edit Zoom Recording on Windows
You can use the Photos program to edit your Zoom footage. Here’s how:
- Right-click on the recording, select “Open with,” and press “Photos”.
- In the app, select the “Edit and Create” option in the top right corner. Select “Cut”.
- Start trimming your footage by using a blue marker to define the start point and a white marker to define the end point. To make sure it’s positioned correctly, listen to your recording after you’re done editing.
- If all is well, hover over the top right corner of the screen and select the “Save as” option.
- Choose a location for your recording and hit “Save”.
Wait for the program to save the recording to the specified location. The time it takes for the program to complete the process depends on the speed of your computer and the size of the recorded file. In particular, the procedure can last from 10 and 60 minutes. You can track the process by checking the progress bar.
How to Edit Zoom Video on Eklipse
Editing Zoom video using Eklipse is suitable if you expect the result to be vertical video for TikTok or Reels. Follow our guide below to start:
- Go to the Eklipse.gg website.
- Sign in to your account or sign up for free if you don’t have one.
- Hit “Upload Clip” to upload the recording from your local device.
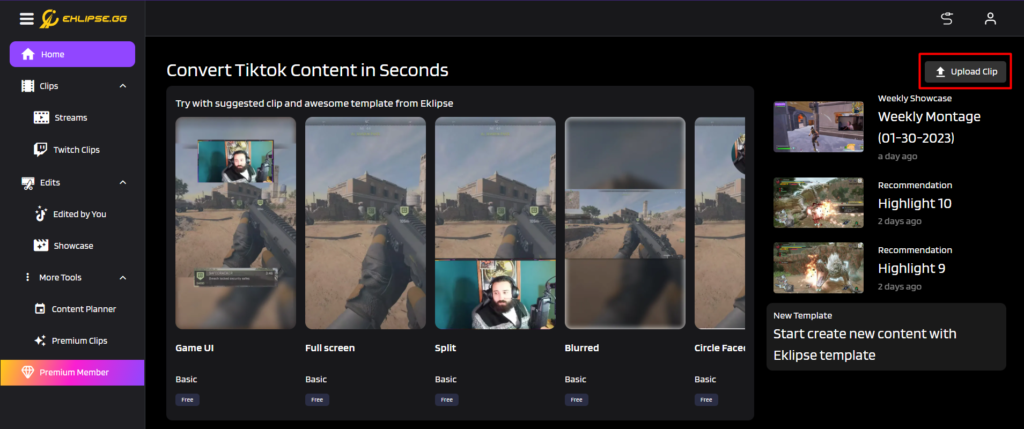
- Choose a template that suits your needs (Blurred, Split, or Small Facecam are recommended for Zoom videos).
- Click “Continue Editing.”
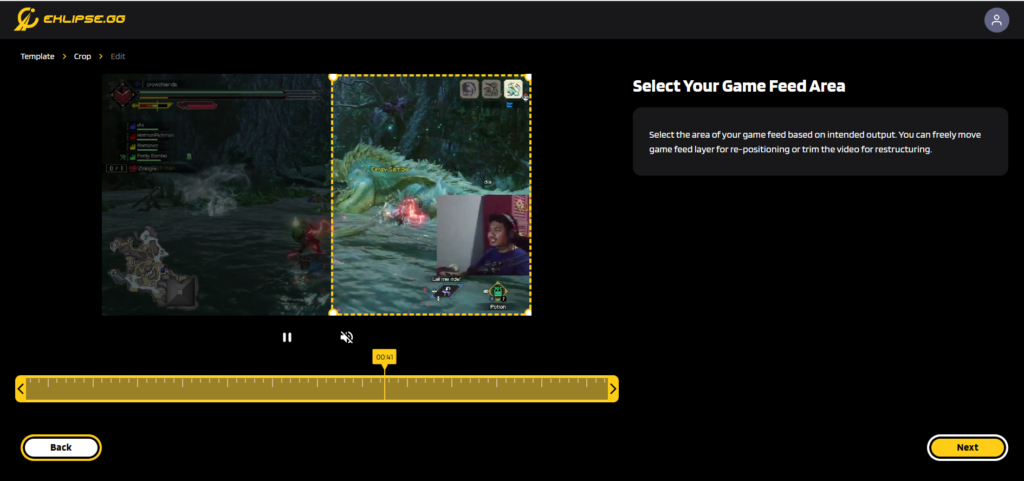
- Select your facecam area by adjusting the frame, then click “Next.”
- Choose the desired game feed area and click “Next.” You can show any field you want.
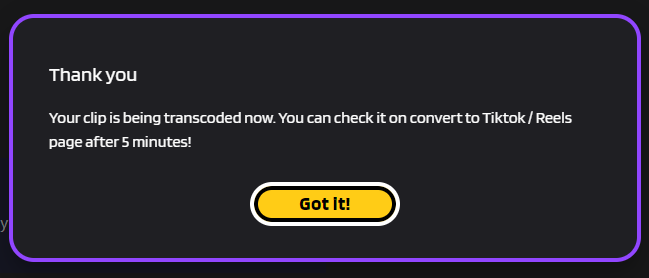
- Set your output preferences, add auto-caption, text, and music. Tap “Confirm” when done.
- Wait until your clip is ready.
How to Edit a Zoom Video on YouTube
Here’s how to edit your Zoom recording on YouTube:
- Save the recording you want to edit and go to YouTube.
- Click your profile picture at the top right of the screen to access the menu.
- Go to the “Your Channels” section.
- Press “Upload Video”.
- Press the “Select File” option.
- Find the Zoom video you want to edit and press “Open”.
- Enter a recording title and select an audience preference (for example, if you want to make the video available to children). You can also enter a description for your video.
- Press “Next”. At this point, you can choose whether you want to insert an end card or a screen for the video. Press “Next” when finished.
- Select a visibility preference for the video and hit the “Save” button when you’re done.
- On the next page, you will be able to see your videos, as well as videos that were uploaded before. Press the pencil symbol.
- When you are in the “Video Details” section, press the “Editor” button.
- Use the available tools to achieve the desired effect for your video.
- Once done, hit the “Save” option.
- Press “Save” in the following pop-up box to apply the changes.
You can now download the edited video as a file or share it online.
Panopto also lets you edit your Zoom footage. Here’s how to import recordings into the program and edit them:
- Go to the “Panopto Recordings” section located on the left.
- Select the “Create” function.
- Select the “Upload Media” option.
- Import your Zoom footage by clicking and dragging the recording into the area in the center of your page. You can also select the box in the center of your page, and select your recording in your file.
- This will trigger a progress bar that tracks the upload process. Once the process is complete, you can exit the window.
- After you upload the recording, it will take some time for Panopto’s servers to make the recording viewable. The time it takes a server to process a file depends on the amount of traffic on their server and the size of the file. In general, this process can take anywhere from a few minutes for smaller files to 24 hours for large recordings.
- When the process is complete, the recording title will turn blue. This means that your recording is ready for editing.
- Go to “Edit” to access the editing options.
- Click on the red line and start dragging it to select the portion of the recording you want to remove. The section will then turn gray.
- Once you are done selecting the part of the recording you want to edit, select the “Apply” option.
- Press “OK” to exit the editor, and wait for the changes to take effect.
Utilizing Zoom to the Fullest
Whether you regularly hold business meetings or hold classes and lectures, having Zoom at your disposal during the current pandemic is indispensable. However, you shouldn’t let Zoom do all the work during your project. On the other hand, editing your recordings will result in a clearer message, which can result in an increase in overall productivity. Now that you know how to edit Zoom recording, there’s no reason to miss out on all the available editing possibilities.
If you need more recommendations on video editing software, check our picks here: 8 Best Free Video Editing Software To Try.
🎮 Play. Clip. Share.
You don’t need to be a streamer to create amazing gaming clips.
Let Eklipse AI auto-detect your best moments and turn them into epic highlights!
Limited free clips available. Don't miss out!
