Level Up Your Marvel Rivals Gameplay
Capture your epic wins, clutch moments, and even hilarious fails with Eklipse. Easily create and share highlight reels with your friends—even if you're not streaming!
Learn MoreHow to share Xbox One clips on Facebook? In this guide, we have prepared a brief tutorial for you to follow, so that you could share your awesome Xbox One gaming clips on Facebook.
Microsoft added a share button to the Xbox Series X and S that allows you to easily capture screenshots and in-game videos. You can then share your catch with the rest of the world via the Xbox app – here’s how to do it.
How to Share Xbox One Clips on Facebook

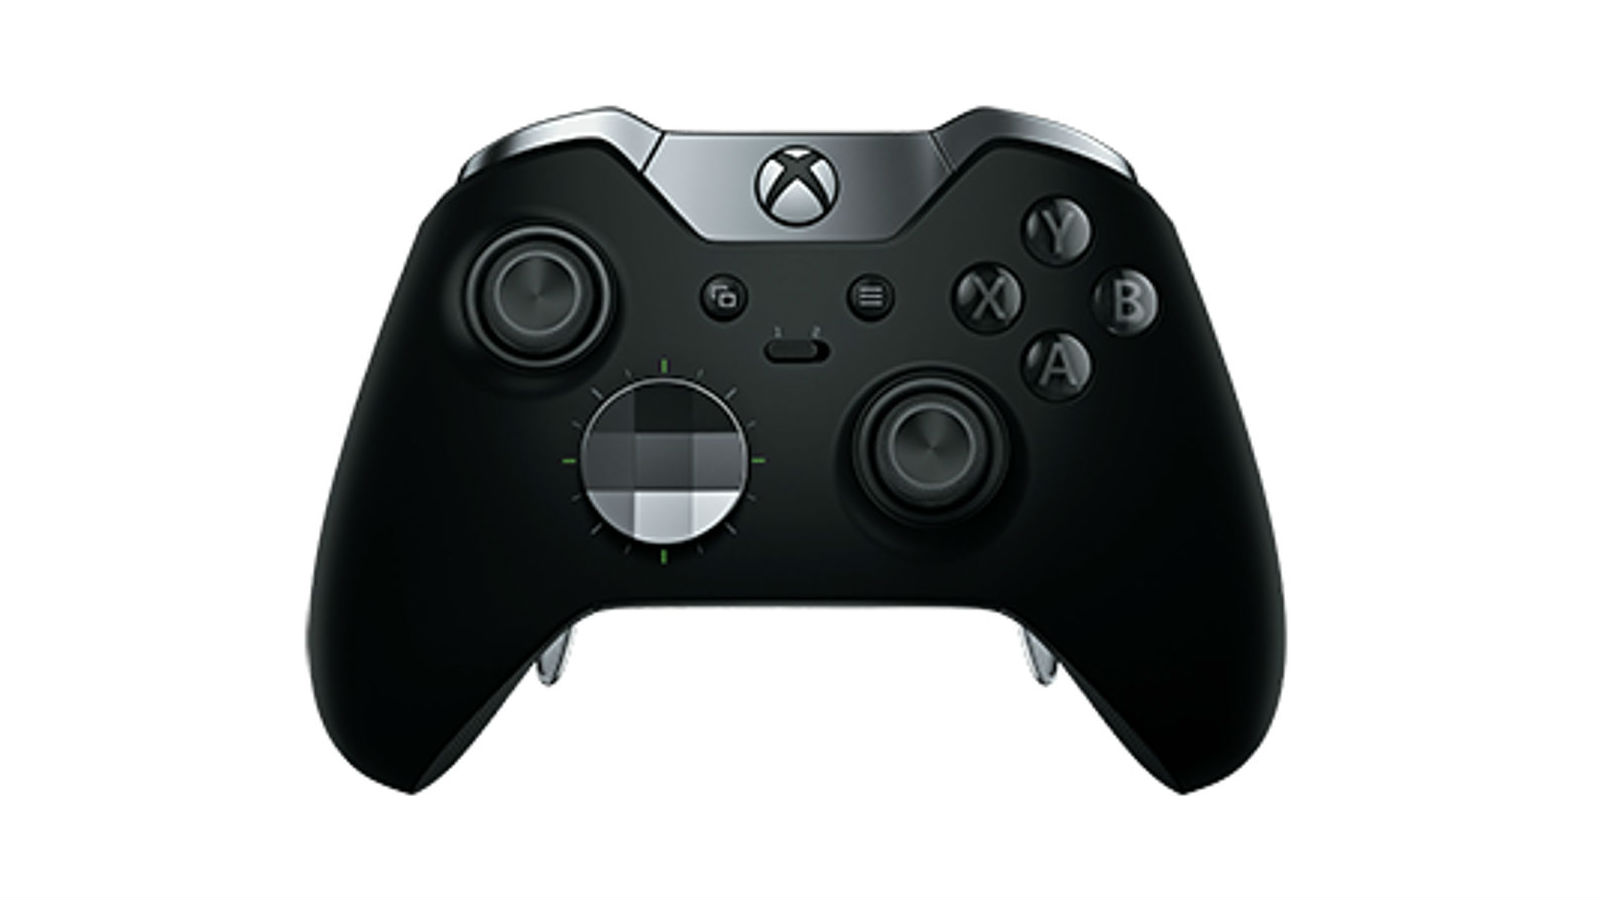
The Share button is in the middle of the Xbox Series X or S Controller, just below the Xbox button you used to access the wizard. It looks like a rectangle with an arrow pointing up.
The default behavior for the Share button is as follows:
- Capture screenshot : Press and release the Share button once.
- Capture the video: Press and hold the Share button.
- Access the capture gallery: Double tap the share button quickly.
Whenever you catch something, an on-screen notification should appear to confirm it. Shortly after, you should see another notification that your clip or screenshot has been uploaded to Xbox Live and is ready to share.
You will also find your catch in the capture gallery. You can access this via the app library or by double-tapping the share button. The catch will stay there until you decide to delete it or move it to a different volume.
How to Share Xbox One Clips on Facebook Directly from Xbox App

Download the Xbox app for iPhone, iPad, or Android. And sign in with the same credentials you used on your Xbox. Tap “My library” followed by “capture” to view your clip.
You may have to wait a few minutes for your latest catch to appear, depending on your internet speed.
From here, you can save the capture to your mobile device or share it directly via the Share button. You can also delete clips and screenshots here to free up space in your Xbox Live gallery.
A total of 10GB worth of captures can be uploaded to Xbox Live. Anything that doesn’t get views (including yours) will be deleted after 30 days.
If you prefer to disable automatic uploads, you can do so by pressing the Xbox button to open the wizard. Select Profile > System > Settings >; Preferences > Capture > Share, then toggle-off “Auto upload.”
How to Customize Share Button and Capture Quality
If you want, you can also remap the share button to work a little differently in your console settings. To do so, simply press the Xbox button to open the wizard. Select “Profile & System,” and then select “Settings.” From here, just choose preferences & gt; Capture & amp; share.
You can choose to disable capture completely, specify the length of the clip, and choose whether to upload automatically. Under “Game Clip Resolution,” you can also specify whether you want the clip to be saved in high dynamic range (HDR) or plain SDR.
Select “Button mapping” to change how the controller functions when you press the Share button.
No share button? Use Xbox Button Instead
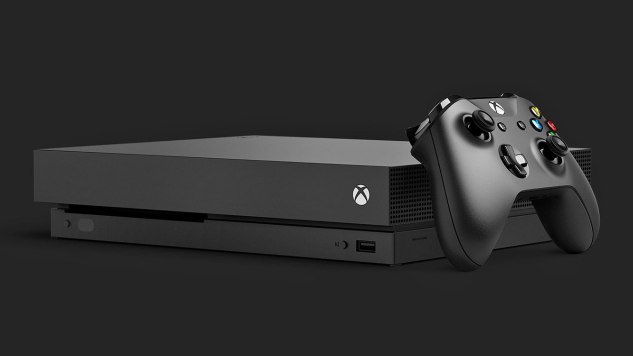
Xbox One era controllers don’t have a dedicated share button, but maintain full compatibility with Xbox Series X and S. To capture screenshots and recordings with these older controllers, press the Xbox button, then use one of the FACE buttons to save the video or screenshot.
Press the Xbox button at the exact moment you want to capture a screenshot or clip during the game. You can then press Y to take a screenshot or X to take a video. It only takes one extra button press on older controllers.
Alternatively, you could also record your gaming highlights using Eklipse. Eklipse is an AI that is able to capture your highlights automatically and lets you edit it to your heart’s content.
Here’s everything you need to know about Eklipse.
🎮 Play. Clip. Share.
You don’t need to be a streamer to create amazing gaming clips.
Let Eklipse AI auto-detect your best moments and turn them into epic highlights!
Limited free clips available. Don't miss out!
