
Level Up Your Marvel Rivals Gameplay
Capture your epic wins, clutch moments, and even hilarious fails with Eklipse. Easily create and share highlight reels with your friends—even if you're not streaming!
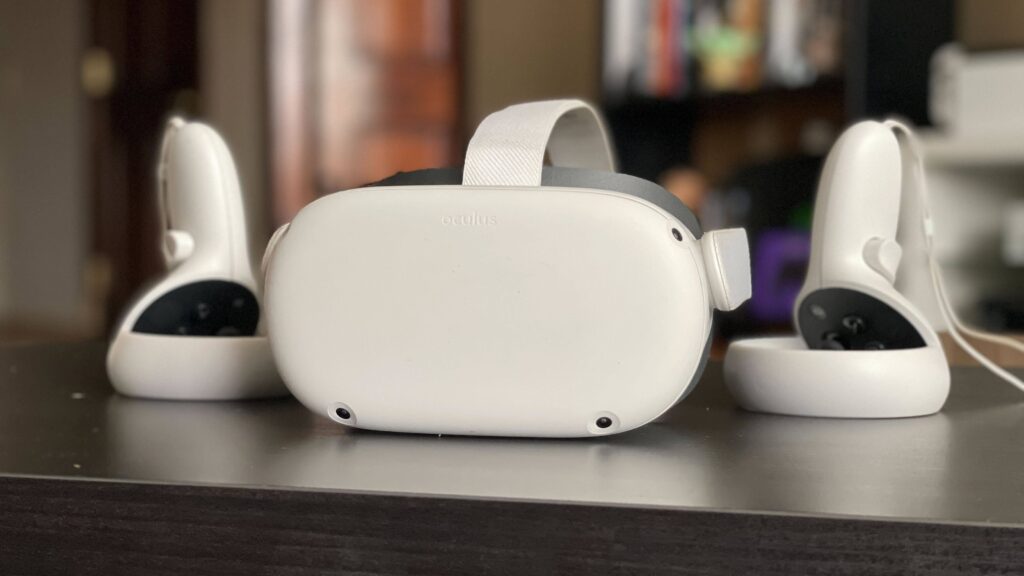
Learn MoreIf you’re an enthusiast of virtual reality and enjoy gaming on Oculus Quest 2, you might consider streaming your gameplay for others to enjoy.
Moreover, given the rising trend of streaming VR content on platforms like Twitch, there’s a chance you could gain popularity through this.
Now, let’s delve into the process of streaming your VR adventures on platforms such as Twitch or YouTube. This article will guide you through the steps, regardless of whether you have a PC. Take a look!
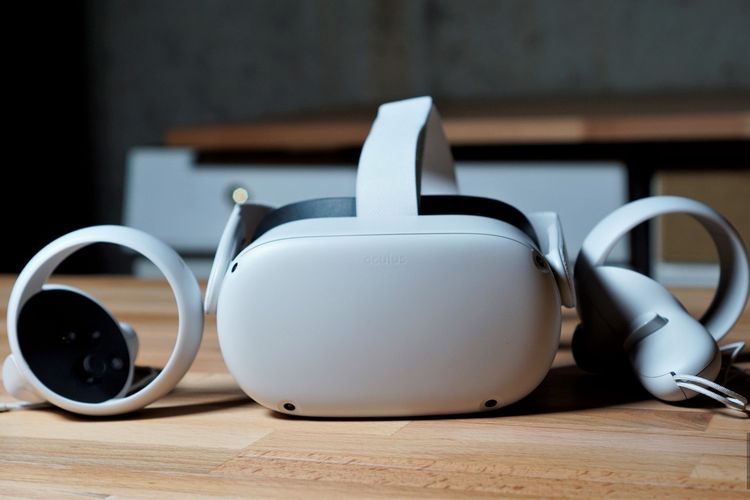
How to Stream Oculus Quest 2 to Twitch with PC
If you have a PC, you can actually stream Oculus Quest 2 like usual.
The method to do this is almost the same as you’ll want to stream your game console to Twitch which is: cast your screen to PC, stream through PC with broadcasting software.
So, let’s break down each part of the instruction.
Step 1: Cast your Oculus Quest 2 to PC
- Connect your Oculus Quest to the same network as your PC.
- Press the Cast option on your controller to open the universal menu in your Oculus Quest 2 headset.
- Go to Sharing and enable the cast option.
- When prompted to choose where to cast from the headset, select “Computer.”
- A link will be provided; open it on your PC while connected to the same network as your Oculus Quest.
- Log in with the same Facebook account you used for your Oculus Quest.
- The gameplay will be casted to your PC browser.
Step 2: Broadcast your Screen from PC to Twitch
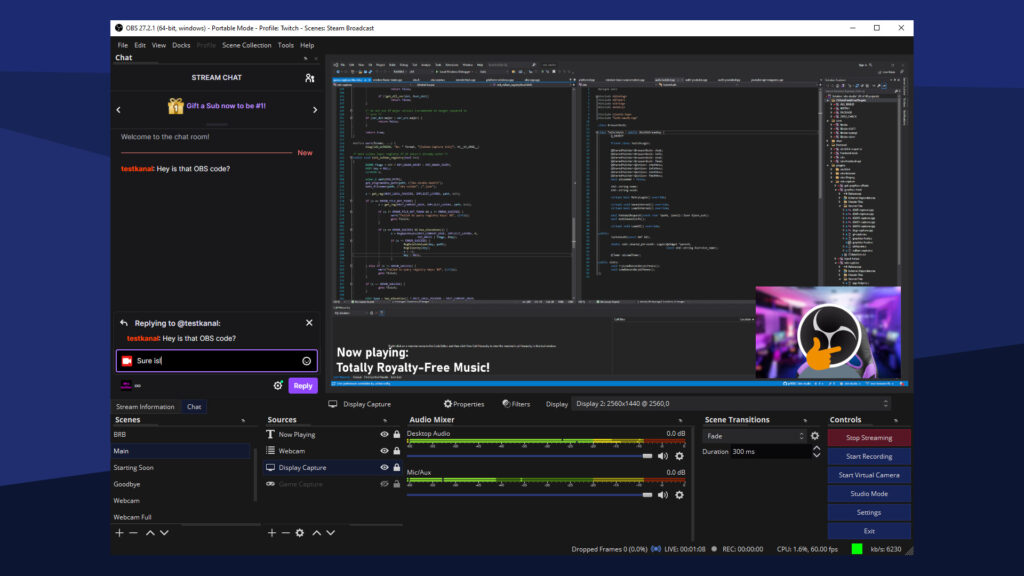
- In OBS, select the browser window as a source and arrange your scenes with the captured gameplay.
- Look for the Stream key in your Twitch Accout
- Copy-Paste the key to OBS
- Click Start Streaming on OBS
How to stream Oculus Quest 2 to Twitch without a PC
If you don’t have a PC, a smartphone can be a good option to stream your VR gameplay to Twitch.
The methods to stream it are almost just like when you want to stream with a PC.
To start streaming Oculus Quest 2 to Twitch with mobile you’ll need to cast your screen to your phone, then stream it from your phone to Twitch.
Here is the breakdown.
Step 1: Cast Oculus Quest 2 to Phone
- Download the Oculus app from the App Store (if you’re on iOS) or the Play Store (if you’re on Android).
- Open the Oculus app on your phone.
- Select Quest 2 as the headset in the app.
- Go to the menu and select Casting.
- Under Cast, choose the headset you want to cast from (e.g. Quest 2).
- Connect your Quest 2 to the Oculus app.
- Under Cast To, choose This Phone.
- On your Quest 2, go to the Cast option.
- Under Cast, select the Oculus app to start the cast on your phone.
- Your Oculus Quest 2 cast should now appear on your phone.
Step 2: Stream from Smartphone to Twitch
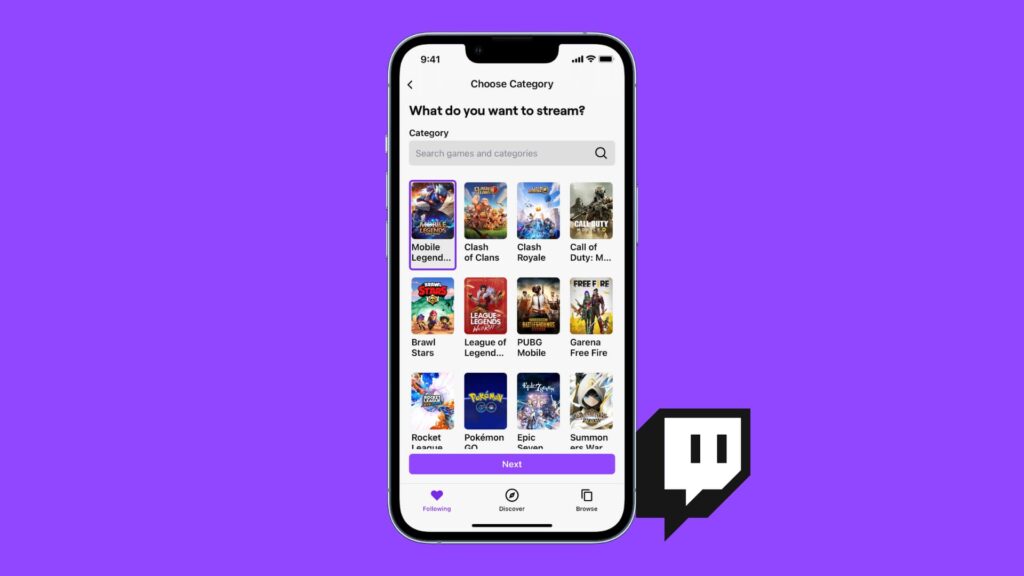
- Open Twitch App
- Tap Create on the top right
- Select Go Live, then Stream Games
- Select your game
- Write your live title, description, and set everything up
- Tap Launch Game or the purple record icon on the bottom
Conclusion
That’s all you need to know about how to stream your Oculus Quest 2 on Twitch.
You might have a hard time to get the audience, since VR gaming is quite a pretty niche market to touch. But no worries we have some guide that might help you
Learn how to grow on Twitch
- How to Grow on Twitch: 6 Smooth Ways That Will Get You Followers!
- Best Streaming Ideas
- How to Use TikTok and YouTube Shorts to Grow on Twitch
That’s all for today. Hope this post helping you and don’t forget to check Eklipse blog from time to time for more streaming tips!
Maximize your Black Ops 6 rewards—Create highlights from your best gameplay with with Eklipse
Eklipse help streamer improve their social media presence with AI highlights that clip your Twitch / Kick streams automatically & converts them to TikTok / Reels / Shorts
🎮 Play. Clip. Share.
You don’t need to be a streamer to create amazing gaming clips.
Let Eklipse AI auto-detect your best moments and turn them into epic highlights!
Limited free clips available. Don't miss out!
