Level Up Your Marvel Rivals Gameplay
Capture your epic wins, clutch moments, and even hilarious fails with Eklipse. Easily create and share highlight reels with your friends—even if you're not streaming!
Learn MoreLive streaming on Twitch is one of the coolest ways to connect with people, share what you love, and even build a following. If you’re using a MacBook, you’ve already got a reliable device to work with—but there’s a bit of tweaking needed to make sure your streams run smoothly and look fantastic.
This isn’t about turning your MacBook into a tech powerhouse; it’s about making the most of what you have. From adjusting settings to picking the right tools, we’ll walk you through how to get your setup ready for a seamless streaming experience. Ready to level up your stream? Let’s jump in!

Adjust OBS Settings for Optimal Performance

OBS is one of the most popular tools for live streaming on Twitch. This software is known for its enhanced encoding efficiency and excellent handling of CPU resources. While it may limit output quality on certain hardware, OBS is still a great and one of the most common options for streamers.
To get the best performance from OBS on your MacBook, you can follow this instruction:
- Use Hardware Encoding: Navigate to
Settings>Outputand switch the Encoder option to Apple VT H264 Hardware Encoder. - Adjust Bitrate: Set video bitrate around 2000 kbps; adjust according to connection stability.
- Limit Resolution: Stream at 720p or lower if your hardware struggles with higher resolutions.
Optimising these settings can dramatically reduce CPU usage while maintaining stream quality.
Manage System Resources Effectively

Your MacBook’s performance during streaming depends significantly on how you manage system resources. You can do the following actions to improve overall system performance and reduce likelihood of lagging during streams:
- Close Unnecessary Applications: Ensure that all non-essential applications are closed before starting your stream.
- Limit Browser Sources in OBS: Each browser source consumes significant resources; keep them minimal.
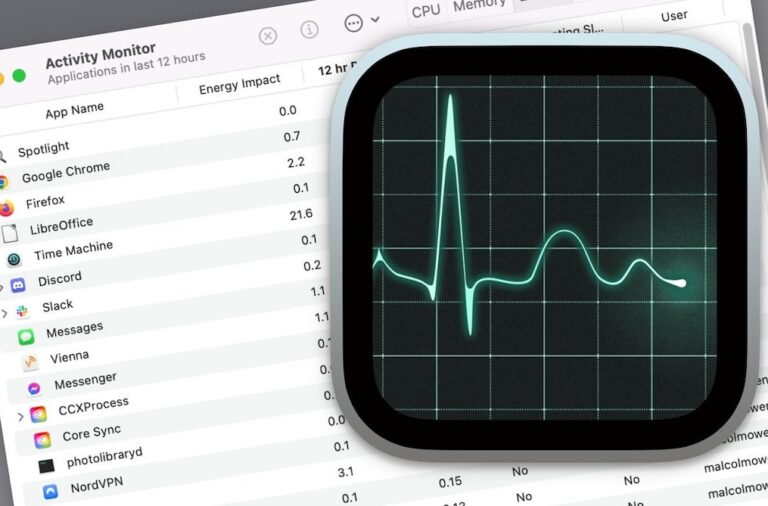
- Reduce Background Processes: Use Activity Monitor to identify and close background processes that consume CPU power.
By reducing resource consumption, you allow OBS more room to operate smoothly during streams.
Create Fewer Scenes and Reuse Sources
In OBS, creating too many scenes can lead to inefficiency. This is how to avoid it:
- Reuse Existing Sources: Instead of creating new sources for similar elements (like webcam feeds), reuse existing sources across different scenes.
- Minimise Scene Collection Size: Limit yourself to essential scenes within OBS; consider combining similar setups into one scene when possible.
This method not only saves processing power but also simplifies scene transitions during live broadcasts.
Lower Video Input Resolutions
Using high-resolution video input sources can strain your MacBook since it takes more processing demands. Here’s what you can do to reduce it:
- Set Webcam Resolution Appropriately: If you’re using a webcam capable of 4K resolution, consider lowering it to 1080p or even 720p.
- Adjust Frame Rate Settings: Aim for a frame rate between 30 fps and 60 fps based on what your hardware can handle comfortably.
Reducing input resolution lightens the load on both processing power and bandwidth usage. However, you may want to avoid setting the webcam resolution too low, as it can significantly reduce the visual quality.
Test Your Stream Before Going Live
Before hitting “Go Live,” always conduct test streams as an early identification of technical problems. Doing so will also increase your confidence when going live. Here’s how you can do it:
- Utilize Twitch Inspector Tools: Use Twitch’s inspector tool pre-streaming; it provides metrics about frames per second and bandwidth.
- Run Private Test Streams: Stream privately first, allowing you to check audio/video sync without an audience present.
Testing helps identify potential issues early, ensuring a seamless experience when broadcasting publicly.
Final Thoughts
Optimising your MacBook for live streaming on Twitch involves fine-tuning software settings, managing resources smartly, reusing sources effectively, lowering video resolutions where necessary, and conducting thorough tests before going public. Implementing these strategies will help improve both the quality of your stream and viewer engagement as you establish yourself as a streamer in 2024!
By focusing on these key areas—OBS settings adjustments, resource management tactics, efficient scene creation practices, resolution adjustments, and pre-stream testing—you’ll be well-prepared for successful broadcasts that attract an audience eager for engaging content!
🎮 Play. Clip. Share.
You don’t need to be a streamer to create amazing gaming clips.
Let Eklipse AI auto-detect your best moments and turn them into epic highlights!
Limited free clips available. Don't miss out!
