Level Up Your Marvel Rivals Gameplay
Capture your epic wins, clutch moments, and even hilarious fails with Eklipse. Easily create and share highlight reels with your friends—even if you're not streaming!
Learn MoreTo automatically lower audio in OBS Studio and ensure your voice stands out during live streams, you can use the audio ducking feature. As a content creator, you understand the importance of clear audio in keeping your audience engaged. Whether you’re streaming gameplay, hosting a podcast, or delivering a live presentation, balancing your voice with background sounds is crucial.
The audio ducking feature in OBS Studio allows you to achieve this balance effortlessly. By automatically lowering the volume of background music or game sounds when you speak, you create a more professional and polished audio experience.
What Is Audio Ducking in OBS Studio?

For streamers, ensuring clear communication is crucial to keeping audiences engaged. Audio ducking is a feature that helps you achieve this by automatically lowering background sounds, such as music or game audio, whenever you speak. This ensures your voice remains the primary focus.
Audio ducking works through sidechain compression in OBS Studio, where your microphone input controls the volume reduction of other audio sources. It’s a simple yet effective way to create a balanced and professional audio mix.
Step-by-Step Guide to Setting Up Audio Ducking in OBS Studio
Setting up audio ducking in OBS Studio is straightforward with the compressor filter. Whether you’re streaming or recording, following these steps will ensure seamless audio transitions between your voice and background sounds.
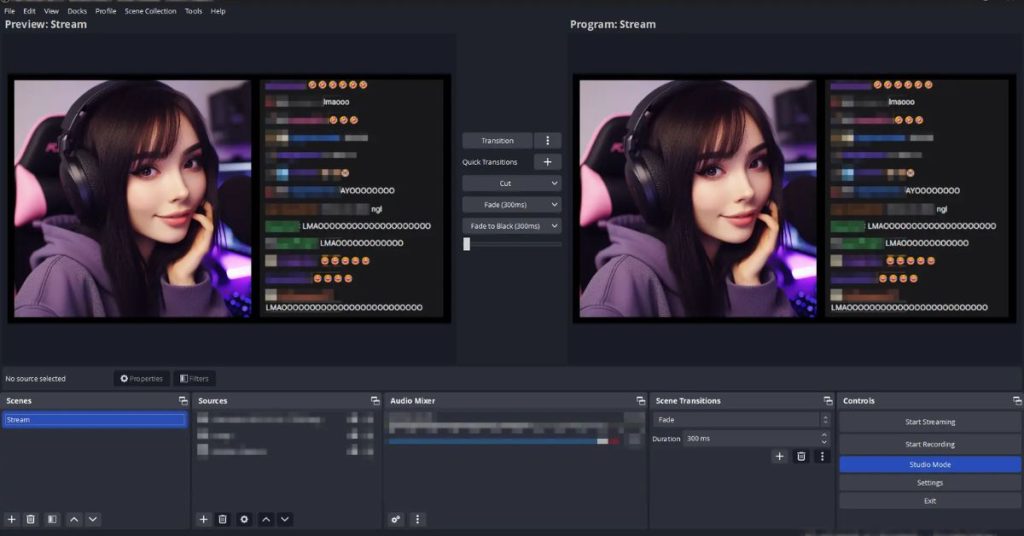
Step 1: Add Your Audio Sources
- Launch OBS Studio.
- Add your background audio source (e.g., game audio, music) and microphone source in the Audio Mixer.
Step 2: Apply the Compressor Filter
- Click the gear icon next to your background audio source in the Audio Mixer.
- Select Filters from the dropdown menu.
- Click the + button and choose Compressor.
Step 3: Set Up Sidechain Compression
- In the Compressor settings, locate the Sidechain/Ducking Source dropdown.
- Select your microphone source from the list.
Step 4: Adjust Compressor Settings
- Threshold: Set this to the level at which the background audio should reduce. Start around
-20 dB. - Ratio: Controls how much the background audio volume decreases. A ratio of
4:1works well. - Attack: Determines how quickly the background audio fades when you start speaking. A value of
10 msis ideal. - Release: Sets how quickly the audio returns to normal once you stop speaking. Try
200 msfor a natural fade-in. - Output Gain: Adjust as needed to balance the overall audio.
Recommended Settings for Different Scenarios
Using the right settings can significantly improve your audio quality. Depending on your content type, you might need to adjust certain parameters for optimal results.
Gaming Streams
For gaming streams, background audio tends to include game sounds or ambient music, which can overpower your voice if not managed.
- Threshold:
-25 dB - Ratio:
6:1 - Attack:
5 ms - Release:
150 ms
Podcasts or Talk Shows
Podcasts and talk shows require a more subtle audio balance to maintain a conversational tone.
- Threshold:
-18 dB - Ratio:
3:1 - Attack:
20 ms - Release:
300 ms
Testing and Adjustments
Testing your setup ensures the audio ducking feature functions correctly during your streams or recordings. Regular adjustments based on your environment will keep your audio crisp and clear.
Test Your Setup
- Speak into your microphone while playing background audio.
- Observe the Audio Mixer to ensure the background audio volume decreases when you speak.
Fine-Tune the Settings
- If your voice still competes with the background audio, lower the Threshold or increase the Ratio.
- If the audio cuts too abruptly, adjust the Attack and Release times for a smoother transition.
Additional Tips for Optimized Audio
Perfecting your audio setup involves more than just configuring settings. Here are a few extra tips to elevate your streaming experience:
- Maintain a Consistent Volume: Keep your microphone input level steady to ensure reliable audio ducking.
- Avoid Overcompression: Excessive ducking can make your stream sound unnatural. Test your settings thoroughly.
- Use High-Quality Equipment: A good microphone and audio interface can significantly improve your overall audio quality.
Conclusion
Mastering how to automatically lower audio in OBS Studio using the audio ducking feature is essential for streamers and content creators. This technique allows you to maintain focus on your voice without manual adjustments, creating a professional and engaging audio experience.
By following this guide, experimenting with settings, and regularly testing your setup, you’ll ensure that your audience enjoys clear communication throughout your streams or recordings.Incorporating these techniques will elevate your content quality significantly, making it easier for viewers to engage with what you have to say while enjoying other elements of your stream.
🎮 Play. Clip. Share.
You don’t need to be a streamer to create amazing gaming clips.
Let Eklipse AI auto-detect your best moments and turn them into epic highlights!
Limited free clips available. Don't miss out!
