
Level Up Your Marvel Rivals Gameplay
Capture your epic wins, clutch moments, and even hilarious fails with Eklipse. Easily create and share highlight reels with your friends—even if you're not streaming!
Learn MoreWhen people search for new content and click on a live stream, they have a very short attention span. Buffering, lagging, freezing, and noise tend to be sufficient reasons for them to move on to the next one.
That’s why you have to make sure that your live streaming is in high quality. This doesn’t mean you have to dig deep into your pockets and get the most expensive equipment. Just follow these best practices and adjust the settings accordingly!

1. Understand Platform Settings
Each streaming platform, wheter it’s Twitch, Facebook Gaming, or YouTube, provides its own guidelines and broadcasting tools to ensure you use the appropriate bitrate, resolution, and others.
For example, Twitch offers their Inspector tool, which analyzes your stream and helps you troubleshoot errors. You can use the Inspector to run test streams to fine-tune any settings. Facebook Gaming also has a Test Broadcast feature that you can utilize.
2. Adjust In-Game Settings
If your game consumes too much bandwidth or GPU/CPU power, you may need to lower the game’s quality to ensure it doesn’t cause any issues while streaming. Even if your game looks great and sharp at 4K, it won’t do much good if you’re experiencing lag or dropping frames.
If you’re playing a new game, run a test stream as mentioned above and observe which game settings produce the best streaming quality. It will be a balancing act between your game settings and your streaming settings.
3. Pay Attention to Microphone Quality
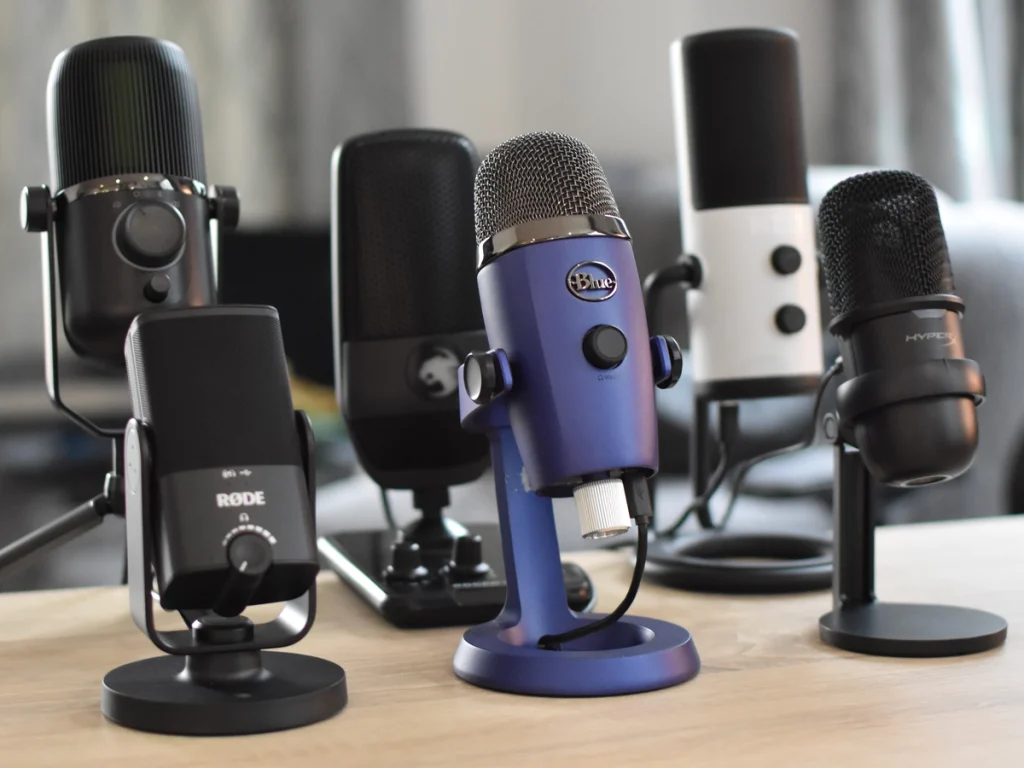
Audio quality is just as important as video quality. Your viewers need to hear you loudly and clearly (and ideally, not a party next door).
Unless you have a high-end headset, it’s advisable to invest in a microphone. If you’re looking for an affordable yet high-quality microphone, we recommend the Elgato Wave 3.
USB microphones are great plug-and-play solutions, but if you’re willing to spend more money, you can look into XLR models. XLR is the industry standard for audio and will offer more flexibility with your settings as well as a wider range of high-fidelity options.
4. Use Ethernet Cable
If you haven’t already, be sure to use an ethernet cable! Ethernet cables are crucial for high-quality live streaming. They offer stability, faster speeds, low latency, and enhanced security compared to Wi-Fi. With an Ethernet connection, you can ensure a reliable and uninterrupted live stream, providing the best experience for your audience.
Conclusion
To make your live streaming better, remember these important steps: understand the settings of the platform you’re using, adjust your game settings for smooth streaming, get a good microphone for clear sound, and use an Ethernet cable for a stable internet connection. By following these steps, you can improve the quality of your live stream and give your viewers a great experience.
Maximize your Black Ops 6 rewards—Create highlights from your best gameplay with with Eklipse
Eklipse help streamer improve their social media presence with AI highlights that clip your Twitch / Kick streams automatically & converts them to TikTok / Reels / Shorts
🎮 Play. Clip. Share.
You don’t need to be a streamer to create amazing gaming clips.
Let Eklipse AI auto-detect your best moments and turn them into epic highlights!
Limited free clips available. Don't miss out!
