Level Up Your Marvel Rivals Gameplay
Capture your epic wins, clutch moments, and even hilarious fails with Eklipse. Easily create and share highlight reels with your friends—even if you're not streaming!
Learn MoreStreaming on Twitch has become a popular way for gamers, creatives, and entertainers to connect with audiences worldwide. With millions of users engaging daily, launching your own streaming channel can be both fun and potentially profitable. This article will guide you through the essential steps to start streaming on Twitch from your PC in 2024.
Whether you’re a complete beginner or looking to refine your setup, this guide covers everything from account creation to software selection and technical requirements. By following these steps, you’ll be well-equipped to create engaging content that resonates with viewers. Let’s dive into the world of Twitch streaming!

1. Create Your Twitch Account

The first step is creating a Twitch account. Follow these simple instructions:
- Visit the Twitch website.
- Click on “Sign Up.”
- Choose a unique username and strong password.
- Enable Two-Factor Authentication (2FA) for security.
- Provide your birthdate.
- Verify your email address or phone number.
Having an account not only allows you to stream but also lets you interact with other users and join communities related to your interests.
2. Select Broadcasting Software
To go live on Twitch, you’ll need broadcasting software (OBS). Here are some popular options:
OBS Studio
- Platform: Windows, macOS, Linux
- Cost: Free
- Key Features: Open-source software offering customizable settings for video quality and layout.
Streamlabs OBS
- Platform: Windows
- Cost: Free basic version; premium features available via subscription.
- Key Features: User-friendly interface with integrated alerts and overlays.
XSplit
- Platform: Windows
- Cost: Free trial; paid plans starting at $5/month.
- Key Features: Professional-grade features for game capture and live production.
Restream Studio
- Platform: Web-based
- Cost: Free tier available; additional features in paid plans.
- Key Features: Multi-platform streaming capabilities along with chat integration.
Selecting the right broadcasting software helps tailor your stream’s look and functionality according to your needs.
3. Configure Your Streaming Settings
Once you’ve chosen your broadcasting software, it’s time to configure the settings:
- Set the stream resolution (1080p recommended).
- Adjust frame rate (50fps – 60fps preferred).
- Set keyframe interval at 2 seconds.
- Choose bitrate between 3,000 Kbps – 6,000 Kbps for optimal quality.
- Use audio bitrate up to 160 Kbps.
- Opt for CPU encoding like NVIDIA NVENC over x264 when possible.
These settings ensure that your stream runs smoothly without lagging or buffering issues during broadcasts.
4. Prepare Your Equipment

A successful stream relies heavily on quality equipment:
Computer Specifications:
- Memory: At least 8GB RAM recommended.
- CPU: Minimum six-core processor (Intel i5 or equivalent).
- GPU: Powerful graphics card necessary for gameplay broadcast.
Internet Connection:
Ensure a stable internet connection with upload speeds of at least 3–6 Mbps; higher is better for uninterrupted streams.
Audio/Visual Gear:
Investing in good audio equipment enhances viewer experience:
- Microphone with frequency response of 20Hz–20kHz.
- Webcam capable of full HD resolution (1080p).
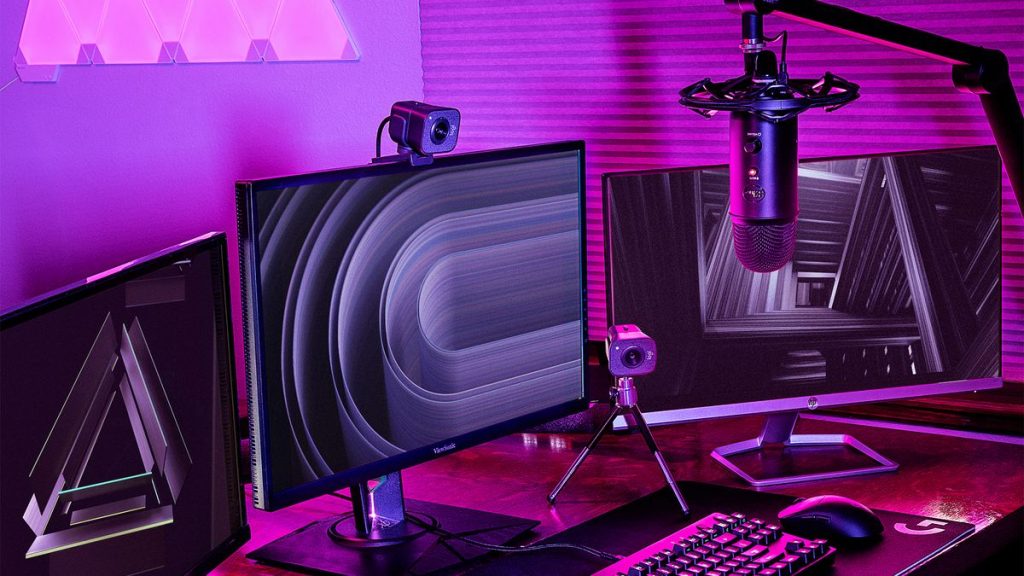
Consider using dual monitors if possible; one screen can display gameplay while the other handles chat interactions or additional applications seamlessly.
5. Preview Your Stream Before Going Live
Before hitting that “Go Live” button, it’s crucial to preview your setup:
- Test audio levels by speaking into the microphone while playing music or interacting with game sounds.
- Check video quality by ensuring all sources display correctly within the broadcast window.
- Adjust any settings based on feedback from tests until you’re satisfied with both audio and visual elements.
This final check helps eliminate potential issues before they affect viewer experience during live broadcasts.
6. Engage With Your Audience
Once you’re live, remember that engagement is key! Interacting with viewers through chat adds a personal touch and encourages them to stick around longer:
- Respond promptly to comments and questions during streams.
- Encourage discussions about topics relevant to what you’re playing or showcasing.
- Consider using alerts for new followers or donations as an interactive element during streams.
Building a community around your channel fosters loyalty among viewers who return regularly for new content!
Final Thoughts
Starting your journey as a Twitch streamer involves several steps. Following this guide will empower you to deliver high-quality content while building connections within the vibrant world of Twitch streaming in 2024!
With practice comes improvement—so don’t hesitate; jump into the exciting realm of online streaming today!
🎮 Play. Clip. Share.
You don’t need to be a streamer to create amazing gaming clips.
Let Eklipse AI auto-detect your best moments and turn them into epic highlights!
Limited free clips available. Don't miss out!
