
Level Up Your Marvel Rivals Gameplay
Capture your epic wins, clutch moments, and even hilarious fails with Eklipse. Easily create and share highlight reels with your friends—even if you're not streaming!
Learn MoreCreating sports video edits can enhance the viewing experience, showcase key moments, and provide valuable analysis for players and coaches. Whether you’re a beginner or a seasoned editor, this step-by-step guide will help you make high-quality sports video edits.
We’ll cover everything from choosing the right tools to adding effects and transitions. Let’s get started!
How to Make Sports Video Edits

Source: Eklipse.gg
1. Gather Your Footage
Let’s gather the building blocks for your epic sports edit! First things first, we need all the awesome footage: game highlights, practice drills, anything that captures the energy and story. Aim for high quality – the sharper the video, the easier it is to work with later.
Here’s the secret sauce for capturing great footage:
- Gear Up: Use a camera that shoots in high resolution. 1080p or even 4K will make your video pop.
- Multiple Angles are Your Friend: If you can, film the action from different perspectives. This gives you more flexibility when editing and creates a more dynamic final product.
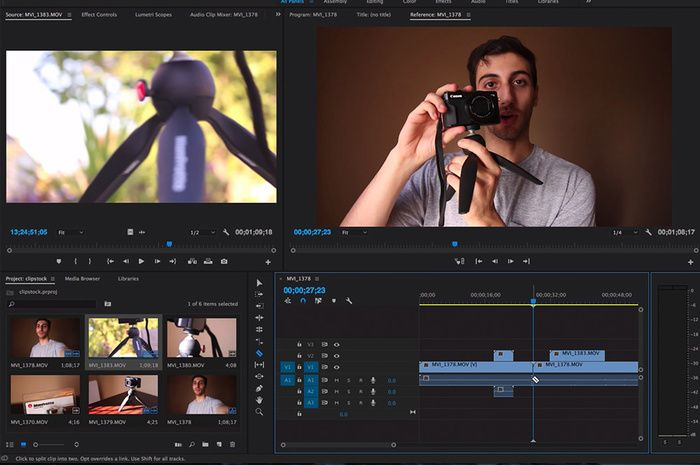
2. Choose the Right Editing Software
Selecting the appropriate video editing software is crucial for creating professional sports video edits.
- Beginner-Friendly Software: If you’re new to video editing, consider starting with user-friendly software like iMovie (Mac) or Windows Movie Maker (PC).
- Advanced Software: For more advanced features, use professional software like Adobe Premiere Pro, Final Cut Pro, or DaVinci Resolve.
3. Import and Organize Your Footage
Once you’ve chosen your editing software, import your footage and organize it into folders. Label your clips based on the content, such as “Goals,” “Assists,” or “Highlights,” to make the editing process more efficient.
- Bin it: Create folders (or “bins” depending on your software) to group similar clips. This could be by theme (“Goals,” “Interviews”), location (“Beach Day,” “City Park”), or even camera angle (“Wide Shots,” “Close-Ups”).
- Label it up: Give your clips clear and descriptive names. Instead of cryptic file names, use something that instantly tells you what’s happening (“Amazing Bicycle Trick,” “Funny Dog Encounter”). This will save you tons of time searching later.
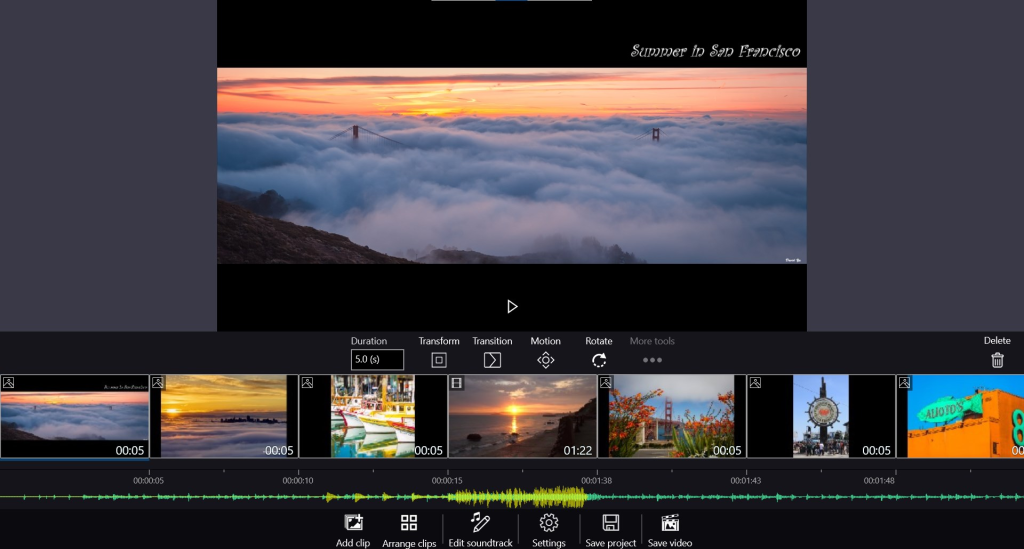
4. Create a Rough Cut
Start by creating a rough cut of your video. This involves arranging your clips in a sequence to form the basic structure of your edit. Focus on the key moments you want to highlight.
- Drag and Drop Clips: Arrange your clips on the timeline in the order you want them to appear.
- Trim Unnecessary Footage: Remove any unnecessary parts of the clips to keep your video concise and engaging.
5. Add Transitions and Effects
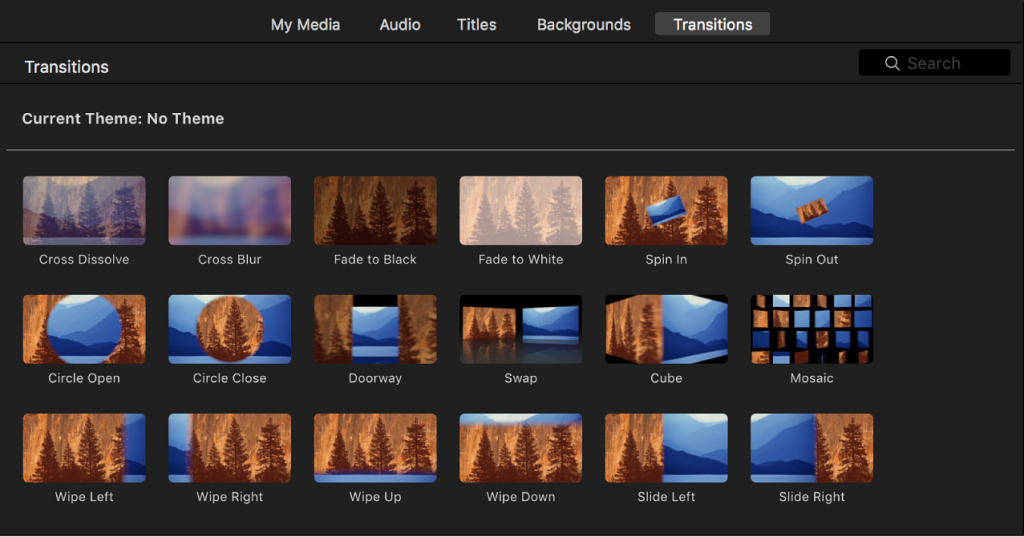
Transitions and effects can enhance your sports video, making it more dynamic and engaging.
- Transitions: Use transitions like cuts, fades, and wipes to smoothly move from one clip to another.
- Effects: Add effects like slow motion, speed ramping, and zoom to highlight key moments.
6. Include Music and Sound Effects

Adding music and sound effects can significantly improve the overall impact of your sports video.
- Choose the Right Music: Select music that matches the energy and pace of your video.
- Sound Effects: Add sound effects like crowd noise, whistles, and commentary to enhance the viewing experience.
7. Add Text and Graphics
Incorporating text and graphics can provide additional information and context to your sports video.
- Text Overlays: Use text overlays to display player names, scores, and other relevant information.
- Graphics: Add graphics like team logos, player stats, and animated effects to make your video more visually appealing.
8. Review and Fine-Tune
Review your edited video to ensure everything looks and sounds great. Make any necessary adjustments to improve the overall quality.
- Watch the Entire Video: Review your video from start to finish to catch any mistakes or areas for improvement.
- Get Feedback: Share your video with others to get feedback and make further adjustments.
9. Export and Share
Once you’re satisfied with your video, export it in the highest quality possible. Choose the appropriate format and resolution for your intended platform.
- Export Settings: Use the recommended export settings for your editing software to ensure the best quality.
- Share on Platforms: Share your video on social media, YouTube, or other platforms to reach your audience.
Final Thoughts
Creating professional sports video edits requires the right tools, techniques, and attention to detail. By following these steps, you can produce high-quality videos that showcase the best moments and provide valuable insights. Ready to take your sports video edits to the next level? Try Eklipse for advanced editing and highlight creation.
Ready to enhance your sports video edits? Try Eklipse today and experience AI-powered editing that simplifies your workflow and enhances your video content. Visit Eklipse Sports to register and get started now!

🎮 Play. Clip. Share.
You don’t need to be a streamer to create amazing gaming clips.
Let Eklipse AI auto-detect your best moments and turn them into epic highlights!
Limited free clips available. Don't miss out!
