
Level Up Your Marvel Rivals Gameplay
Capture your epic wins, clutch moments, and even hilarious fails with Eklipse. Easily create and share highlight reels with your friends—even if you're not streaming!
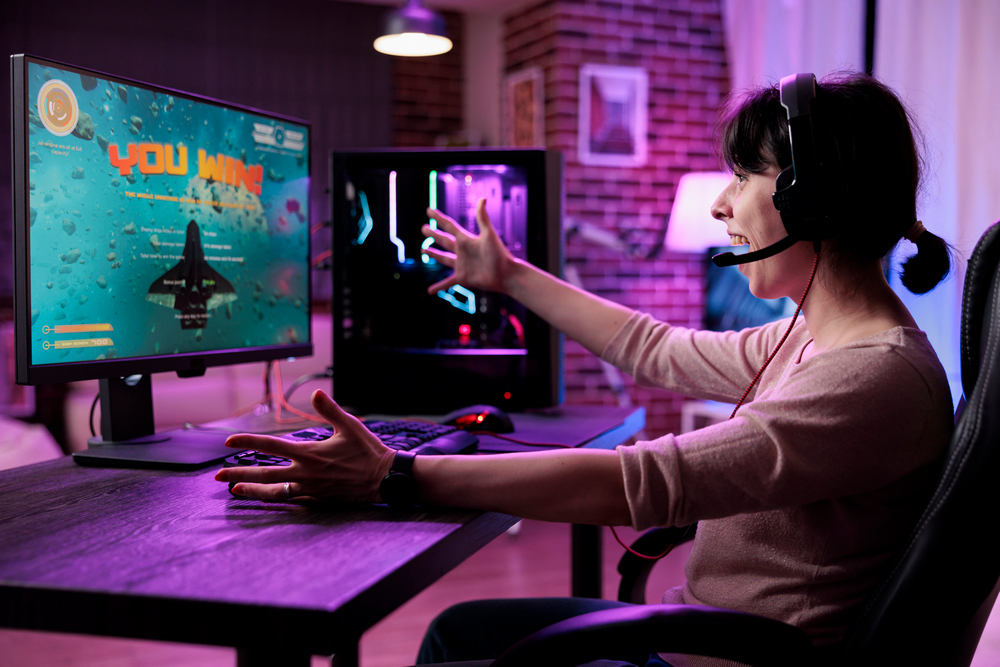
Learn MoreOne misconception about game streaming is that you need to have a high-end streaming PC. However, even famous streamers started with standard devices and gradually upgraded their equipment as their content careers progressed. They upgraded their devices slowly along the journey of their content careers.
So, what kind of streaming PC should beginner game streamers prepare? Let’s dive into the tips for building a gaming streaming PC below.
1. Requirements and Preparations for Game Streaming
Before deciding to become a game streamer, there are two main requirements to consider: internet connectivity and the availability of hardware. These aspects are crucial for a smooth streaming experience.
Once you have both, let’s check if they meet the requirements. Here’s an explanation:
Internet Connectivity
It can be said that the internet is the top priority and investment when starting this career. Make sure you have sufficient bandwidth for gaming and live streaming simultaneously.
You can check your connectivity through the URL Speedtest to determine your internet speed, such as upload and download speeds on your Wi-Fi router. After that, check the recommended FPS and video quality settings for your chosen streaming platform, ranging from 480p, 720p, 720p 60FPS, 1080p, 1080p 60FPS, and so on.
Hardware
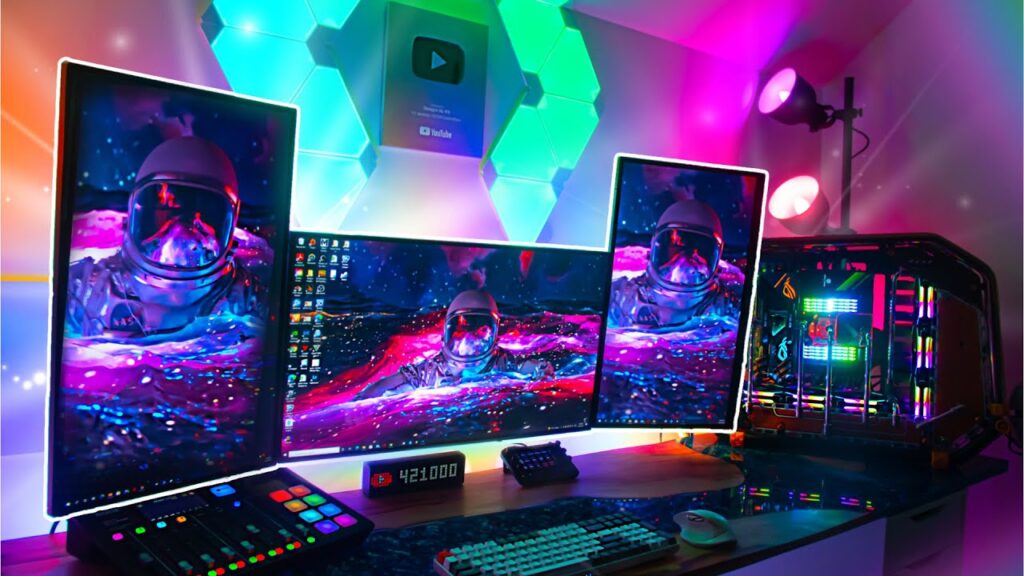
Next, check the hardware you have, specifically your PC. Can your computer handle live broadcasts while playing games?
The most important thing to remember about a streaming PC is to assemble it correctly to provide stable visuals to your audience, such as at 720p 30FPS.
Therefore, here are several components that your streaming PC should have to ensure smooth content creation without overburdening the computer for an extended period:
- Central processing unit (CPU)
- Motherboard
- Memory (RAM)
- Graphics Processing Unit (GPU)
- Storage
- Power supply unit (PSU)
- Cooling system
- Gaming peripherals
- Operating system (OS)
2. What is Encoding and How to Do It?
Encoding is the process of converting a video format into a digital format and sending it to platforms like Twitch or Kick for live streaming. The encoding process requires a webcam and audio hardware on your streaming PC.
Here are a few things you can do during the encoding or game streaming process on your chosen platform:
- Share your screen or display to broadcast the game you’re playing.
- Use external audio or video hardware.
- Use input devices from various cameras and audio sources simultaneously.
As an alternative, if you have difficulty using an encoder, you can use a webcam directly connected to your computer.
Note that if your streaming PC has a Radeon GPU, use the CPU for encoding. However, if your PC has an NVIDIA GeForce 10 series or above, use the GPU for encoding.
IfAs a beginner streamer, you want maximum video and audio quality, you can choose from several software or applications that facilitate the encoding process.
3. Game Streaming Applications
After you’re done building a game streaming PC, the next step is to choose your game streaming application or the broadcast software.
Here are some recommended software encoders that can maximize the quality of both internal and external webcams and audio. To ensure the best fit for your needs, it’s advisable to research each one beforehand.
The following list features popular software encoders used by famous streamers:
a. XSplit Gamecaster
- Works on Windows platforms.
- Aside from the free version, XSplit is user-friendly for streaming and recording gaming moments.
- It is suitable for novice streamers to stream games online.
b. Wirecast
- This software is commonly used for live streaming due to its user-friendly nature.
- Wirecast can be used on both Windows and Mac.
- Its operation is simple, with buttons like screenshots or adding titles available at a single click. You can even schedule live streaming or stream on live channels without leaving the application.
c. Streamlabs OBS
- Streamlabs OBS is arguably the most popular application among professional streamers.
- It is available on Windows OS and can also be operated via Android and iOS.
- This free software comes with advanced features that help novice streamers with live streaming, channel management, and monetization.
4. Tips for Setting Up Encoding to Start Live Streaming
The last part after building a game streaming PC and choosing the apps, is to optimized your settings.
If you’re starting your first live stream, here are the steps you need to follow:
- Enable the “Live Streaming” feature on your chosen platform, such as Facebook Gaming or YouTube.
- Install the software encoder on your streaming PC.
- Connect the software encoder to additional hardware, such as a webcam, microphone, external camera, or headset.
- Enter the server URL for the live streaming platform into your encoder.
- Done! The live broadcast will begin.
The software you use is ready to go. However, if you want to optimize your content according to your streaming PC, consider the recommended encoding settings below.
Tips for CPU Encoding Settings
Here are the settings you can adjust in your chosen software encoder:
- Set the output encoder to “x264”.
- Start with the CPU Usage Preset set to “faster”.
- If you experience bad performance, adjust one step faster.
- If you experience good performance, adjust one step slower.
Tips for GPU Encoding Settings on RTX or GeForce 16-Series
Here are the settings for RTX or GeForce 16-Series that you can adjust in your chosen software encoder:
- Set the output encoder to “NVIDIA NVENC H.264 NEW”.
- Set the preset to “Max Quality”.
- Set the profile to “High”.
- Enable “Look-ahead” if the content has “Low-Motion”.
- Enable “Psycho Visual Tuning”.
- Set “Max B-Frames” to 2. If your content has “low-motion,” set it to 4.
Tips for GPU Encoding Settings on GeForce 10-Series or Lower
Here are the settings for RTX or GeForce 10-Series or lower that you can adjust in your chosen software encoder:
- Set the output encoder to “NVIDIA NVENC H.264 NEW”.
- Set the preset to “Max Quality”.
- Set the profile to “High”.
- Disable “Look-ahead”.
- Enable “Psycho Visual Tuning”.
- Set “Max B-Frames” to 2.
Finally, you need to set the resolution and frames per second (FPS). For PC games, ideally, you should aim for 60 FPS.
For PC Windows, you also need to disable Windows Game Mode, as it reduces the performance of all non-game applications, including your live streaming content.
Conclusion
In conclusion, building a game-streaming PC doesn’t necessarily require a high-end setup, especially for beginner streamers.
All that famous streamers themselves started with standard devices and gradually upgraded their equipment as their content careers progressed. By optimizing the streaming PC you already have, you can provide a smooth streaming experience to your audience.
Maximize your Black Ops 6 rewards—Create highlights from your best gameplay with with Eklipse
Eklipse help streamer improve their social media presence with AI highlights that clip your Twitch / Kick streams automatically & converts them to TikTok / Reels / Shorts
🎮 Play. Clip. Share.
You don’t need to be a streamer to create amazing gaming clips.
Let Eklipse AI auto-detect your best moments and turn them into epic highlights!
Limited free clips available. Don't miss out!
