
Level Up Your Marvel Rivals Gameplay
Capture your epic wins, clutch moments, and even hilarious fails with Eklipse. Easily create and share highlight reels with your friends—even if you're not streaming!
Learn MoreDead by Daylight, a popular multiplayer (4vs1) horror game, has a massive following, with many players streaming their gameplay experiences on platforms like Twitch. You can use this opportunity to gain more audiences by creating your Dead by Daylight highlights and sharing them on social media.

Struggling to capture those heart-pounding Dead by Daylight escapes? Look no further! This guide will show you how to create epic highlights using an AI tool called Eklipse.
Step 1: Create Your Eklipse Account and Connect it To Your Twitch or YouTube
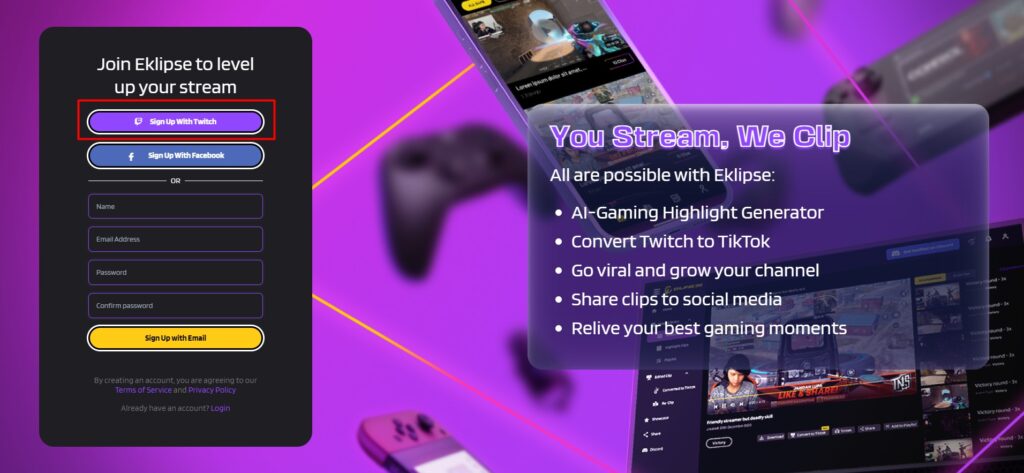
- Visit Eklipse.gg and sign up to create your Eklipse account.
- Click on the user profile icon
- Navigate to “Account Settings”
- Choose “Personal Details”
- Click the “Add Account”
Step 2: Stream on Your Twitch or YouTube and Get Your Dead by Daylight Highlights
Start streaming your Dead by Daylight gameplay on Twitch or YouTube. Set your game category to “Dead by Daylight” when streaming.
After each session, let Eklipse automatically scan your VODs for the most captivating moments and create highlight clips. Follow these steps:
- Ensure to set your Twitch or YouTube stream for the public so Eklipse can access your content.
- Go to “Clip” > “Streams”, where you’ll find a list of your past streams.
- Click the “Get Clip”
- Select “Dead by Daylight” as the game category
- Wait for a short moment, and your highlights will be ready automatically
Step 3: Convert your Content to TikTok/Shorts/Reels
Convert your Dead by Daylight highlight clips into TikTok, Shorts, or Reels formats to broaden your reach and engage with a wider audience.
Follow this step-by-step:
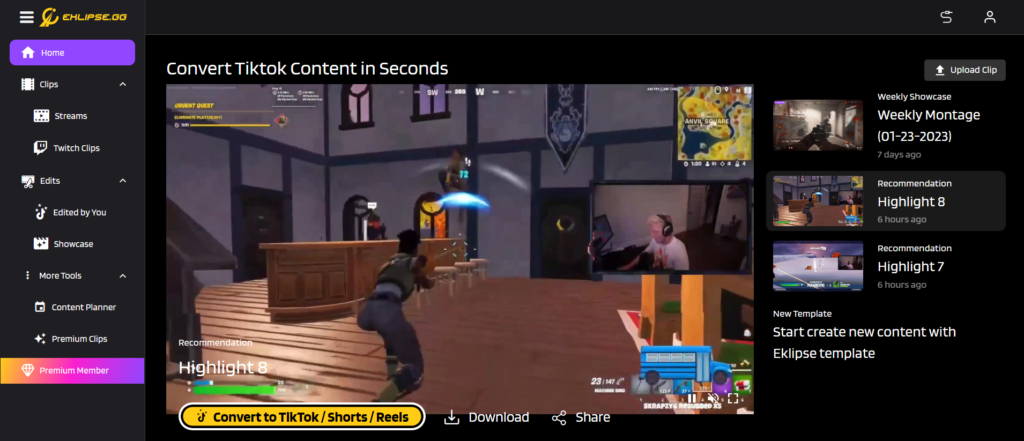
- Open “Clip” > “Streams”
- Choose one of your highlight clips
- Click the “Convert to TikTok/Shorts/Reels”
- Select a template that suits your style and preferences
- Adjust the face cam and gameplay area
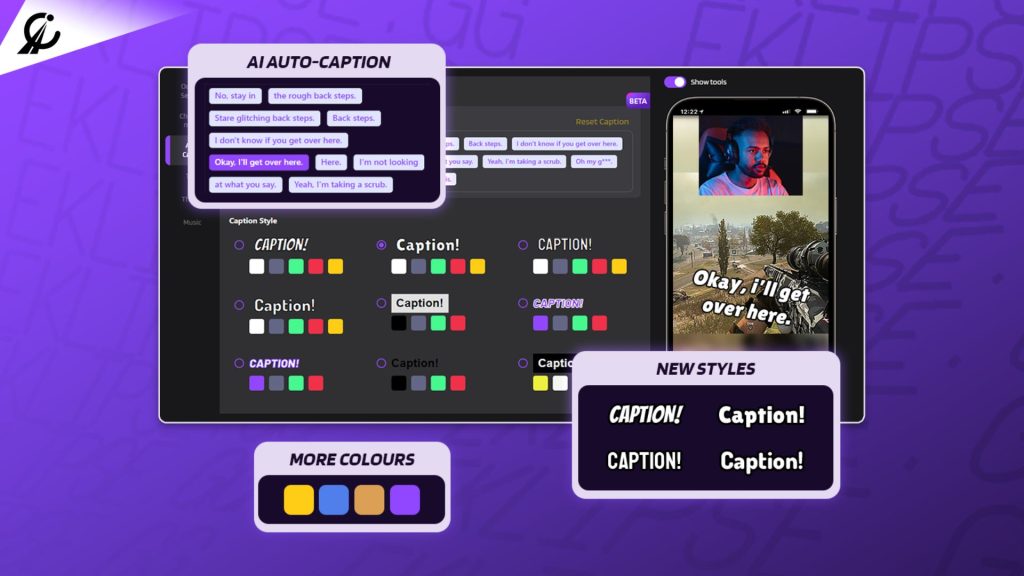
- Add text, channel name stickers, and auto-caption to enhance the visual appeal and accessibility of your content
- Click “Publish”
More on Eklipse Blog >>> Create Viral Short Clips from YouTube with Our New YouTube Video Highlights!
Final Thoughts
Creating Dead by Daylight highlights with AI-powered tools like Eklipse has never been easier. Follow this guide to efficiently capture the most exciting moments of your gameplay and share them across different platforms. Try Eklipse for free and watch your fanbase grow!
Maximize your Black Ops 6 rewards—Create highlights from your best gameplay with with Eklipse
Eklipse help streamer improve their social media presence with AI highlights that clip your Twitch / Kick streams automatically & converts them to TikTok / Reels / Shorts
🎮 Play. Clip. Share.
You don’t need to be a streamer to create amazing gaming clips.
Let Eklipse AI auto-detect your best moments and turn them into epic highlights!
Limited free clips available. Don't miss out!
