
Level Up Your Marvel Rivals Gameplay
Capture your epic wins, clutch moments, and even hilarious fails with Eklipse. Easily create and share highlight reels with your friends—even if you're not streaming!
Learn MoreLooking to learn how to use OBS Studio for to start your live streaming career?
In this guide, we’ll walk you through on the important aspect of the software and how to use it.
Let’s dive right in and discover the secrets to harnessing the full potential of this powerful tool.

Installing OBS Studio: Getting Started
Before we delve into the intricacies, let’s first get it up and running on your device. Follow these simple steps to install OBS Studio:
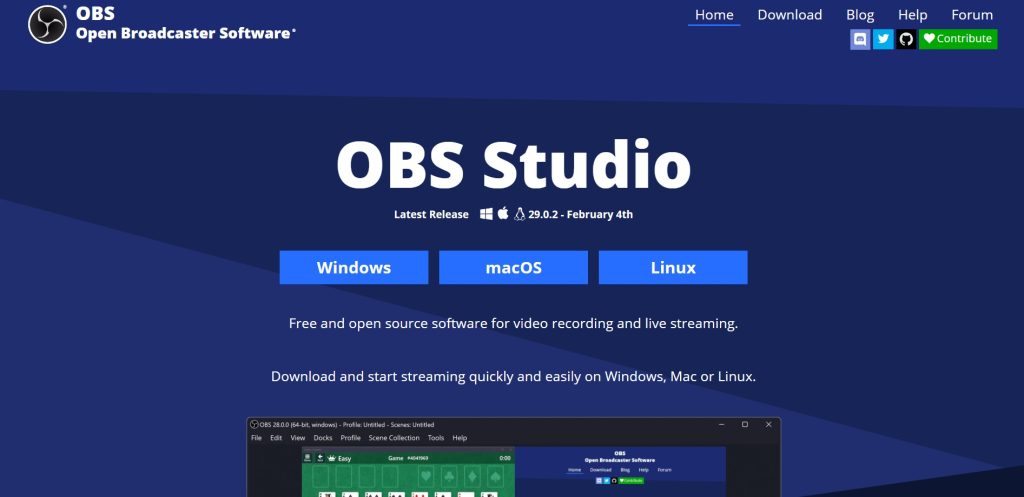
- Head over to the official OBS Studio website.
- Choose your platform: Windows, MacOS, or Linux.
- Download the installation file and run it.
- During the setup, you’ll have the option to include additional plugins for OBS. It’s generally recommended to leave these options unchecked.
- Once the installation is complete, you can launch OBS Studio from the installation window or via the new desktop icon.
Getting Acquainted with OBS Studio: Quickstart Guide
Now that you have OBS Studio installed, let’s explore the main features and functions you’ll need to familiarize yourself with.
Don’t worry if it seems overwhelming at first – this software is designed to be user-friendly. Here are the key elements you’ll encounter:
1. Auto-Configuration Wizard
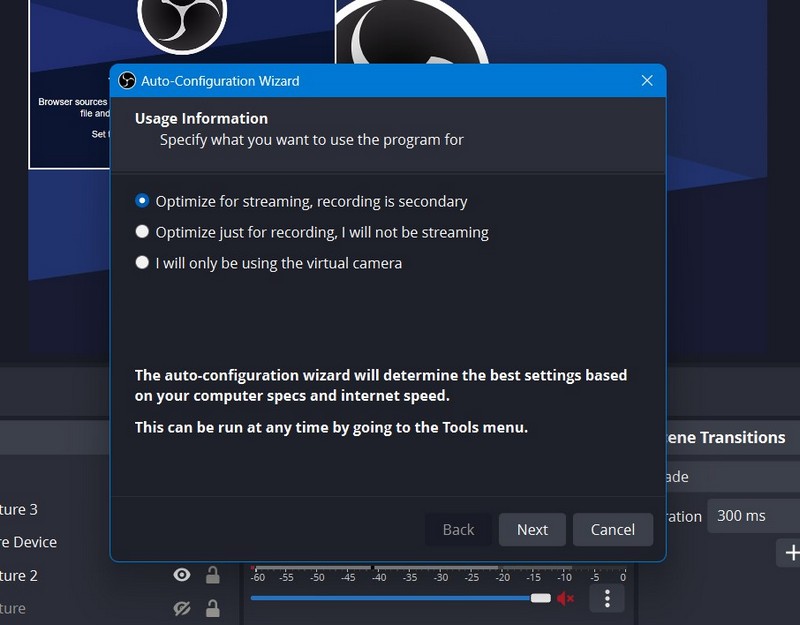
When you launch OBS for the first time, you’ll be greeted by the Auto-Configuration Wizard.
This tool automatically tests your system and applies the optimal settings tailored to your device. It’s the quickest way on how to set up OBS. You can access the wizard anytime from the Tools menu and fine-tune the settings later if needed.
2. Scenes
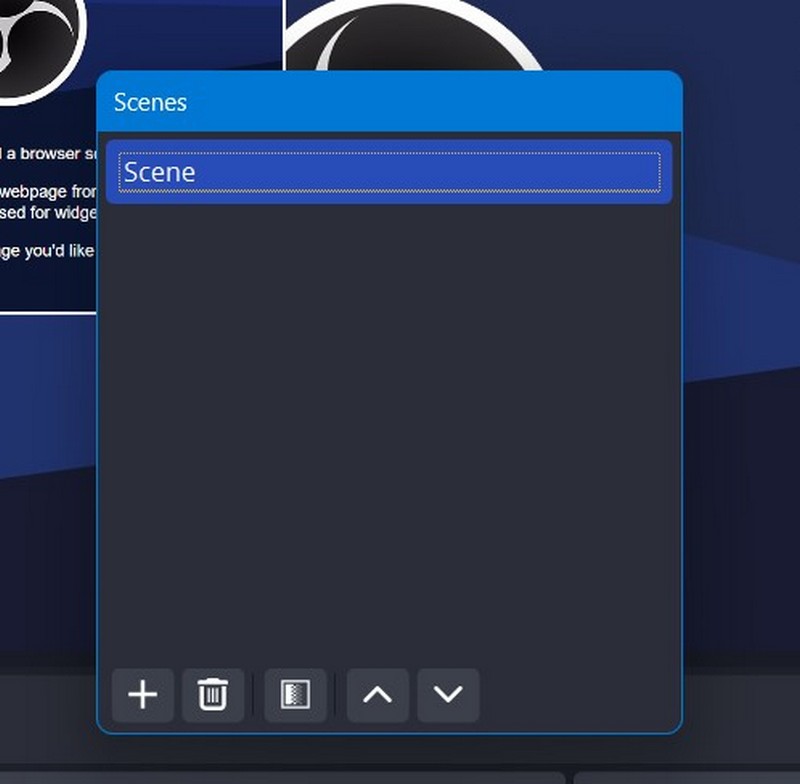
A scene is a combination of video and audio layers (sources) that you capture. By adding different layers to your scene, such as a webcam input, a microphone input, and a screen capture, OBS Studio seamlessly combines and streams them together. You can manage scenes by deleting, renaming, or adding new ones.
3. Audio and Video Sources
OBS typically uses your default audio input and output sources. You can check the audio levels in the Audio Mixer section and manually select your audio sources in the Settings menu.
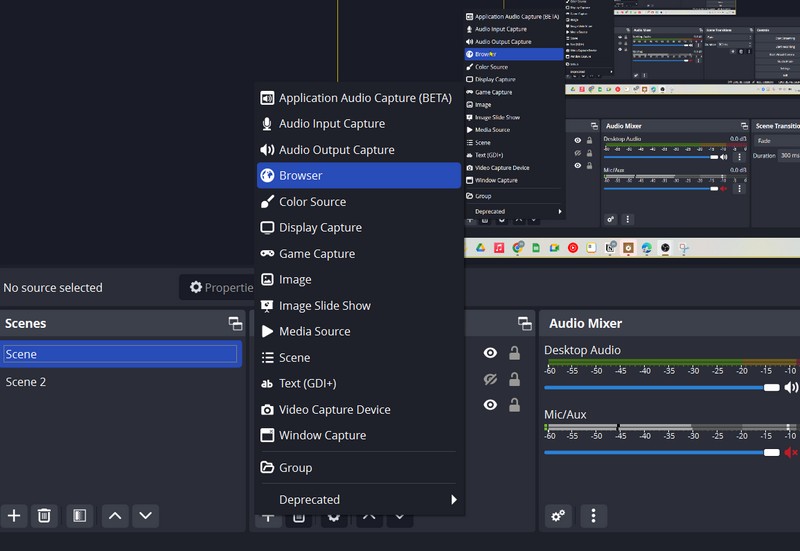
For video sources, you’ll need to add them manually using the Sources box. This software offers various options, such as Game Capture, Window Capture, Video Capture Device, Browser Source, and more.
Enabling a video capture device can be one of the ways how to use an OBS virtual camera.
4. Layers
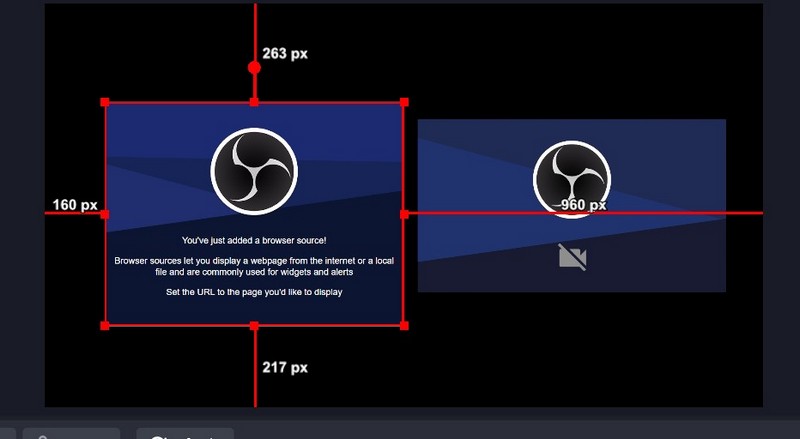
The layers system in OBS Studio allows you to capture multiple video sources for your stream.
Each added video source occupies a different layer, which gives you flexibility in creating output combinations. The highest layer in your Sources list will be displayed on top of the others. You can rearrange layers by dragging and dropping them inside the Sources box.
5. Filters and Effects
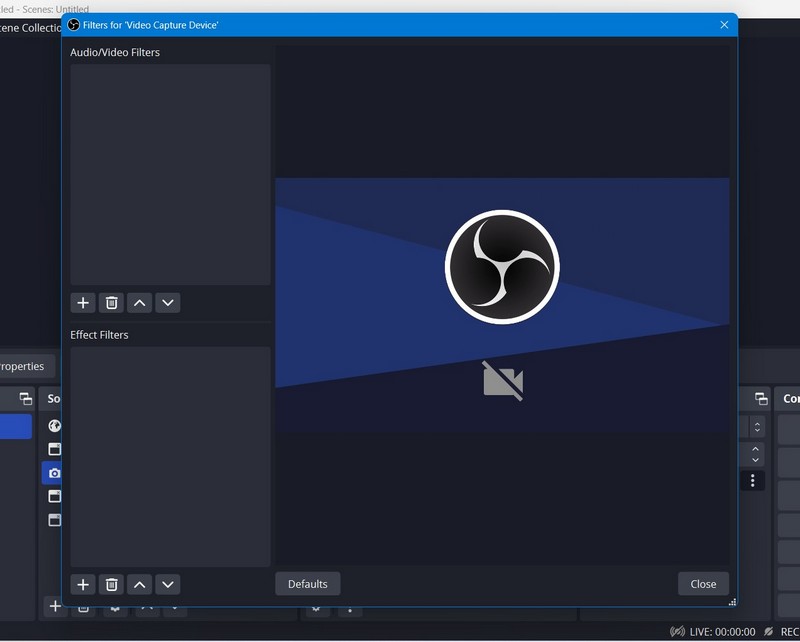
You can enhance your audio and video sources by applying filters and effects. Right-click on a source and choose “Filters” to access a range of options.
For audio, you can apply compression, adjust gain, add noise gates, and utilize VST plugins.
Video sources offer features like Chroma Key that can erase green screen easily, Scaling/Aspect Ratio, Crop filters, and more. You can even install custom plugins for additional filter options.
6. Studio Mode
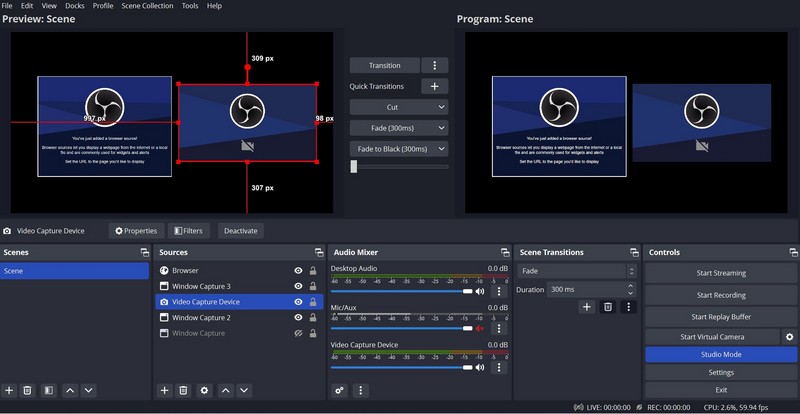
One of the standout features from Open Broadcasting Software is Studio Mode. By clicking on the Studio mode button, you’ll enter a split-screen mode where you can modify scenes in real-time.
The left screen serves as your editing workspace, while the right screen displays the live view for your audience. Studio mode enables seamless transitions and scene editing while you’re streaming.
Streaming and Recording with OBS Studio
Now that you’re familiar with the basic features of OBS Studio, let’s explore how you can start streaming and recording your content.
How to Start a Live Stream
OBS Studio allows you to stream directly to a single streaming platform. If you want to stream to platforms like Twitch, follow these steps:

- Open OBS Studio and go to Settings.
- Click on the “Stream” tab.
- In the “Service” drop-down list, choose the streaming platform you want to use, such as Twitch.
- Obtain your Stream Key from the platform’s settings or use the “Get Stream Key” button within OBS Studio.
- Paste your Stream Key into the designated field in OBS Studio.
- Click “Apply” and then “OK” to save your settings.
- To start streaming, click the “Start Streaming” button located at the bottom right of the OBS Studio interface.
How to Record with OBS Studio
In addition to streaming, OBS Studio also allows you to record your video content. Follow these steps to start recording:
- Locate the “Start Recording” option below the Start Streaming button in OBS Studio.
- Click on the “Start Recording” button to begin recording your session.
- To stop recording, click the same button again.
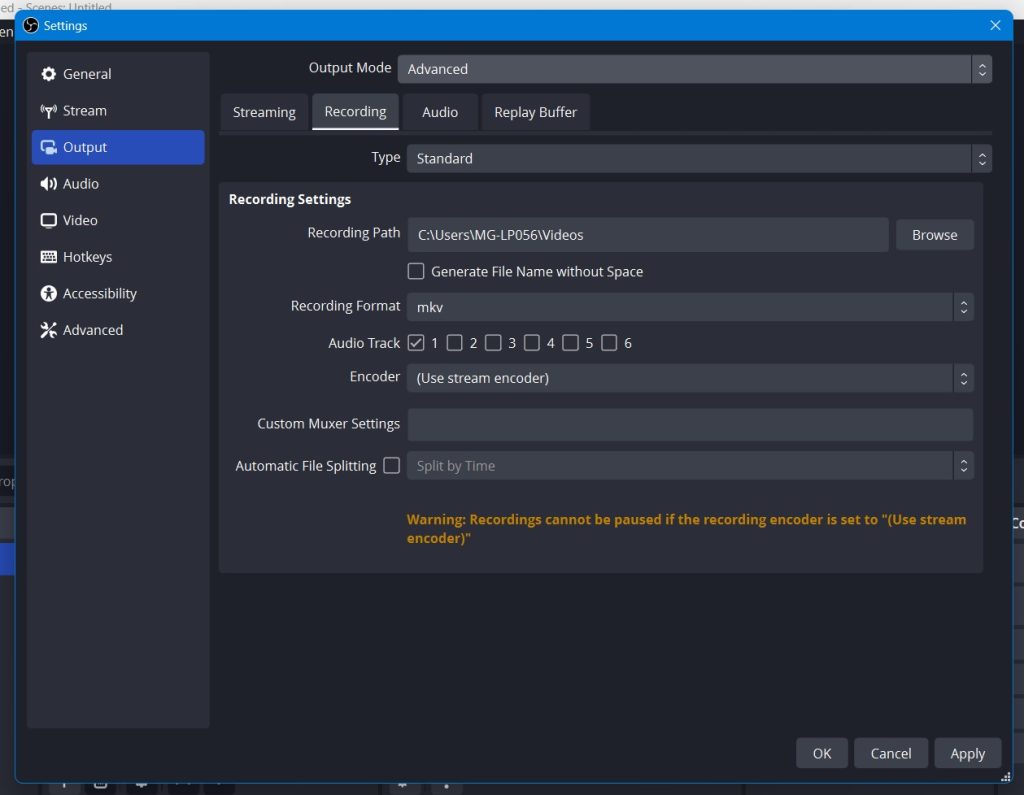
- By default, OBS Studio saves recordings to the Video folder in your main documents. However, you can customize the recording path and adjust the quality settings in the Output tab of OBS Studio’s settings.
When recording with OBS Studio, you have the option to maintain the original stream quality or choose a higher or lower quality, depending on your computer’s resources.
OBS Studio supports up to 6 audio tracks for later editing. It’s recommended to use the MKV recording format because it allows for multiple tracks and offers resilience in case OBS crashes unexpectedly.
Conclusion
OBS Studio is a powerful and free live streaming software. It offers user-friendly installation, auto-configuration, and a range of tools to manage audio and video sources.
With OBS Studio, you can stream to multiple platforms, record your streams, and unleash your streaming potential. Start your streaming journey with OBS Studio today!
Next Step After Setting Up your OBS
Now you’ve successfully streamed your gameplay using OBS on platforms like Twitch, YouTube, Facebook Gaming, or Kick. That’s a great achievement, but what’s the next step?
Don’t stop there, time to grow on social media with Eklipse.
Eklipse is an AI highlight generator that automatically clips your livestream content and transforms it into captivating TikTok videos. Don’t miss out on the opportunity to expand your streaming brand!
Visit Eklipse.gg to discover more and sign up for free!
Maximize your Black Ops 6 rewards—Create highlights from your best gameplay with with Eklipse
Eklipse help streamer improve their social media presence with AI highlights that clip your Twitch / Kick streams automatically & converts them to TikTok / Reels / Shorts
🎮 Play. Clip. Share.
You don’t need to be a streamer to create amazing gaming clips.
Let Eklipse AI auto-detect your best moments and turn them into epic highlights!
Limited free clips available. Don't miss out!
