
Level Up Your Marvel Rivals Gameplay
Capture your epic wins, clutch moments, and even hilarious fails with Eklipse. Easily create and share highlight reels with your friends—even if you're not streaming!
Learn MoreLooking to improve your live streaming setup with OBS Studio? OBS plugins for streaming can significantly enhance your experience. As an open-source broadcasting tool, OBS Studio allows you to customize its features with a variety of plugins. However, choosing the right ones can be a challenge with so many options available.
Best OBS plugins as aitum vertical plugin, streamfx, freedx, waveform, rtpm plugin for multistream or Downstream keyer. To help you navigate this, we’ve researched and compiled a list of the top seven plugins.
1. OWN3D Pro OBS Plugins
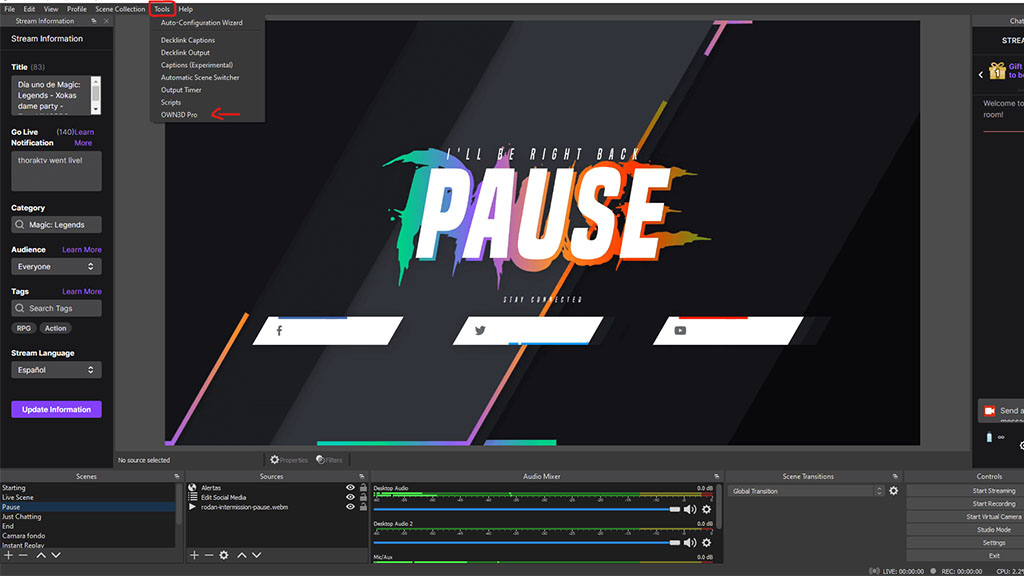
OWN3D Pro OBS Plugins is a comprehensive tool offering over 400 high-quality assets for OBS users. It features animated designs tailored to your mood, game, season, or holidays, enhancing the visual appeal of your streams.
With Twitch Alerts, over 200 alert designs, and sounds, as well as integration with Twitch Chatbot, Stream Labels, and 400+ Premium Overlays, OWN3D Pro makes stream customization easy. You can find the OBS multi stream plugin and download the OBS plugins from the official OWN3D website, OBS Forums, or GitHub page.
Pros:
- All-in-one solution with a wide range of high-quality assets
- Offers a variety of features to enhance the visual aspects of streams
- Easy to use with 1-Click installation
- Compatible with OBS 28
- Available in multiple languages: English, German, Spanish, Portuguese, and French
Cons:
- Some users may find the number of options overwhelming
- Requires a stable internet connection for optimal performance
- The free version has limited features
How to Use:
- Connect your Twitch account with OWN3D.pro
- Log into your Dashboard
- Copy your license key
- Download the free OWN3D Pro OBS Plugin
- Start OBS Studio, open the plugin
- Enter your License key
- Download your preferred designs or alerts and configure countdown, donation page, and more.
More on Eklipse Blog >>> How to Stream on Kick Using OBS Studio: Ultimate Guide in 2024
2. OBS.Live Plugin by StreamElements
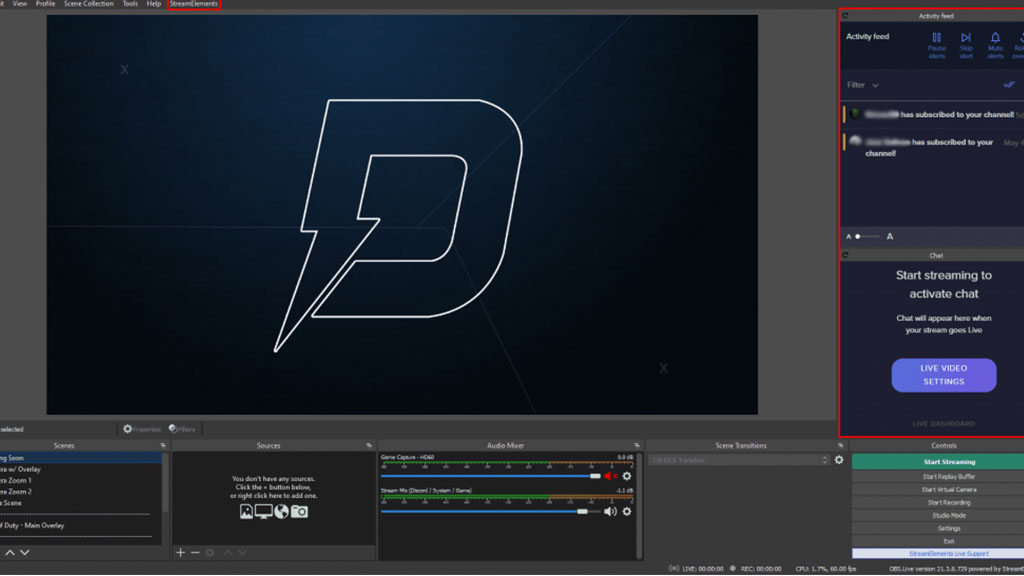
OBS.Live Plugin by StreamElements is a powerful tool designed to enhance the streaming experience. It’s best for streamers who want to manage their streams effectively and engage their audience more interactively.
OBS.Live is a plugin for OBS Studio that seamlessly integrates StreamElements features, helping you manage your streams efficiently. It’s the quickest and simplest way to enhance your streaming experience.
You can easily find and OBS plugin download from the official StreamElements website for a streamlined setup.
Pros:
- Offers support for plugins to create a more unique stream
- Provides an online overlay editor
- Allows for a more customizable layout with freely movable docks
- Enables easy and convenient setup
- Offers integrated stream setup for platforms like Facebook, YouTube, and Trovo
Cons:
- Fewer users means less help and support
- It can be difficult to master layouts and overlays
- Requires OBS Studio for functionality
How to Use:
- Head to the StreamElements’ OBS.Live website and download the plugin
- Install the plugin and open OBS Studio
- Log into your StreamElements account or your preferred streaming platform
- Once installed and opened, you’ll see that OBS now has the Activity Feed and Chat as an OBS Dock. You can customize your layout to suit your preferences
- You can integrate your alerts and overlays with StreamElements by using the themes gallery or the overlay manager. Customize them on the StreamElements dashboard and add them as browser sources in OBS.Live
- Explore the other features of StreamElements, such as the chatbot, the modules, the tipping page, and the loyalty system
3. StreamFX Plugin by Xaymar

StreamFX is a plugin for OBS Studio developed by Xaymar. It’s designed to take your stream or recording to the next level by adding many new effects, filters, sources, transitions, and encoders.
StreamFX is a collection of features that extends from OBS Studio, replacing no original OBS Studio functionality. It provides a range of effects from simple ones like Blur, all the way to advanced effects like Shaders.
This allows users to achieve higher complexity and more fancy scene layouts in OBS Studio. You can find the StreamFX plugin on the official GitHub page.
Pros:
- Adds many new effects, filters, sources, transitions, and encoders to OBS Studio
- Allows for higher complexity and more fancy scene layouts
- Provides both simple and advanced effects
- Extends from OBS Studio, replacing no original OBS Studio functionality
- Has a large user base, making it easier to find help and tutorials
Cons:
- Some users have reported that it can be complex to use
- Requires a certain level of technical knowledge to fully utilize
- Some features may not be stable and can cause issues
How to Use:
- Get the plugin from the official GitHub page.
- Follow the instructions on the GitHub page to install it.
- Make sure you have the latest version of OBS Studio.
- Right-click on a source in OBS Studio, select ‘Filters’, and add the new effects from StreamFX.
- Use 3D transform for depth, blur for focus, and explore masking and shaders for more effects
4. VST Plugins
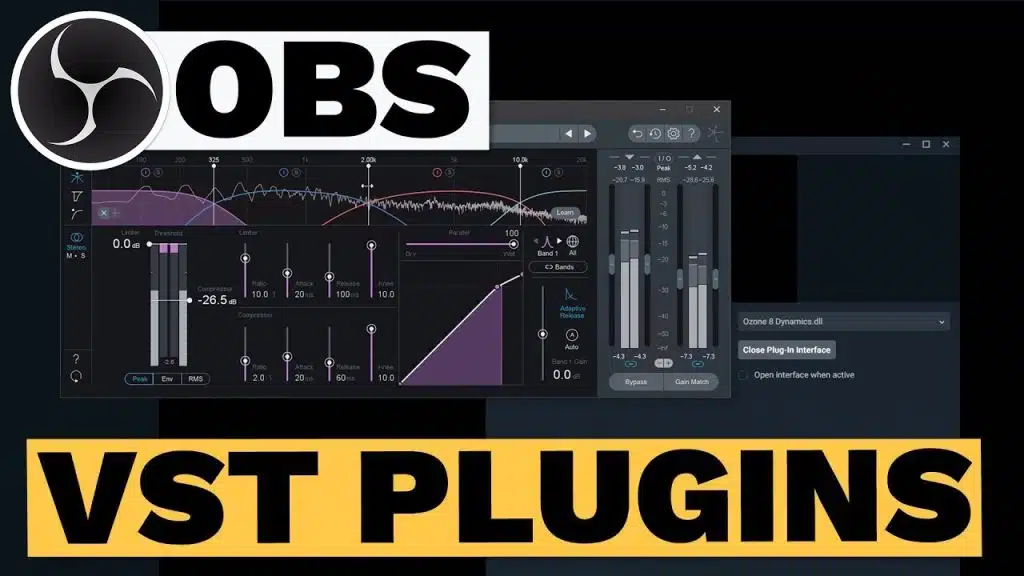
The VST Plugin is perfect for improving your audio quality overall. It comes with several control features such as compression, microphone EQ, and control background noise. This plugin is ideal for those looking to enhance their stream’s audio quality.
VST plugins can be found across various platforms, such as official websites, and online retailers.
Pros:
- Reduce the need for expensive hardware equipment.
- Eliminate the physical space required for multiple instruments and effects units.
- Unlimited potential for sound design and experimentation.
- A vast community of users and developers ensures constant updates and help.
- Make high-quality production accessible to anyone with a computer.
Cons:
- It can be demanding on computer processing power.
- Some plugins have complex features that require time to master.
- The sheer number of available plugins can be overwhelming.
How to Use:
- Download the VST plugin and install it on your system. Ensure it’s compatible with your DAW.
- Open your DAW and locate the plugin manager or preferences.
- Add the VST plugin to your DAW’s list of available plugins.
- Insert the VST plugin onto a track or channel in your DAW. You can then adjust settings and parameters to achieve the desired sound or effect.
More on Eklipse Blog >>> How To Mute Discord On OBS Studio: 3 Solutions to Try
5. OBS Websocket
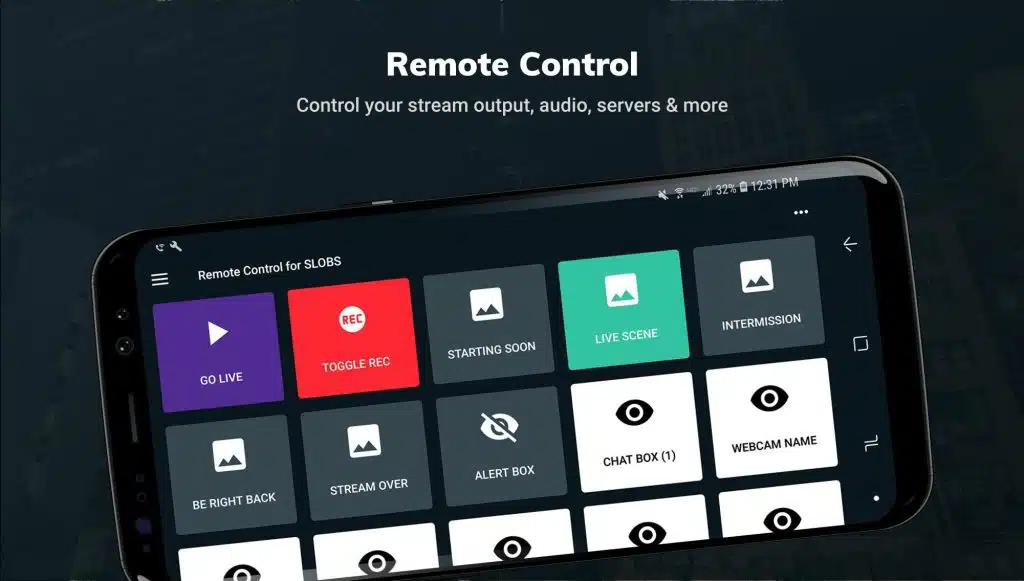
OBS Websocket is a powerful plugin that revolutionizes how users control OBS Studio, enhancing the streaming experience. It’s perfect for gamers, educators, and event broadcasters who require real-time control over their setup.
This plugin allows remote management of OBS Studio from any device on the same network, offering unmatched flexibility. You can find OBS plugins for Windows on the OBS Project forum, and for OBS Studio version 28 and above, the plugin is included by default, making it one of the best OBS plugins for streaming. For free downloads, explore OBS plugins for streaming free download options.
Pros:
- Enables remote management of OBS Studio.
- Offers a WebSocket RPC API for advanced control.
- Included by default in OBS Studio from version 28 onwards.
- Supports cross-platform use on Windows, Mac OS X, and Linux.
- Facilitates real-time control and automation of streaming setups.
Cons:
- Not optimized for streaming audio and video data
- Does not automatically recover terminated connections
- It may be blocked by certain corporate networks or environments
How to Use:
- If you’re using OBS Studio version 27, you can download the OBS Websocket plugin from the official OBS Project forum. For version 28 and above, the plugin is included by default.
- Once installed, you can configure the plugin by going to the ‘Tools’ menu in OBS Studio and selecting ‘obs-websocket Settings’.
- Here, you can set up the WebSocket server settings, including the port number and authentication password.
- To connect to OBS Websocket, use client software or libraries that support the plugin’s protocol. You can find a list of compatible clients on the OBS Project forum.
- With the plugin configured, you can control OBS Studio remotely. This includes starting or stopping your stream, changing scenes, toggling the visibility of scene items, and adjusting audio source volumes.
6. OBS NDI Plugins
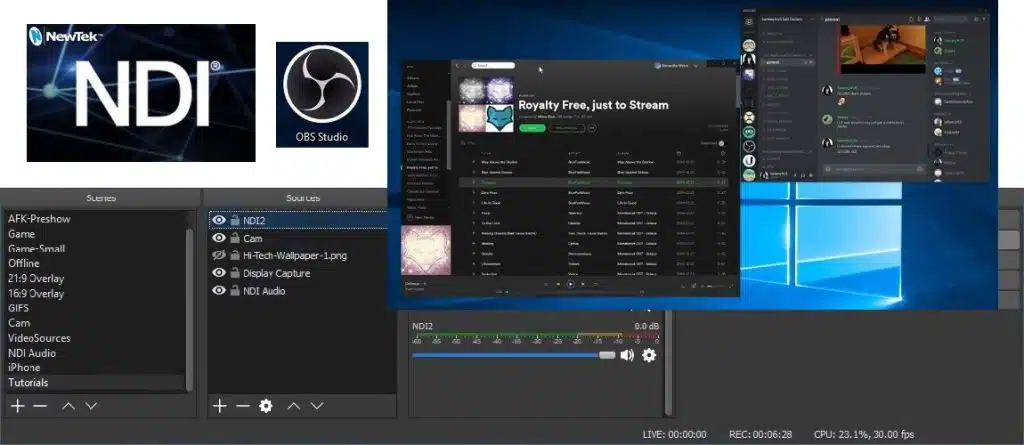
The OBS NDI Plugins are a game-changer for live streamers and broadcasters looking for a seamless video and audio integration solution.
OBS NDI Plugins offer a robust set of tools. Whether you’re a professional broadcaster or a passionate gamer sharing your playthroughs, these plugins can elevate your production value without the need for complex setups or expensive hardware.
The OBS NDI Plugins can be found on the OBS Project forum and GitHub. The latest version as of now is 4.13.0, and it requires OBS Studio version 30.0.0 or higher12. You can download the plugin and find detailed installation instructions on these platforms.
Pros:
- Enables high-quality audio and video streaming over IP.
- Simplifies the process of adding and managing sources in OBS.
- Reduces the need for physical hardware, lowering overall setup costs.
- Supports a wide range of NDI-compatible devices and applications.
- Facilitates real-time production with low latency, crucial for live events.
Cons:
- Requires a stable and high-bandwidth network to function optimally.
- It may introduce complexity for users unfamiliar with networking concepts.
- Limited to local network use, not suitable for remote production scenarios.
How to Use:
- Download and install the OBS NDI plugin from the OBS forums or GitHub. Ensure you have the NDI 5.0 Runtime installed on your system as well.
- In OBS, select the plus button in the sources menu and choose ‘NDI Source’. You can then name the source and select from available NDI sources on your network.
- Use the ‘NDI Output Settings’ in the Tools menu to send your main or preview output over NDI. You can also apply a special NDI filter to any source to create a dedicated NDI output.
- Once configured, your NDI sources will be discoverable on your local area network, ready for streaming or broadcasting.
7. OBS Closed Captioning Plugins

The OBS Closed Captioning Plugin stands out for its seamless integration with OBS Studio, allowing streamers to offer closed captions that are optional for viewers and work across various platforms, including live streams and VODs on PC, Android, and iOS.
It’s designed to be fully optional for viewers, ensuring that the captions only appear when the microphone source is unmuted and active, thus maintaining the stream’s integrity and privacy.
The OBS Closed Captioning Plugins can be found on the official OBS resources page and the GitHub repository dedicated to the plugin.
Pros:
- Enhances stream accessibility for the deaf and hard of hearing.
- No additional tools or websites are required for operation.
- Supports captioning all stream audio, not just a single source.
- Works live and in VODs, with no Twitch extension required.
- Text filtering with custom word and phrase removal and replacement.
Cons:
- Does not work with Streamlabs OBS as it doesn’t support third-party plugins.
- Does not support native caption output for languages with non-western character sets.
- Some users report issues with the output to text files not functioning properly.
How to Use:
- Download the plugin from the OBS resources page or the plugin’s GitHub repository.
- Install the plugin by placing the downloaded files into the OBS Studio’s installation folder.
- Restart OBS Studio and navigate to the ‘Tools’ menu to find the ‘Cloud Closed Captions’ option.
- Configure the plugin settings, such as selecting the audio source for captioning, setting the language, and adjusting the output options.
- Enable the ‘Captioning Enabled’ checkbox to activate the plugin.
- Start your live stream or recording, and the captions will appear based on the audio captured by the selected source.
Final Thoughts
OBS plugins for streaming provide streamers with endless ways to enhance their broadcasts. These plugins offer everything from captivating overlays and effects to seamless closed captions and professional audio, helping create a more immersive experience for viewers.
To elevate your streams, visit the OBS Studio website to explore a wide selection of plugins that suit your needs. For turning your streams into viral content, sign up for a free account on Eklipse.gg and let its AI assist in creating engaging clips.

🎮 Play. Clip. Share.
You don’t need to be a streamer to create amazing gaming clips.
Let Eklipse AI auto-detect your best moments and turn them into epic highlights!
Limited free clips available. Don't miss out!
