Engaging with your audience is crucial for building a successful Twitch channel, and understanding who is watching your Twitch stream can significantly enhance this engagement. This guide will help you navigate Twitch’s built-in features and third-party tools to identify your viewers, along with strategies to improve viewer interaction. Read more.

Accessing Viewer Count

The simplest way to know how many people are watching your Twitch stream is by checking the Viewer Count. This number represents the total viewers tuned into your stream, regardless of whether they’re active in the chat or watching anonymously.
How to View Your Viewer Count:
- Open your Twitch Creator Dashboard.
- Navigate to the Stream Manager tab.
- Locate the Viewer Count widget, typically displayed at the top of the page.
This count updates in real-time, giving you a quick snapshot of your audience size.
Viewing Users in Chat
While the Viewer Count provides an overview, you can also see specific usernames of viewers who are logged into their Twitch accounts and connected to your chat.
Steps to View the Chat List:
- Open your Twitch stream page.
- Click on the User Icon (represented by three horizontal lines) located at the bottom of the chat panel.
- Review the list of users, which includes:
- Broadcaster: That’s you.
- Moderators: Any assigned mods.
- Chat Participants: Viewers actively or passively connected to the chat.
Keep in mind that not all viewers will appear in this list, as it only includes those logged into their Twitch accounts.
Using Third-Party Tools
For deeper insights into your audience, consider using third-party tools like Streamlabs, Nightbot, or SullyGnome. These platforms offer analytics and features that go beyond Twitch’s native tools.
Benefits of Third-Party Tools:
- Streamlabs: Displays chat activity and engagement metrics.
- Nightbot: Tracks chat logs and viewer interactions.
- SullyGnome: Provides detailed analytics on viewer behavior and stream performance.
Integrating these tools into your Twitch setup can help you understand your audience’s preferences and improve your streaming strategy.
Understanding Viewer Metrics
Beyond knowing who’s watching, analyzing viewer metrics is vital for channel growth. Metrics like average viewers, chat activity, and stream duration provide a clear picture of how your content performs.
Key Metrics to Monitor:
- Average Viewers: Tracks the typical audience size during your streams.
- Unique Viewers: Counts distinct individuals who watched your stream.
- Chat Messages: Measures engagement and interactivity.
Access these metrics via Twitch’s Channel Analytics in the Creator Dashboard. Use the insights to refine your content and scheduling strategies.
Best Practices for Viewer Engagement
To maximize your Twitch channel’s potential, focus on engaging with your viewers, whether they’re active in chat or silently watching.
Tips for Engagement:
- Acknowledge Viewers: Greet new chat participants and thank regular viewers by name.
- Ask Questions: Encourage viewers to share their thoughts or answer polls.
- Create Interactive Content: Use games, challenges, or live Q&A sessions to spark interaction.
- Encourage Chat Participation: Remind silent viewers they’re welcome to join the chat.
Building a strong rapport with your audience not only enhances the streaming experience but also fosters loyalty and channel growth.
Final Thoughts
Understanding and engaging with your Twitch audience is key to creating a thriving community. By using Twitch’s built-in features, leveraging third-party tools, and focusing on viewer engagement strategies, you can connect with your viewers more effectively and elevate your streaming experience.
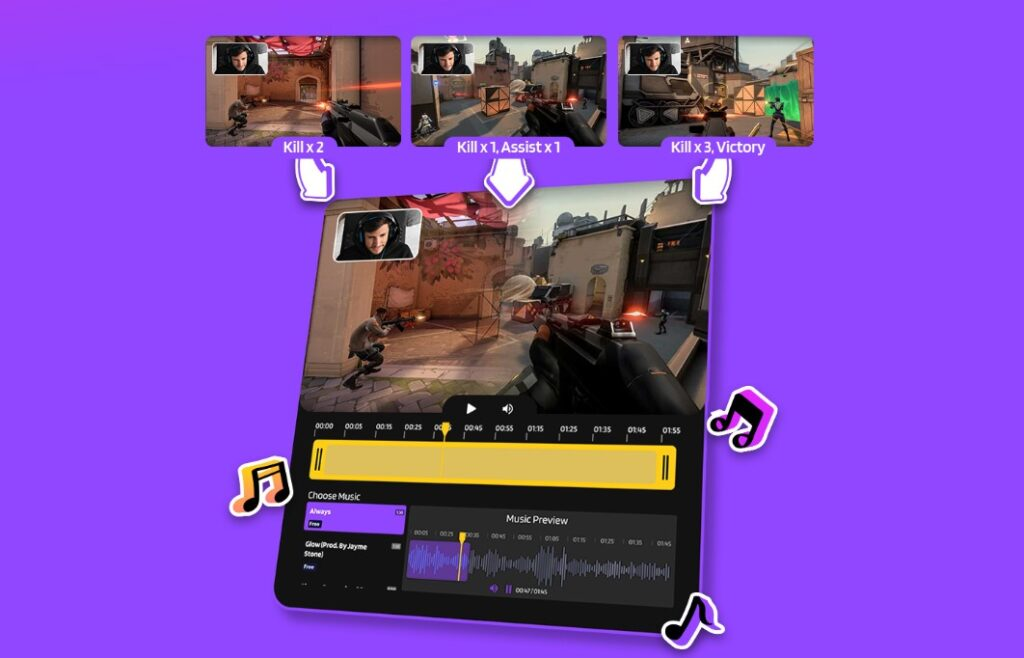
Ready to enhance your content further? Consider using Eklipse, an AI-powered video editing tool that helps you turn your best stream moments into shareable highlights. Subscribe to Eklipse today and take your Twitch channel to the next level!


")