If you’re curious about tracking how long you’ve followed a streamer or your viewers have followed you, Twitch offers a handy solution. Learning how to set up followage commands on Twitch allows users to access this information effortlessly. This feature enhances engagement by showcasing follower loyalty and interaction history.
To enable followage commands, you can use tools like Nightbot or the Streamlabs Twitch chatbot. These platforms provide simple methods to integrate the feature into your channel. Whether you’re a streamer or an enthusiastic viewer, adding followage commands enriches the Twitch experience by making follower milestones easy to track.
1. Using Nightbot
Nightbot is a dynamic chatbot tailored for streamers on Twitch and YouTube, streamlining live chat management. It automates essential tasks, allowing creators to focus on audience engagement instead of moderating interactions.
- Visit the Nightbot website and click on “Login.”
- Choose “Login with Twitch” and provide your Twitch credentials.
- Once you’re on the Nightbot dashboard, click on “Join Channel” to give Nightbot access to your Twitch channel. If you’re already using Nightbot and see “Part Channel,” skip this step.
- Select “Commands” from the left panel and then choose “Custom.”
- In the channel commands window, click on “+Add Command.”
- Type “!followage” in the designated command field.
- In the “Message” section, enter the following command response: !commands add !followsince $(urlfetch https://2g.be/twitch/following.php?user=$(touser)&channel=$(channel)&format=mwdhm
- Click “Submit.”
You can customize additional settings, such as setting a cooldown to prevent chat spamming, from this window.
Sign up and level up your game!
Sign Up
To enable Nightbot as a moderator for your Twitch chat, follow these steps:
- Open Twitch and log in to your account.
- Click on your profile picture in the top right-hand corner and select your channel.
- Go to the Chat section.
- In the chatbox, type “/mod nightbot.” This action adds Nightbot as a moderator for your chat.
Nightbot is now successfully set up as a moderator, and your viewers should be able to use the followage command. You can test the command yourself by typing “!followage” in the chat.
Keep in mind that it will display a message stating that you’re not following, as you can’t follow your own channel.
More on Eklipse Blog>>> Nightbot Commands Every Twitch Streamer Should Know
2. Using Streamlabs Cloudbot
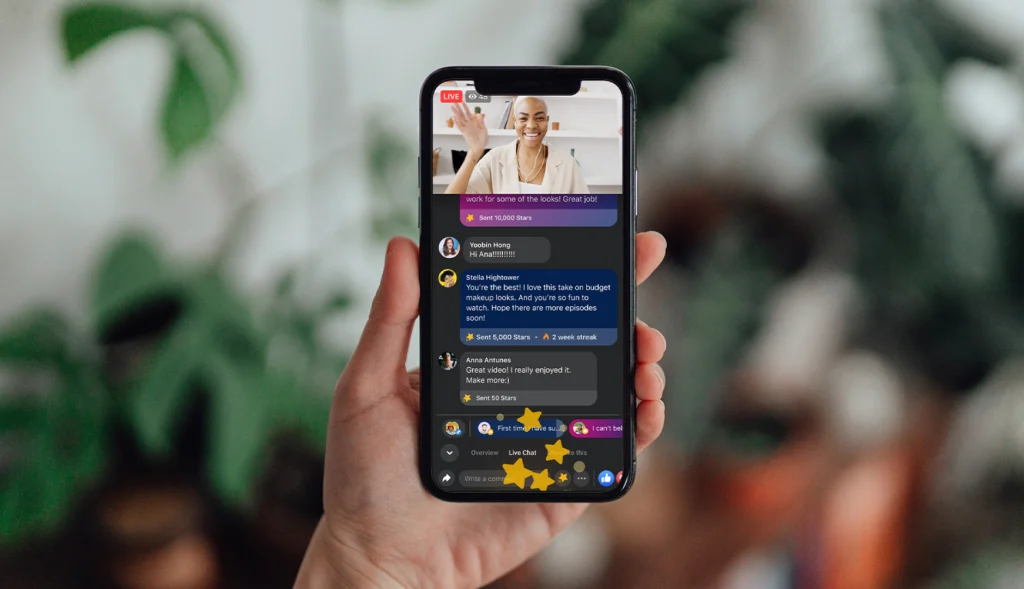
Streamlabs Cloudbot is a cloud-powered chatbot that improves the streaming experience for creators on Twitch, YouTube, and Facebook. It offers tools to automate chat moderation, enhance viewer engagement, and boost stream interactivity.
- Set your Streamlabs Dashboard to Twitch
- From your Streamlabs Dashboard, go to the left side of your screen and click on Cloudbot.
- Go to the Cloudbot screen, enable it by clicking the toggle.
- Under the “Commands” tab, select “Custom,” and then click on “Add Command.”
- A window will appear with a dropdown of command templates. Scroll down to find “!followage,” click on the command, and select “Confirm.”
- After confirming the followage command, you will see a window displaying your active custom commands. You can make edits or delete commands from this window.
That’s it! The “!followage” command is now set up and ready for you and your viewers to use.
3. Using StreamElements
StreamElements is an all-in-one platform built to improve live streaming for creators on Twitch, YouTube, and Facebook Gaming. It offers tools for managing streams, boosting viewer interaction, and increasing monetization opportunities.
- Make StreamElements a MOD in your channel.
- Go to Profile Picture > Creator Dashboard > Chat Box.
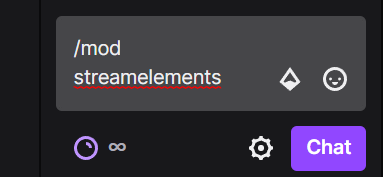
- Type /mod streamelements in the chat box > chat.
- Go to Streamelements.com > Chat Bot > Chat Commands.
- Scroll down until you see !followage.
- See if the followage commands is on or off. If it’s disabled, just turn it on.
- After enabling the command, check if it’s working by heading over to your Twitch channel and type !followage in the chat box.
- You should then see streamelements return the information.
More on Eklipse Blog>>> Streamlabs vs StreamElements – Which One is Best
What are Twitch Followage Commands

A followage command on Twitch allows viewers to find out how long they’ve been following a streamer by typing “!followage” in the chat box.
From a streamer’s perspective, knowing the followage of their viewers is a great statistic to have.
It gives them a reason to acknowledge and appreciate their loyal fans. For viewers, the followage command serves as an easy way to show their support and dedication to a creator’s content.
FAQ About Twitch Followage Commands
1. How do you use Followage command?
As the name suggests, a followage command is a way for viewers to figure out how long they’ve been following a streamer by typing “! followage” in the chat box.
2. How do I see my followage on Twitch?
Enter your Twitch username in the input box provided. You will then be able to view all of your follows, along with their respective follow length and follow date.
3. What if !followage command not working?
There might be some changes with the Twitch API. You can try to find an alternative API.
More on Eklipse Blog>>> How Much RAM Do You Need for Kick Streaming? A Guide
Final Thoughts
Integrating followage commands into your Twitch channel is simple with tools like Streamlabs Cloudbot or Nightbot. Understanding how to set up followage commands on Twitch allows you to create a more interactive and engaging experience for your audience.
Displaying how long viewers have supported your channel builds a stronger sense of community and appreciation. Try adding this feature today to enhance audience connections and showcase loyalty effortlessly.
Want More Twitch Followers?
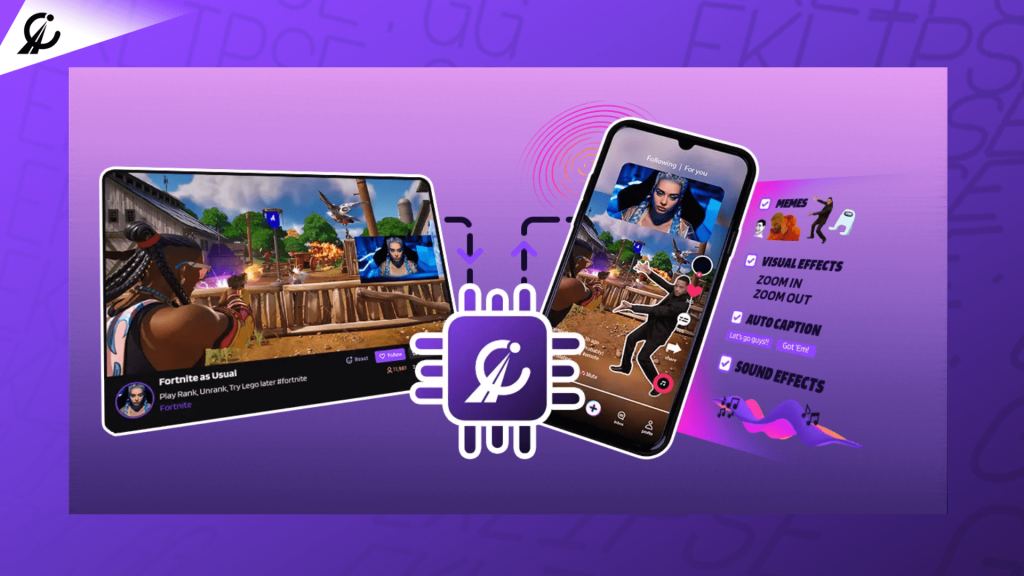
But that’s not all! If you’re looking to grow your presence on social media platforms like TikTok, you should try a tool called Eklipse!
Eklipse uses AI to capture clips from your streams and automatically converts them into TikTok videos. It’s a great way to expand your reach and attract new audiences.
Curious to learn more? Click here now to claim your free Eklipse account and enjoy its exclusive feature to create gaming video clips like never before!
Maximize your Black Ops 6 rewards—Create highlights from your best gameplay with with Eklipse
Eklipse help streamer improve their social media presence with AI highlights that clip your Twitch / Kick streams automatically & converts them to TikTok / Reels / Shorts