
Level Up Your Marvel Rivals Gameplay
Capture your epic wins, clutch moments, and even hilarious fails with Eklipse. Easily create and share highlight reels with your friends—even if you're not streaming!
Learn MoreHow to get Instagram Meta Verified quickly and easily? If you’ve been wondering how to get that special blue checkmark on your Instagram account, you’ve come to the right place. This guide will show you exactly how to apply for it using Meta Verified.
Instagram Meta Verified is a paid subscription service that provides users with various benefits. One of them is helping users establish their identity and authenticity, making it easier for your followers to get the latest content from you. Therefore, you should know how to obtain this blue checkmark to better grow your account.
No worries. We’ll walk you through the process step by step and share some tips to help you qualify. Let’s go!
What Is Meta Verified?
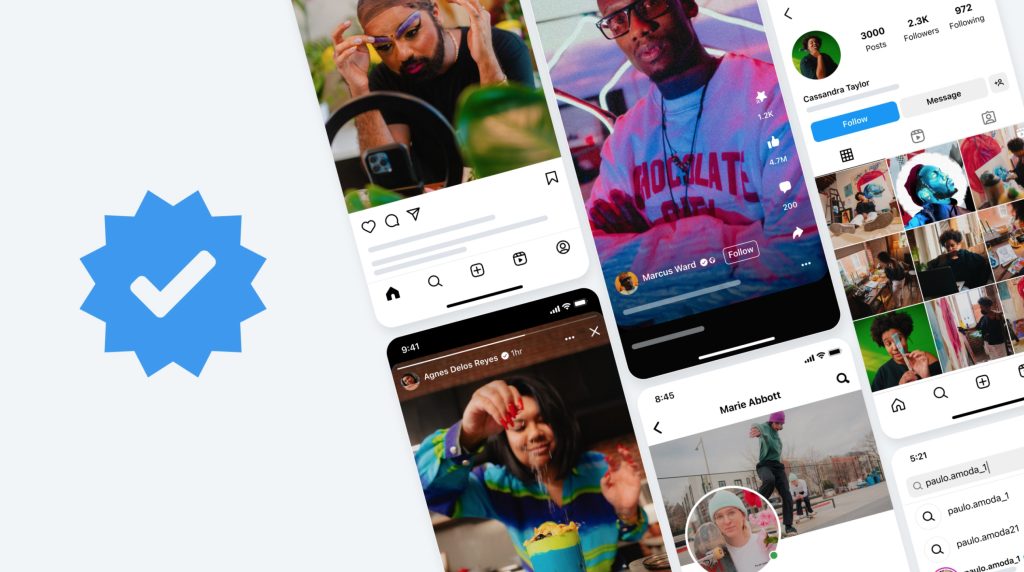
Meta Verified is like a membership you pay for every month on Meta, which is the company behind Facebook and Instagram. When you subscribe to Meta Verified, you get extra stuff for your accounts, and the coolest thing is that blue checkmark you’ve seen on famous people’s profiles.
Here are some things you get with Meta Verified:
- We keep an eye out for anyone pretending to be you.
- You can talk to real people if you need help with your account.
- You get special stickers for your Stories and Reels.
- You get 100 Facebook Stars every month, kind of like bonus points.
Think of it this way: Meta Verified is a bit like when Twitter introduced Twitter Blue, but with even better things to help you not get tricked online.
When you decide to join Meta Verified, you need to be 18 or older. You’ll have to show us a picture of your ID from the government, and sometimes we might ask you to make a short video to prove it’s really you. Also, things like your name and birthday can’t be changed after you join.
More on Eklipse Blog >> How to Create Reels with AI Tools for Streamers
How to Get Verified on Instagram with Meta Verified
Let’s start with the steps to get that blue checkmark using Meta Verified. Right now, Meta Verified is open for people who are 18 or older, but not for businesses. Check the FAQ section to learn more about how much it costs and who can join.
- Pick Your Profile: First, go to your account settings on Instagram or Facebook. Find where it says ‘Accounts Center,’ and then click on ‘Meta Verified.’ If you’re lucky, you’ll see a message that says ‘Meta Verified available’ under your name and picture.
- Set Up Payments: Next, choose how you want to pay for your subscription every month.
- Prove It’s You: Finally, finish the process by showing us a picture of your ID from the government. Sometimes we might ask for a short video to make sure you’re really you before you can join Meta Verified.
How Much Does Meta Verified Cost?
Meta Verified costs $11.99 if you use the internet on a computer and $14.99 if you’re using a phone like an iPhone or Android. You pay this amount every month.
If you’re in other places like Australia or New Zealand, the prices might be different:
- AUD 19.99 on the web, AUD 24.99 on iOS and Android
- NZD 23.99 on the web, NZD 29.99 on iOS and Android.
- ₹599 a month on the web, ₹699 on iOS and Android.
First, we started Meta Verified in Australia and New Zealand in February 2023. Then, in March 2023, we brought it to the United States. After that, we made it available in the United Kingdom, Canada, India, and lots of other places around the world in spring 2023. We’re still working on bringing it to even more places.
More on Eklipse Blog >> The Best AI Generators for Making Instagram Reels
Conclusion
Getting that special blue checkmark on Instagram through Meta Verified is totally possible, and now you know how. Just follow the easy steps we explained, and you’ll be on your way to having that badge on your profile.
With Meta Verified, you not only get the blue checkmark, but you also get some cool extras to help you stay safe and stand out online. It’s like having a secret club membership that makes your online life better!
Tired of having slow-growth on your gaming channel or social media? Try Eklipse now!
Use Eklipse to easily make captivating TikTok/Reels/Shorts video clips from your gaming livestreams with just one click. Your viewers will be mesmerized, and you can share the content effortlessly across various platforms.
So what are you waiting for? Click below to try Eklipse’s exclusive features for free today.
Maximize your Black Ops 6 rewards—Create highlights from your best gameplay with with Eklipse
Eklipse help streamer improve their social media presence with AI highlights that clip your Twitch / Kick streams automatically & converts them to TikTok / Reels / Shorts
🎮 Play. Clip. Share.
You don’t need to be a streamer to create amazing gaming clips.
Let Eklipse AI auto-detect your best moments and turn them into epic highlights!
Limited free clips available. Don't miss out!
