TL;DR
Q: How much money do Twitch streamers make per sub?
A: Twitch streamers earn approximately 50% of the subscription fee. For a standard $5.99 Tier 1 sub in the U.S., a streamer makes about $2.99. This can increase to 60% or 70% for top-tier creators in the Partner Plus Program.
Dreaming of turning your gaming passion into a full-time career on Twitch? It’s a common goal, but it’s often clouded by one critical question: how much do Twitch streamers actually make? While viral stories talk about massive payouts, the reality for most creators is built on a foundation of consistent, smaller revenue streams, with subscriptions being the most important.
This guide cuts through the noise to give you a clear, straightforward answer for 2025. We’ll break down the exact revenue split for subs, explain the crucial differences between Affiliates and Partners, and show you how earnings can grow as your channel does. Let’s dive into the real numbers behind Twitch monetization.

The Direct Answer: How Much Do Streamers Make Per Sub?
The core of a streamer’s recurring income comes from subscriptions. However, streamers do not receive 100% of the subscription fee. Twitch takes a platform fee for providing the service.
For most streamers, the revenue share is a 50/50 split.
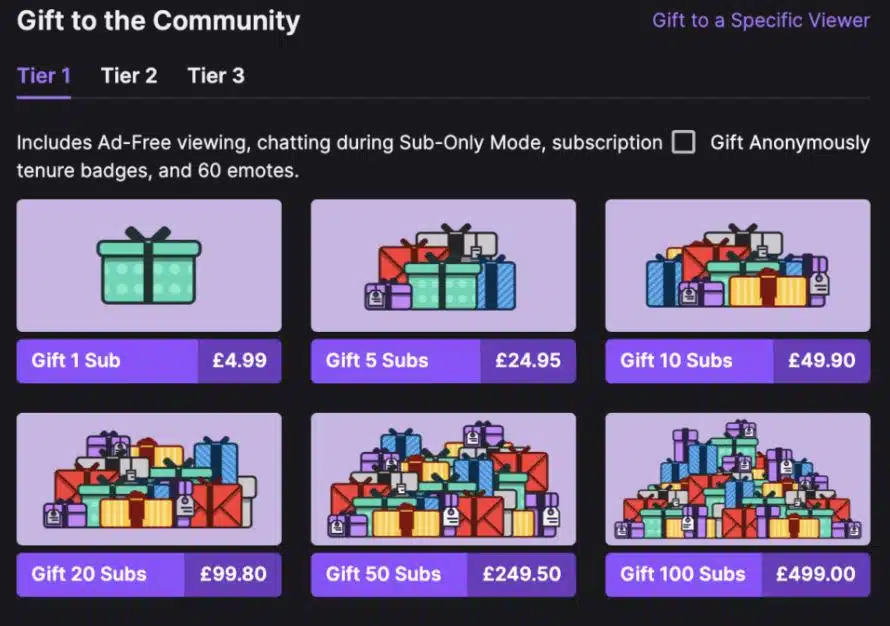
Here’s a simple breakdown based on the standard US subscription prices in 2025:
| Subscription Tier | Monthly Price (US) | Standard Streamer Earning (50%) |
| Tier 1 | $5.99 | ~$2.99 |
| Tier 2 | $9.99 | ~$5.00 |
| Tier 3 | $24.99 | ~$12.50 |
This 50/50 split is the standard for all Twitch Affiliates. If you have 100 Tier 1 subscribers, you can expect to earn approximately $299 per month from those subs alone.
Beyond the Base Split: The Partner Plus Program
For established streamers, the earnings potential increases. In 2023, Twitch replaced its old “70/30” contract system with the Partner Plus Program. This program allows eligible Partners to earn a higher revenue share based on “Plus Points” they accumulate each month.
- 60/40 Split: Partners who maintain at least 100 Plus Points for three consecutive months will earn a 60/40 split on paid and Prime subs.
- 70/30 Split: Partners who maintain at least 300 Plus Points for three consecutive months will earn a 70/30 split.
How do Plus Points work?
- A Tier 1 sub = 1 Point
- A Tier 2 sub = 2 Points
- A Tier 3 sub = 6 Points
This new system rewards streamers who have a highly supportive community willing to purchase higher-tier subscriptions.
Do Streamers Earn from Prime Gaming Subs?
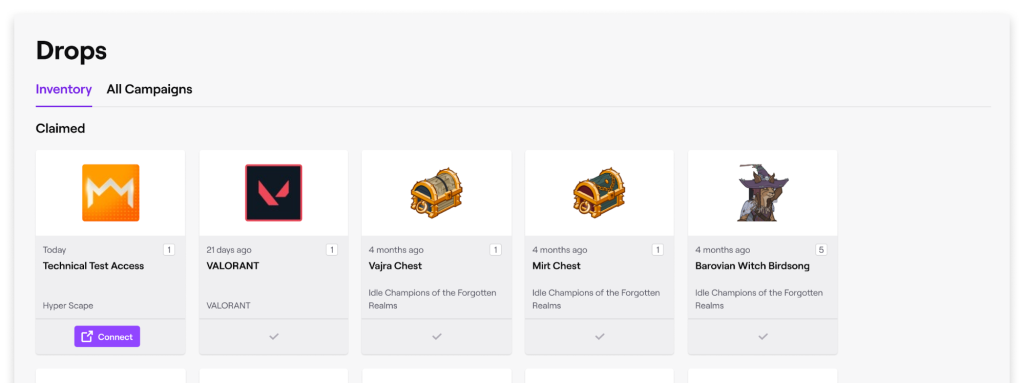
Yes. A Prime Gaming subscription, which is included with an Amazon Prime membership, functions as a Tier 1 sub for payout purposes. When a viewer uses their free Prime sub on your channel, you earn the same amount as you would from a standard paid Tier 1 sub. This makes Prime subs an incredibly valuable source of income for all monetized streamers.
How Other Revenue Streams Compare to Subs
While subscriptions provide a stable base, they are just one piece of the puzzle. Successful streamers diversify their income across several sources.
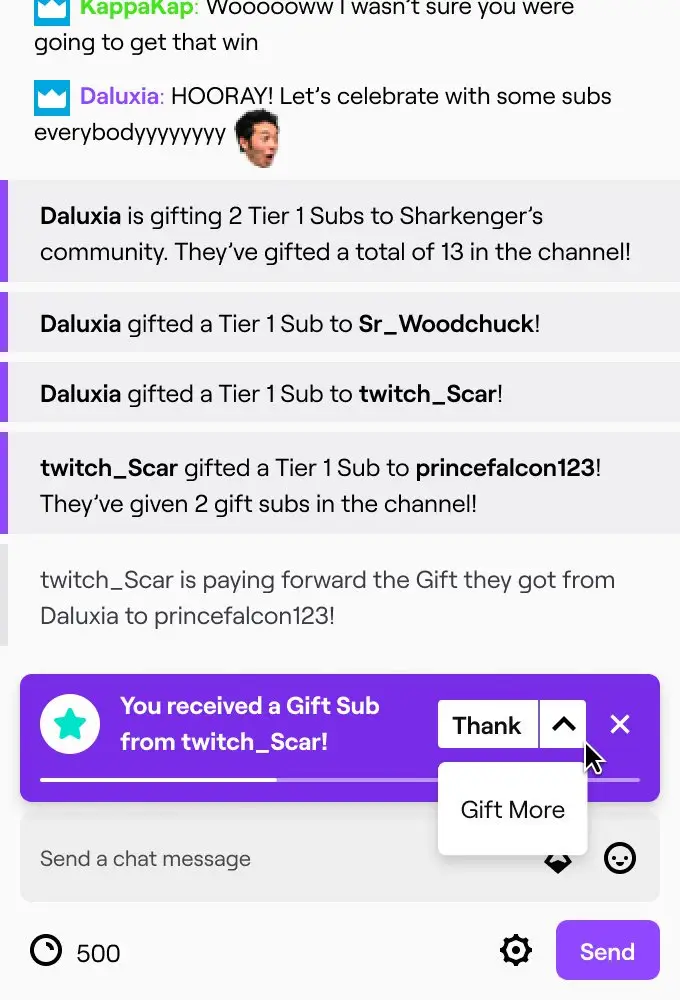
- Bits: This is Twitch’s virtual currency. Viewers buy Bits to cheer in chat, and streamers earn $0.01 for every Bit used on their channel. So, 100 Bits is $1, 500 Bits is $5, and so on.
- Ad Revenue: Only Twitch Partners can run video ads. Earnings vary wildly based on viewership and ad rates, but it’s often estimated that streamers make around $250 per 100 subscribers from ad revenue, though this can fluctuate.
- Direct Donations: Using third-party services like Streamlabs or Stripe, streamers can accept direct donations. These services often take a much smaller fee than Twitch, meaning the streamer keeps more of the money.
- Sponsorships & Affiliate Marketing: This is where top-tier streamers make significant income. Brands will pay streamers to feature their products (e.g., gaming chairs, peripherals, energy drinks) during a stream.
How Eklipse Helps You Grow Your Subscribers
Understanding how much you earn per sub is half the battle; the other half is actually getting those subscribers. The key to growth is discoverability. You need to reach potential viewers on other platforms like TikTok, YouTube Shorts, and Instagram Reels and guide them back to your live stream.
This is where Eklipse becomes your most valuable partner!
Instead of spending hours sifting through your VODs, Eklipse’s AI automatically detects your best gameplay moments, funniest reactions, and most exciting highlights. It then converts them into vertical, shareable clips perfect for social media. By consistently posting engaging highlights, you create a powerful funnel that attracts new viewers and converts them into loyal subscribers on Twitch.
Frequently Asked Questions (FAQ)
- Q: Do streamers keep 100% of sub money?
A: No. The standard revenue share is a 50/50 split with Twitch. This can increase to 60/40 or 70/30 only for top Partners in the Partner Plus Program. - Q: Are subscription prices the same in every country?
A: No. Twitch uses regional pricing to make subscriptions more affordable in different parts of the world. This means a Tier 1 sub might cost less in another country, and the streamer’s 50% share will be based on that localized price. - Q: How long does it take to get monetized on Twitch?
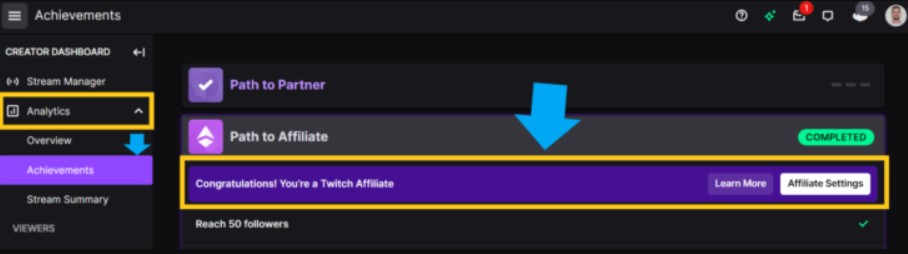
A: To become a Twitch Affiliate and start earning from subs, you must meet specific requirements. While it varies, many dedicated streamers can achieve this goal in 2-4 months.
Conclusion: Subs Are the Foundation of Your Streaming Career
Making a living on Twitch is more than possible, but it’s not a get-rich-quick scheme. It requires dedication, consistency, and a smart approach to growth. Subscriptions are the bedrock of your income, providing a predictable monthly revenue that you can build upon with other sources like Bits, donations, and eventually sponsorships.
Focus on creating great content that people want to support, and use smart tools to promote your stream. The more you grow your community, the more your earning potential will rise.
Ready to turn your best stream moments into a growth engine? Try Eklipse for free now and see how effortlessly you can create viral content to attract your next wave of subscribers.