")
TL;DR:
For beginner gamers and streamers, Eklipse.gg is the best starting point as it uses AI to find your clips for you. For general editing, Clipchamp is the best free and easy tool for PC/web, and CapCut is the best for mobile phones and creating trendy TikToks.
The leap from wanting to be a content creator to actually making content can feel massive. The biggest hurdle? Video editing. The mere thought of complex software with a million buttons and a hefty price tag is enough to stop many aspiring creators in their tracks. It feels overwhelming, and it’s easy to get paralyzed by choice before you even begin.
But here’s the good news: in 2025, you don’t need to be a professional editor or spend a fortune to create high-quality content. The best tools for beginners aren’t the most complicated ones; they’re the ones that are intuitive, affordable (or free!), and help you get your ideas out into the world with minimal friction. The “best” tool truly depends on what you want to create—and for many new streamers, the best tool isn’t a traditional editor at all, but an AI assistant that does the hardest part for you.
Read more: What Are the Best Tools for Creating Gaming Content for TikTok in 2025?
What Should Beginners Look for in an Editing Tool?
Before diving into the list, let’s set some ground rules. A great beginner tool should have:
- An Intuitive Interface: It should be easy to understand the basics without watching hours of tutorials. Think drag-and-drop functionality and clear, simple menus.
- Low Cost of Entry: The tool should have a robust free version or be very affordable.
- Essential Features: It must handle the fundamentals flawlessly: trimming clips, adding text, inserting music, and layering basic effects.
- Good Export Options: It should let you easily export your video in high quality (at least 1080p) in the right format for platforms like YouTube and TikTok.
The Best Editing Tools for Beginners in 2025
This list is curated to give you the best starting point based on the type of content you want to make.
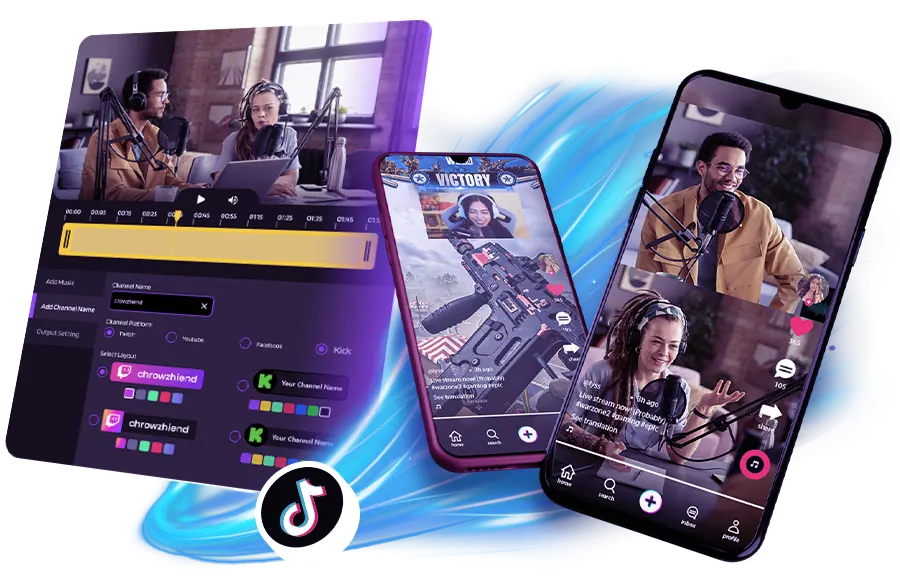
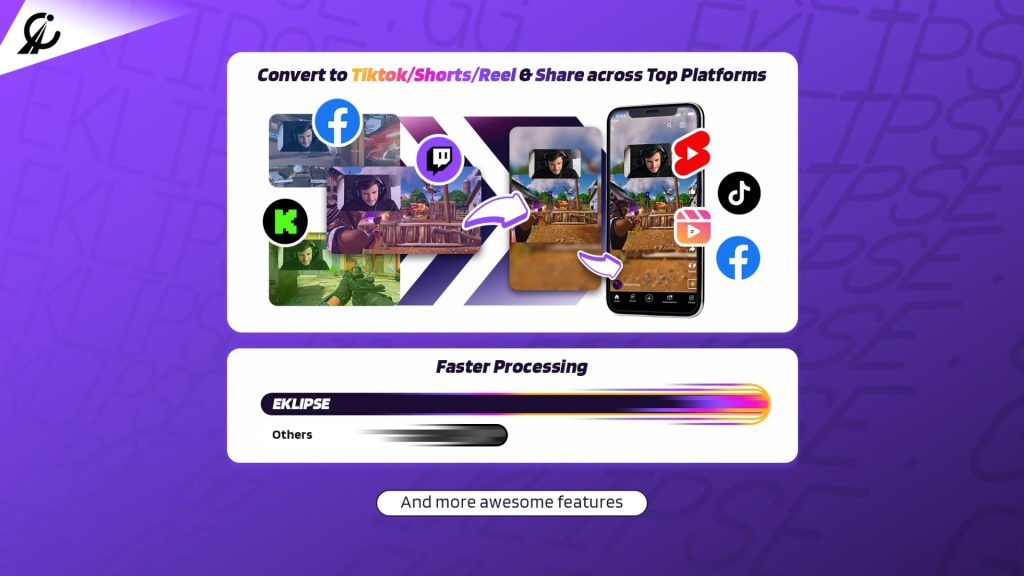
1. Eklipse: Best for Gamers & Streamers (The “Pre-Editor”)
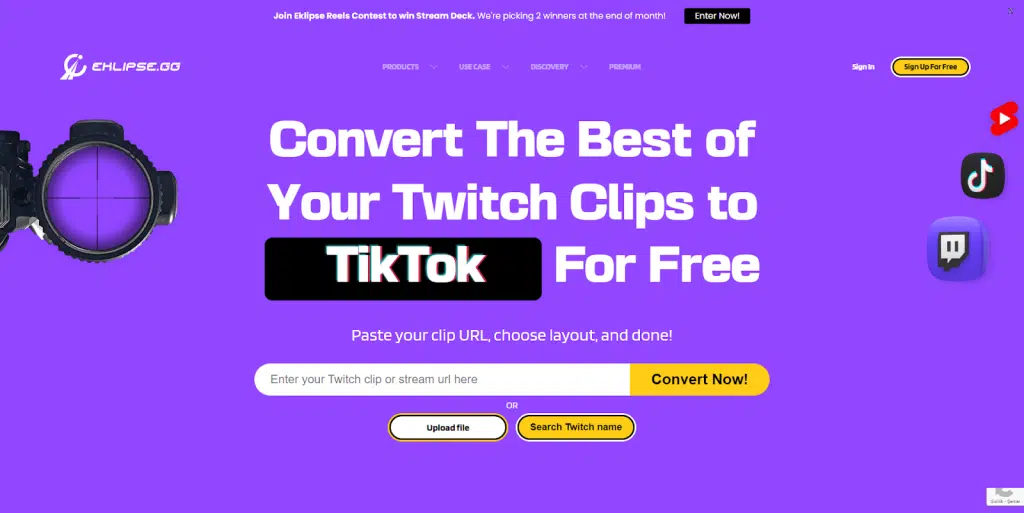
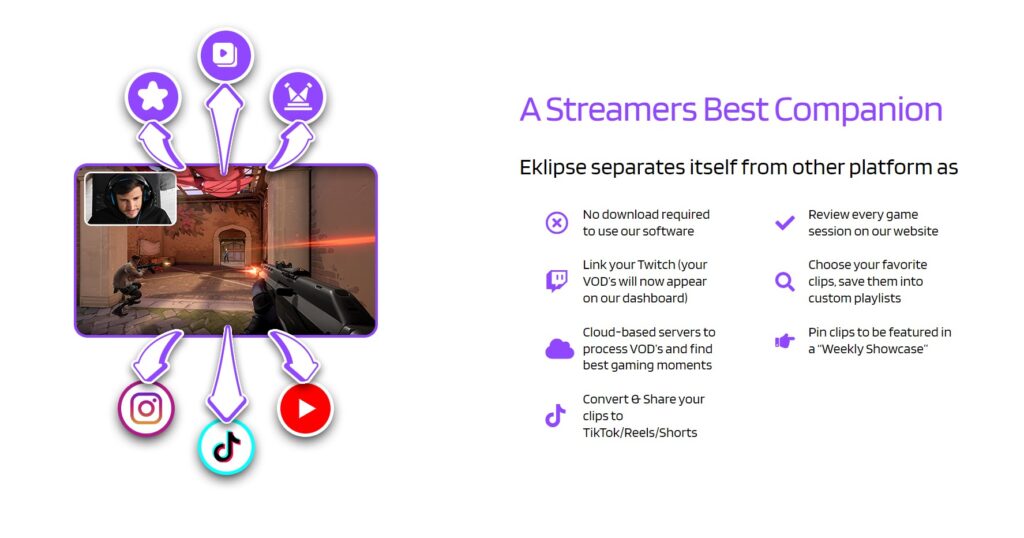
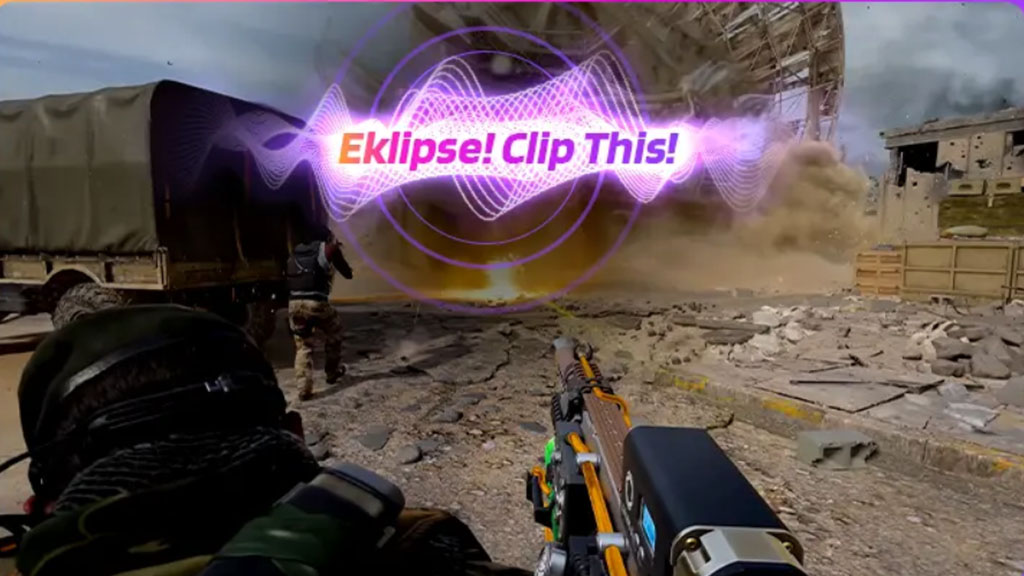
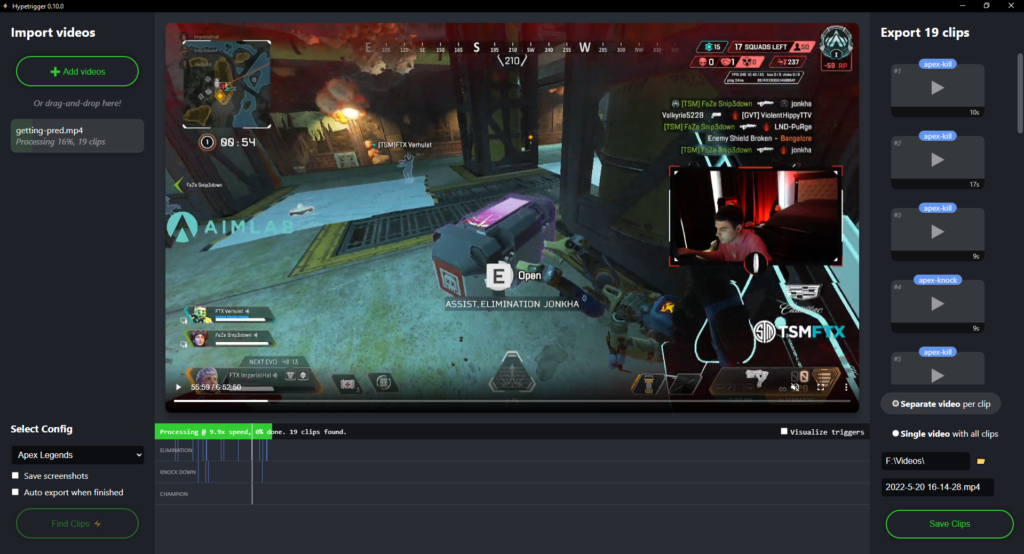
For beginner streamers, the biggest problem isn’t editing—it’s finding what to edit. Who has the energy to sift through a 4-hour VOD to find two or three good moments? This is where Eklipse comes in, and why it’s our #1 recommendation for this niche.
Eklipse isn’t a traditional editor; it’s an AI-powered content assistant that acts as your “pre-editor.” It connects to your Twitch, Kick, or YouTube and automatically analyzes your streams, identifying your best highlights—kills, clutches, funny moments—and delivers them to you in just 5-10 minutes.
This completely changes the game for beginners. Instead of facing a scary, blank timeline, you start with a curated list of your best moments. From there, you can use Eklipse’s simple, built-in vertical video editor to add your facecam, insert text, and create a polished clip for TikTok or Shorts. It removes the biggest barrier to entry: the overwhelming task of finding content.
- Best for: Streamers and gamers who need an automated way to find their best moments and turn them into short-form content quickly.
- Price: Free tier available / Premium from $14.99/mo.

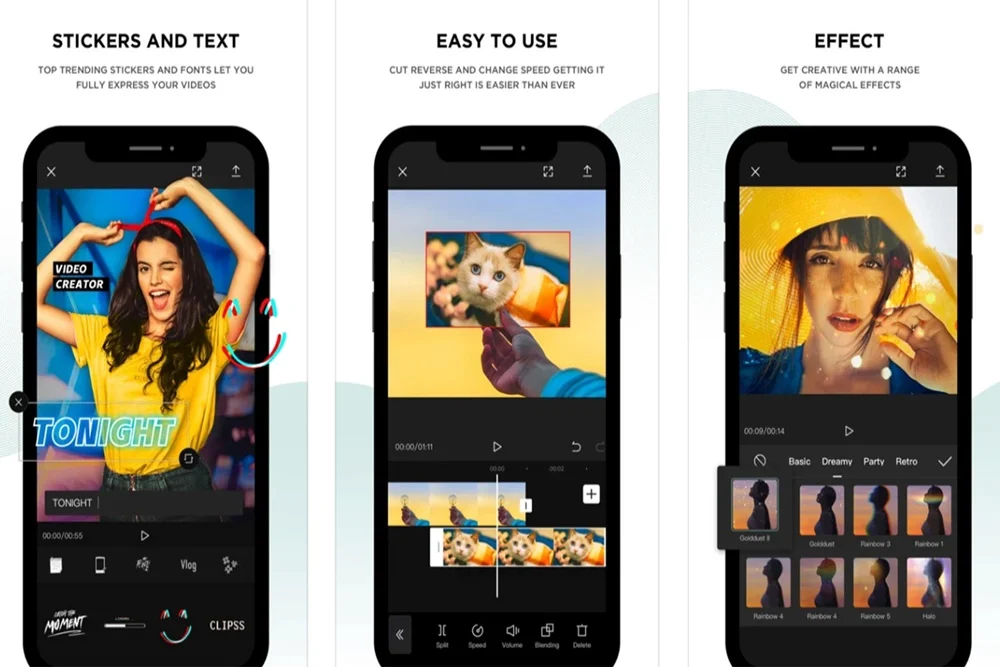
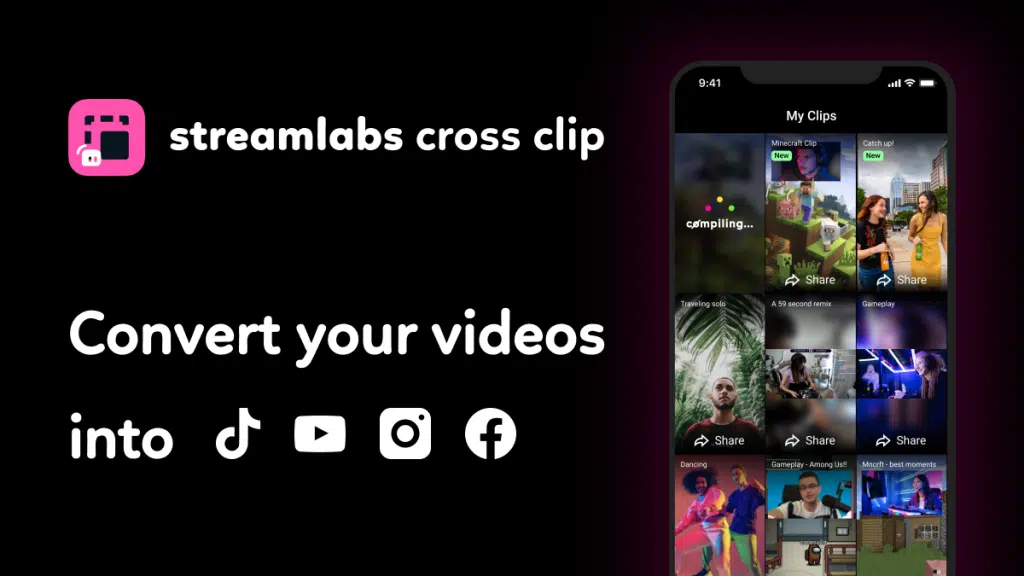
2. CapCut: Best for Mobile & TikTok Editing
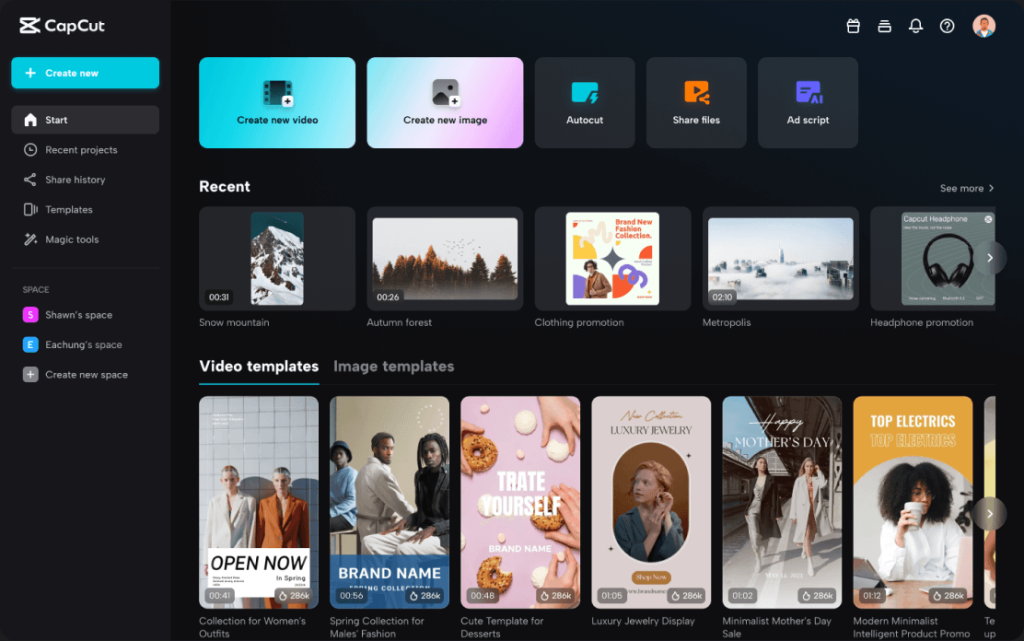
CapCut is the undisputed king of mobile editing for a reason. It’s owned by the same company as TikTok, so it’s perfectly integrated with the platform’s trends, sounds, and styles. Its interface is incredibly intuitive, making it easy for anyone to pick up their phone and start creating.
Its auto-captioning feature is best-in-class, and its massive library of effects, filters, and trending sounds makes it easy to create content that feels native to social media. If you’re shooting and editing primarily on your phone, this is the app to get.
- Best for: TikTok creators, vloggers, and anyone who wants a powerful, feature-rich editor on their phone.
- Price: Mostly Free / Pro Subscription available.
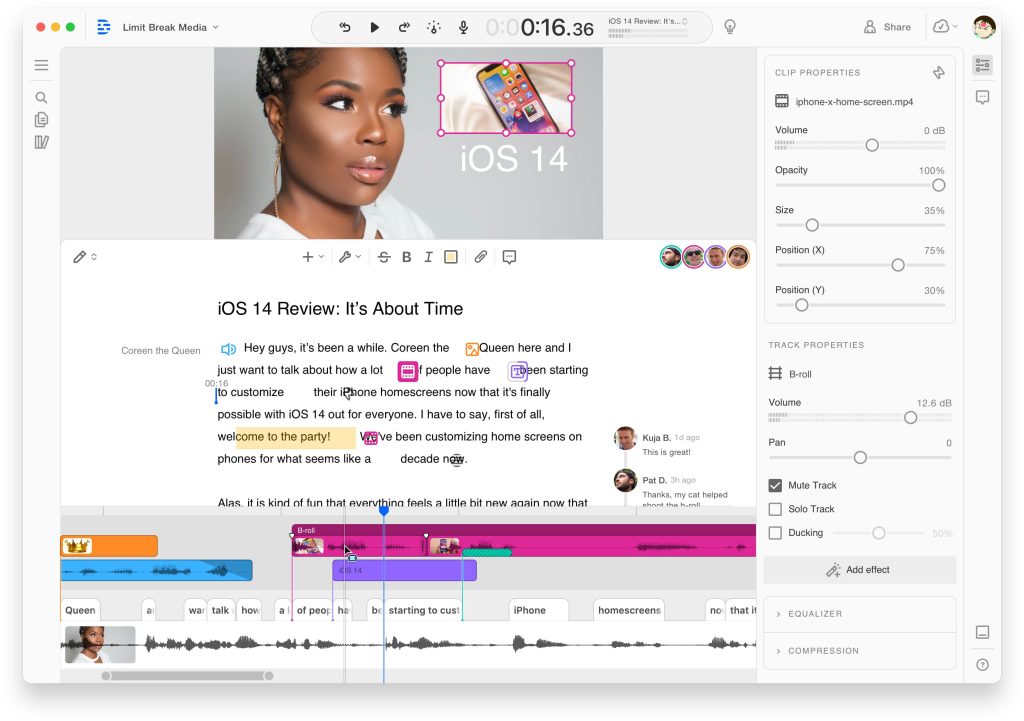
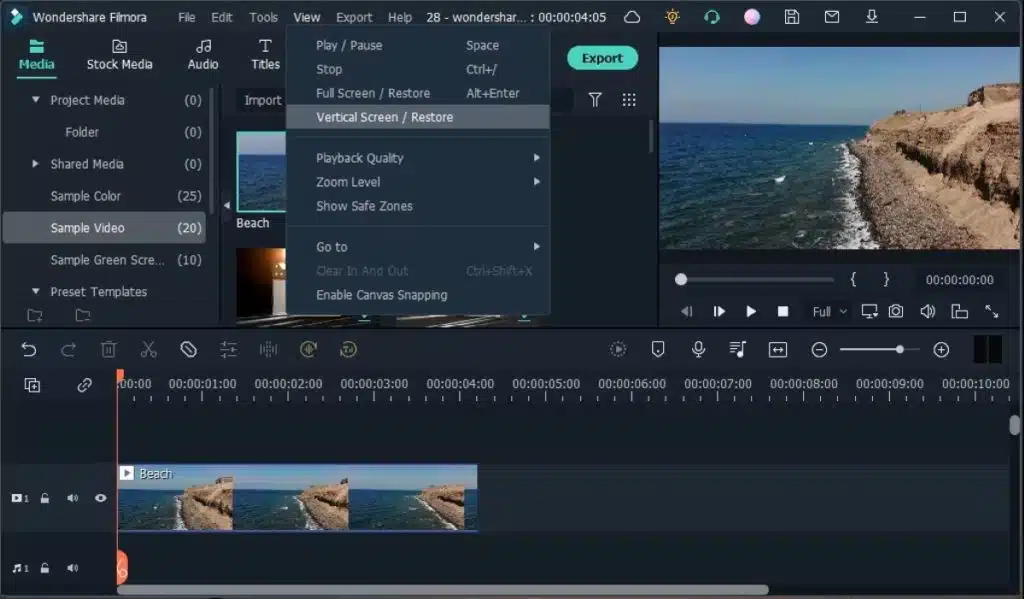
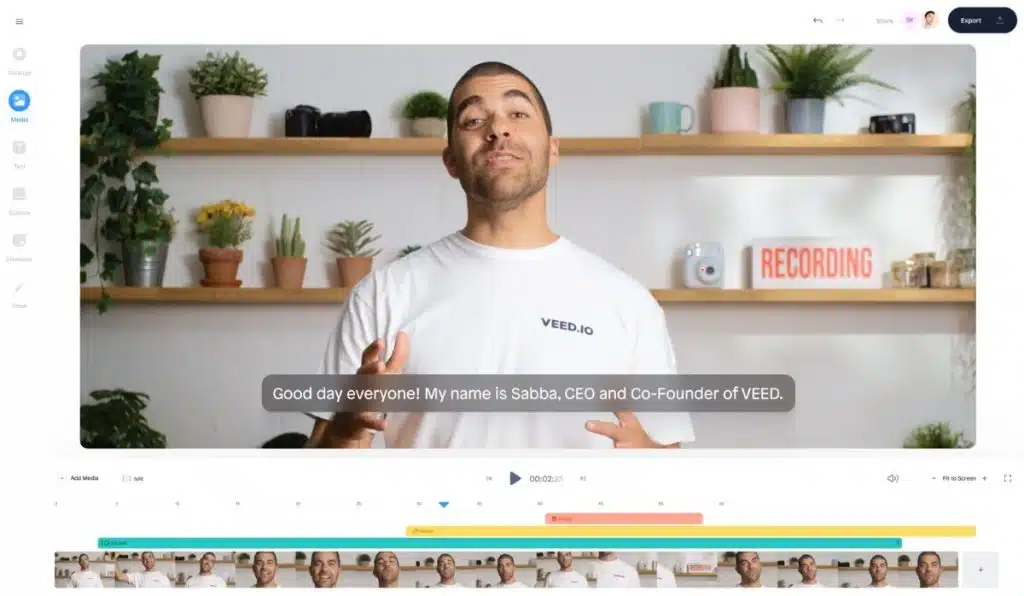
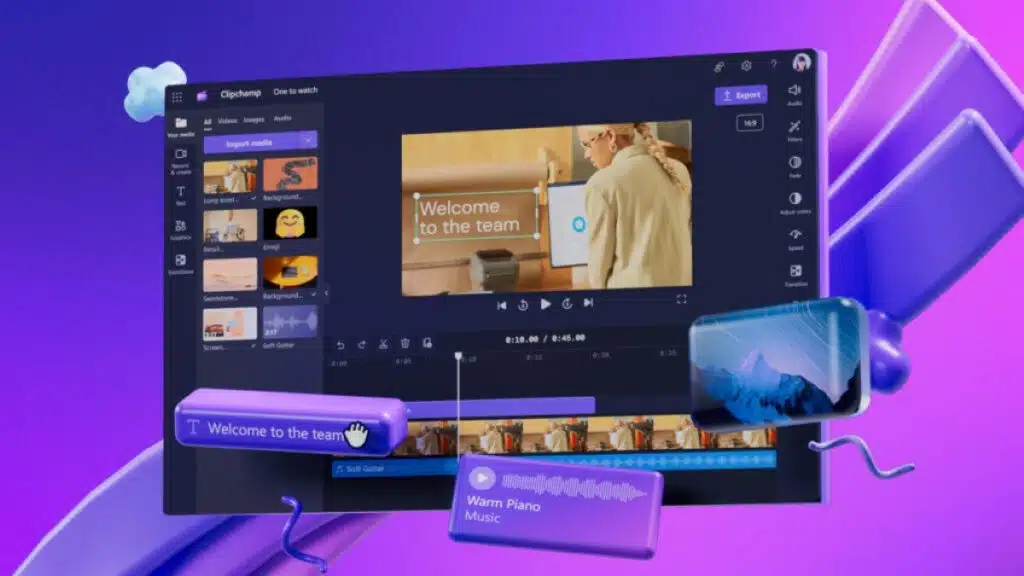
3. Clipchamp: Best for Web-Based & PC Editing
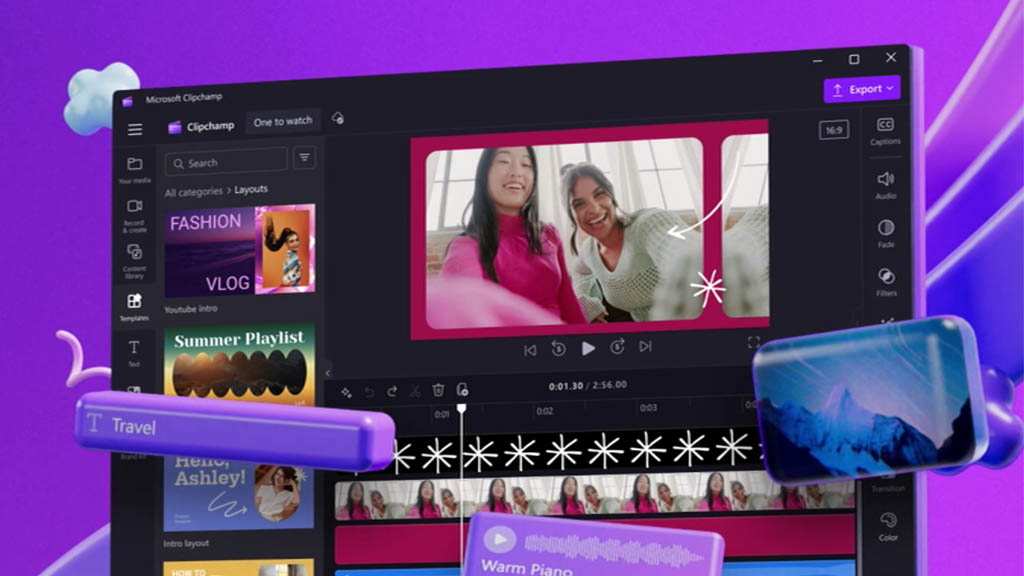
Included for free with Windows 11 (and available on any browser), Clipchamp is Microsoft’s answer to accessible video editing. It’s the perfect starting point for PC users who are intimidated by complex software. Think of it as the “Canva for video.”
Its drag-and-drop interface is clean and simple, it comes with professional-looking templates, and—most importantly for beginners—its free plan allows you to export unlimited videos in 1080p without a watermark. For creating basic YouTube videos or presentations, it’s a fantastic, no-fuss option.
- Best for: Aspiring YouTubers, students, and anyone wanting a simple, browser-based editor for PC or Mac.
- Price: Free / Premium plan with more stock assets.
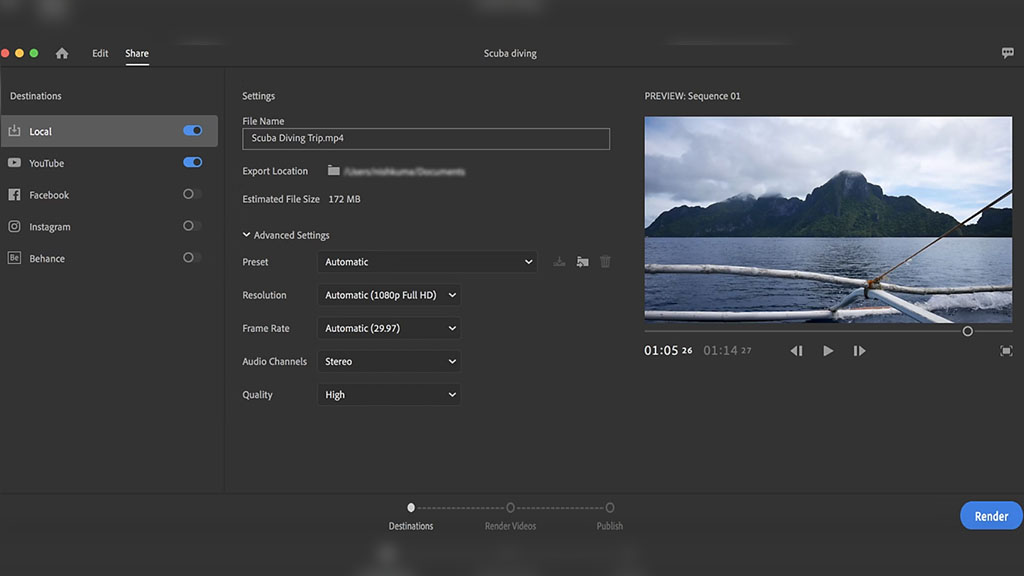
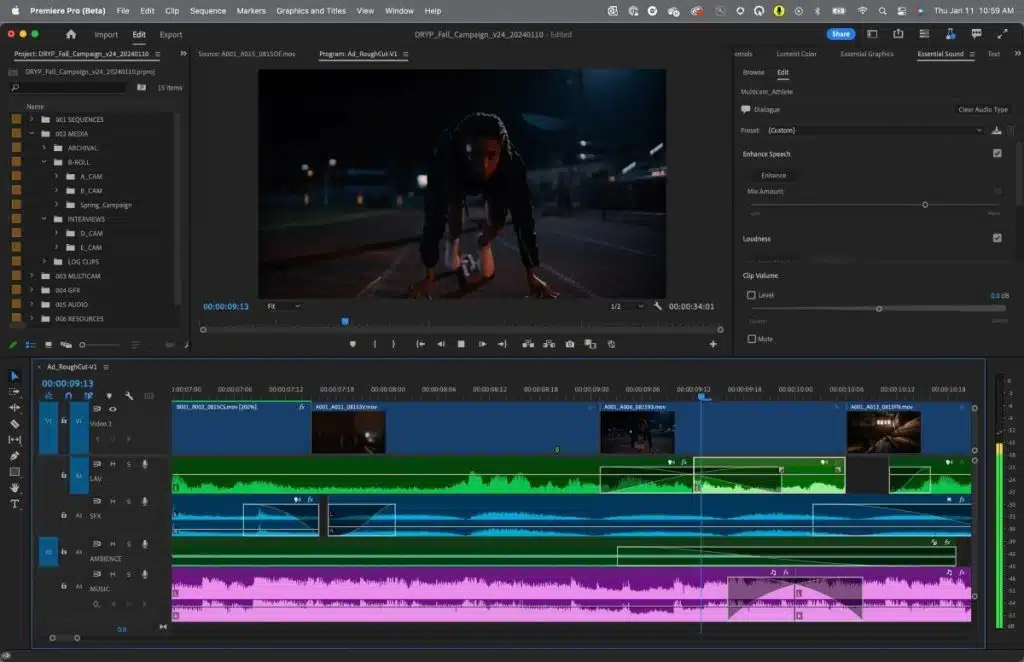
4. DaVinci Resolve (Free Version): Best for Ambitious Beginners
This recommendation comes with a big warning: DaVinci Resolve has a steep learning curve. However, if you are serious about content creation and want a tool you can grow with for years, there is no better option. The free version of Resolve is a full-fledged, Hollywood-grade editing suite.
It offers professional-level color grading, audio mixing, and visual effects that far surpass any other free tool. You won’t master it in a day, but the skills you learn will be valuable for your entire content creation journey.
- Best for: Beginners who are dedicated to learning professional editing skills and want a tool that they will never outgrow.
- Price: Free (The paid Studio version is for high-end professionals).
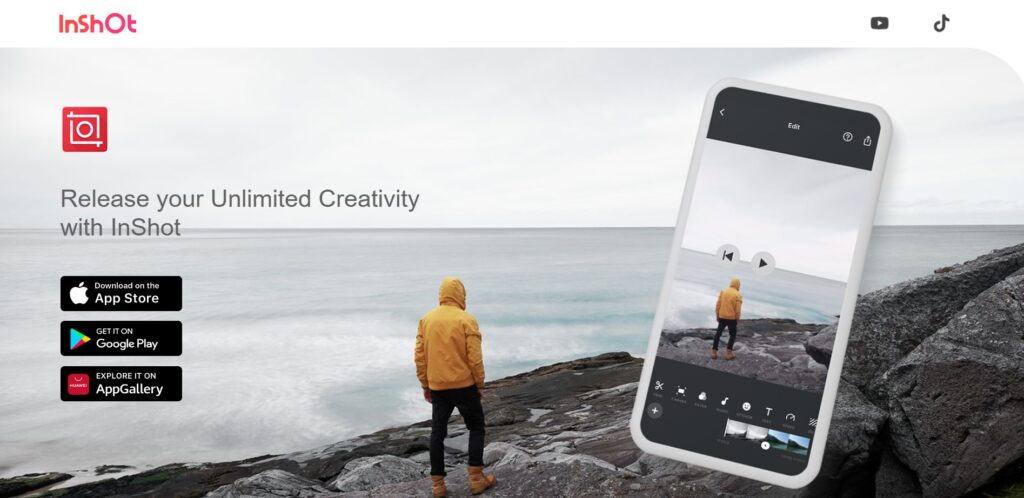
5. InShot: Best for All-in-One Simplicity on Mobile

If you find CapCut a little overwhelming with its constant trends and effects, InShot is a fantastic, straightforward alternative. It’s an all-in-one mobile editor that handles video, photos, and collages.
Its interface is incredibly clean, and it excels at the fundamentals: trimming, adding music, applying simple filters, and inserting text and stickers. It’s a reliable and easy-to-use tool for creating clean, simple videos without a lot of flashy extras.
- Best for: Beginners who want a simple, reliable, all-in-one creative tool on their phone.
- Price: Free (with ads and a watermark) / Pro subscription available.
What’s the Best First Step for a New Creator?
Don’t get stuck trying to find the “perfect” tool. The best first step is to pick the one that best matches your content and start creating.
- If you’re a streamer: Start with Eklipse. Let it find your moments so you can get used to the rhythm of creating and posting clips.
- If you’re a vlogger or TikToker: Download CapCut on your phone right now.
- If you’re an aspiring YouTuber on PC: Open Clipchamp in your browser.
The goal at the beginning is to build momentum. Start with a simple tool, learn the basics, and most importantly, have fun bringing your ideas to life. You can always learn more advanced software later.
Frequently Asked Questions
Do I need a powerful computer to start editing?
No. With web-based tools like Clipchamp and mobile apps like CapCut and InShot, you can start editing on almost any modern computer or smartphone. Tools like Eklipse do all the heavy AI processing on their own servers, so it doesn’t strain your PC.
Can I really start creating content for free?
Yes. Every tool on this list has a powerful free version that is more than enough for a beginner to start creating high-quality content.
What is the main difference between Eklipse and a normal editor like Clipchamp?
Eklipse’s primary job is to find the content for you using AI, solving the problem of “what to edit.” Clipchamp is a tool you use after you already know which clips you want to piece together. For streamers, Eklipse is the starting point.
How long should it take me to edit my first video?
For your first few videos, give yourself time and be patient. A 1-minute TikTok might take an hour as you learn. A 5-minute YouTube video could take several hours. The more you practice, the faster you will get.