Level Up Your Marvel Rivals Gameplay
Capture your epic wins, clutch moments, and even hilarious fails with Eklipse. Easily create and share highlight reels with your friends—even if you're not streaming!
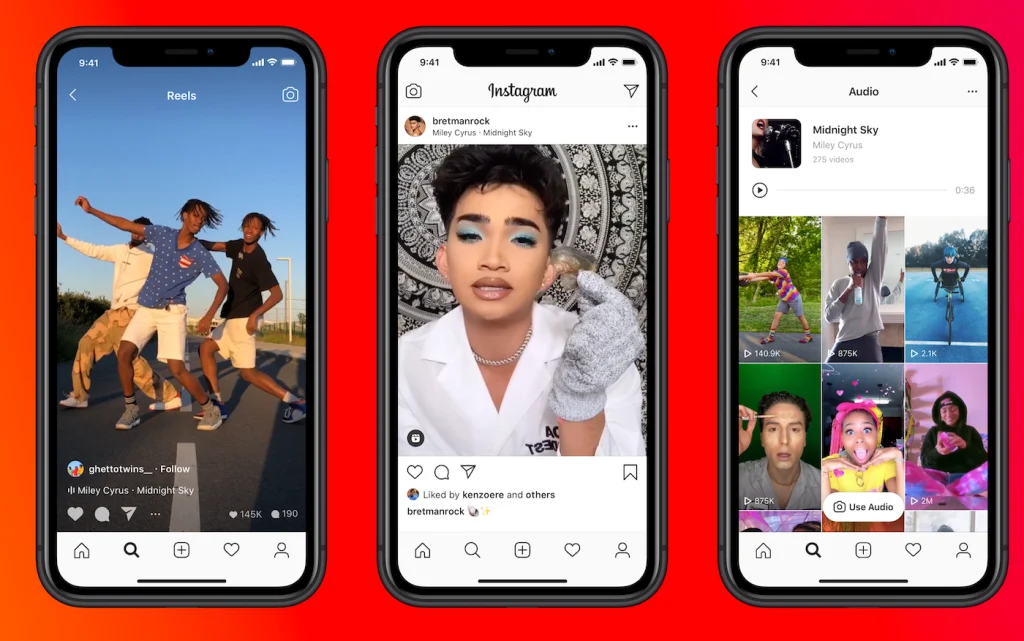
Learn MoreWith over two billion monthly users, Instagram introduced Reels in response to TikTok’s success. Reels are short, engaging vertical videos. They’ve become a key format for collaborations between marketers and creators.
Reels are incredibly engaging, receiving 22% more engagement than other video posts. It’s a great time to start using them. In this guide, we’ll walk you through how to create Instagram Reels step by step.

What are Instagram Reels, and why should you use them?
Instagram Reels are short, entertaining videos similar to TikTok’s format. They allow you to easily create and edit videos with features like music and captions. Using Reels can help increase your audience, reach, and even give you a chance to go viral.

Although Instagram hasn’t explicitly stated that the algorithm prioritizes Reels, it’s clear that video is their priority. They have even tested turning all Instagram videos into Reels. Accounts that haven’t embraced this content format are feeling the impact.
Additionally, Reels are the most discoverable content format on Instagram and can be shared and featured in Stories, a Reels-only tab, the Explore page, and the regular feed.
More on Eklipse Blog >> How to Create Reels with AI Tools for Streamer
Creating a Reel on Instagram
Creating a new type of content can be intimidating, but it doesn’t have to be. With Reels, the reward is worth the learning curve. Let’s walk through the process of making an Instagram Reel and share tips on how to make it stand out.

Step 1: Set a strategy
The key to successful Reels, like any other content, is to let your brand’s voice and values guide you. Consider the following when creating your strategy:
- Set your goals: Determine what you want to achieve with Reels, such as increasing engagement or reach.
- Know your audience: Understand what topics, styles, and sounds appeal to your audience.
- Form your content topics and themes: Reels can be educational, funny, dramatic, or inspiring. Look at your top-performing content to identify what works.
- Do your research: Learn from your competitors and identify gaps you can fill.
More on Eklipse Blog>>> How Long Can an Instagram Reels Be? 2024 Ultimate Guide
Step 2: Gather your footage
To start creating a Reel, open Instagram and tap the “+” button in the upper right corner. There are two ways to gather footage for your Reel: filming or using existing footage.
- Filming new footage: Use the recording button to start filming. Explore the tools on the side of the screen to enhance your content, such as adding music, adjusting speed, or using layout mode.
- Using existing footage: Repurpose videos or photos you already have. You can also upload horizontal videos and convert them into vertical, full-screen content.
Step 3: Editing your Instagram Reel
Once you have your footage, it’s time to edit your Reel. Tap “Next” to start the editing process. You can:
- Edit the length and order of your clips: Shorten clips or rearrange their order.
- Add music or sounds: Choose from Instagram’s music library, record a voiceover, or add sound effects.
- Add closed captions: Enhance accessibility and engagement by adding closed captions to your video.
- Customize your video with text: Use the text feature to add captions or other text elements.
- Add filters and AR effects: Enhance your Reel with aesthetic filters or fun AR effects.
Step 4: Preparing and sharing your Reel
Before publishing your Reel, complete these important preparation steps:
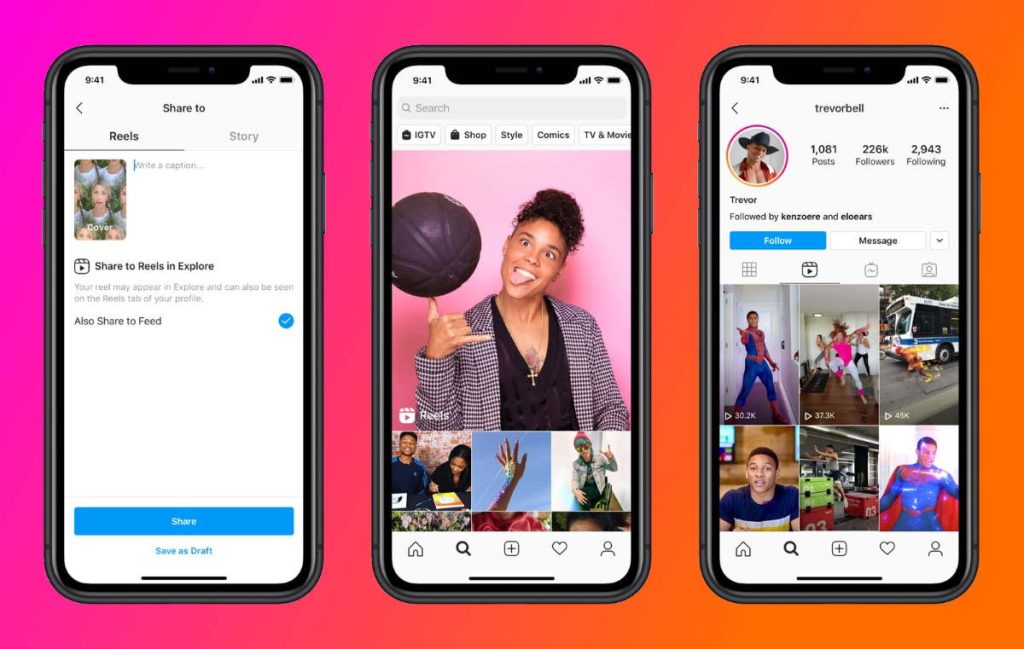
- Edit your cover: Choose a moment from your Reel or upload a relevant image as your cover.
- Write a caption: Keep it short and sweet.
- Choose whether to share your Reel to your Feed: Sharing to your Feed can increase your reach.
Once your Reel is prepped, you can publish it immediately, save it as a draft, or schedule it for later.
More on Eklipse Blog>>> Instagram Reels Video Size, Specs, Ratio, and More
Alternative: How to Create Instagram Reels Automatically using AI

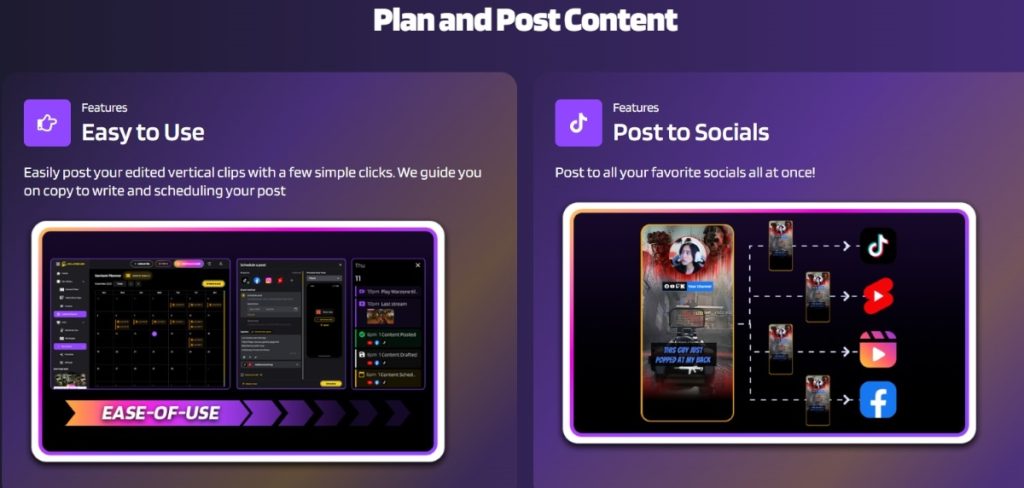
Creating Instagram Reels automatically using Eklipse can be a great way to share your gaming streams or other content. Eklipse is an advanced AI-powered platform designed to help streamers and content creators save time and enhance their content.
Eklipse is a desktop platform that won’t need any installation. There is also Eklipse Mobile App version, so you can edit Instagram Reels directly through your phone.
You’ll only need to connect to Eklipse, upload your long video or let our auto processing get tem, and our advanced AI will automatically clip them into short clips perfect for Instagram Reels. No editing skills are required! Here’s the step-by-step guide:
- Visit Eklipse and sign up for an account if you haven’t already. If you already have an account, simply log in.
- Connect your Twitch, YouTube, or Facebook Gaming account to Eklipse.
- Go to your profile and navigate to “Account Settings.”
- In the “Personal Details” tab, find the “Auto-processing” option and toggle it ON.
- Now, just stream as usual on your connected platform.
- Eklipse will automatically clip your stream or VODs afterward, creating highlights that can be shared.
- To view your clips, go to the “Clips” section, then to “Streams,” and finally to the “Processed” tab.
- From the processed clips, you can create Instagram Reels and share them directly to your Instagram account.
More on Eklipse Blog>>> Are Instagram Reels Public? How to Make it Easily Using AI
Conclusion
Creating Instagram Reels may require some practice, but it’s a great way to engage with your audience in a new way. Use this guide to make the process easier and start connecting with your audience through Reels.
Maximize your Black Ops 6 rewards—Create highlights from your best gameplay with with Eklipse
Eklipse help streamer improve their social media presence with AI highlights that clip your Twitch / Kick streams automatically & converts them to TikTok / Reels / Shorts
🎮 Play. Clip. Share.
You don’t need to be a streamer to create amazing gaming clips.
Let Eklipse AI auto-detect your best moments and turn them into epic highlights!
Limited free clips available. Don't miss out!
