Level Up Your Marvel Rivals Gameplay
Capture your epic wins, clutch moments, and even hilarious fails with Eklipse. Easily create and share highlight reels with your friends—even if you're not streaming!
Learn MoreTwitch is commonly a place where people can live stream for hours. Despite most of the content being live streams, but doesn’t mean you couldn’t showcase any pre-recorded videos. This article will walk you through the steps on how to make videos on Twitch.
Pre-recorded video on Twitch is known as a rerun or Premiere. This feature allows users to upload any edited videos from a local device and schedule it to air at a specific time later. This concept is actually similar to the competitor, YouTube.
Now, let’s get to the point and start showcasing your masterpiece!
Several Tips on How to Make Videos on Twitch
Creating a video on Twitch is basically similar to making a video on YouTube. You’ll simply need to record it first, put in some editing, and bingo! It’s ready to be premiered. But before doing it, it’s best to pay attention to these tips to make your video unique, well-received, and stand out from the crowd. Here we go.
1. How to Make Video Stay on Twitch: Find Your Target Audience

To create great content for your Twitch channel, the first step you’ll need to do is observe your target audience. Knowing your audience will help you to determine what kind of video you should make.
Try to analyze the market. That includes what your audience is interested in, or what doesn’t interest them, what makes them stay for a long time on a video, what information they’re seeking, and more.
Once you’ve understood the situation and what most people are expecting through Twitch videos, you can move to analyze the content that matches your persona.
2. Find Your Niche
Well, listening to what your audience ask is important to serve them better. Even so, making content that matches your interest and skills is a lot more essential.
Skills and interest determine the quality of content, which is important to attract viewers and keep them watching for a long period of time. So, if you think you’re good at some games, you can try to take the gaming niche, or if you are creative enough to deal with pen, rubber, pencils, and sketchbook, the art niche may be a good pick.
3. Understand The Equipment to Start Streaming and Recording

Now that you have an idea of what kind of audience you’re targeting and the things you are going to do, you can start learning about the basic equipment you should have to support your content.
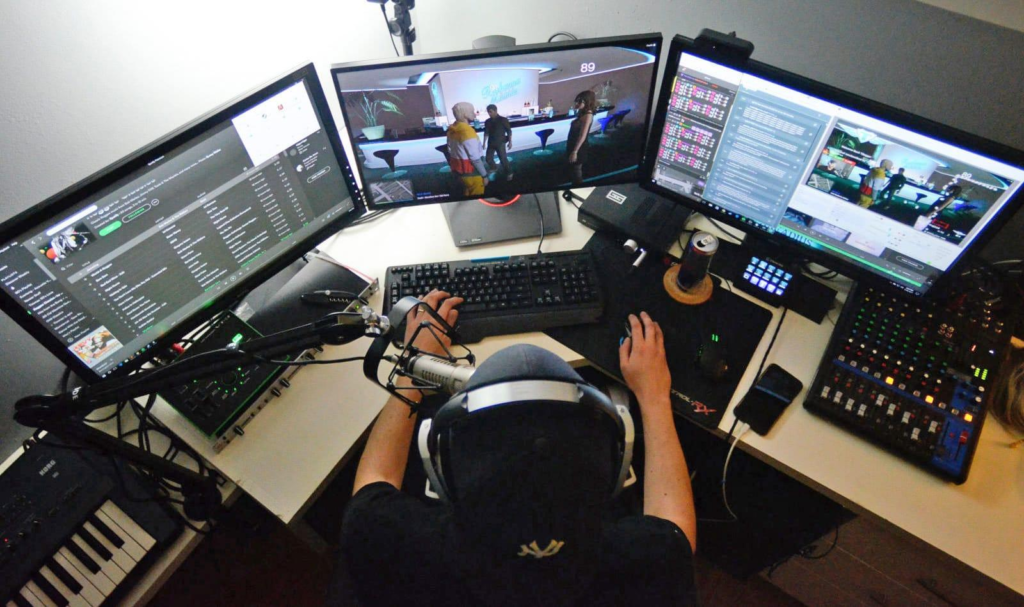
For starters, at least you can begin your journey using a PC or laptop, a webcam or camera, a microphone, headphones, streaming software, and most importantly the editing software since you’ll create a pre-recording video.
It’s worth noting that you shouldn’t necessarily buy the most expensive stuff to stream and record your video. Just make sure that they can produce nice output, and you’re good to go. Price isn’t the priority after all.
4. Start Recording Yourself
It’s showtime! Yes, if you are ready with all the technical stuff, you’re ready to create a Twitch video now. To make sure that your content isn’t out of the topic, you can write the script first, make a storyboard, or simply take notes.
5. Polishing Your Video
The interesting thing about making video a pre-recorded video is you can put some edits here and there, and enhance it to be more appealing. Just explore your creativity.
You can put stickers, memes, subtitles, effects, filters, layer with more videos or images, add sounds, and more! Creating clips from your video is also a great idea for content.

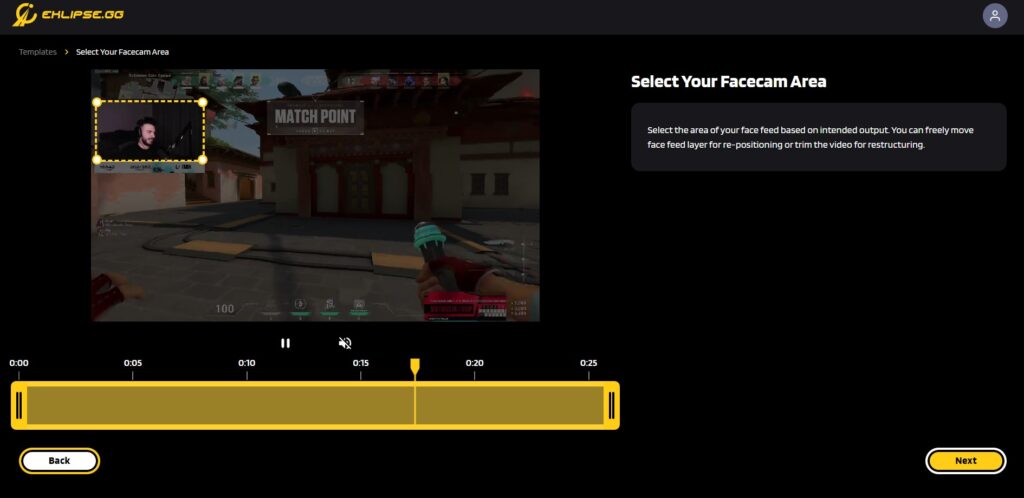
Thankfully, Eklipse can handle it for you. Simply import it from your device, and let the AI do the rest. Eklipse even allows you to spice up your clip with a template, channel name, soundtrack, and auto-caption. Don’t have much time to do it all away? No worries, just try Eklipse Premium Editor.
Maximize your Black Ops 6 rewards—Create highlights from your best gameplay with with Eklipse
Eklipse help streamer improve their social media presence with AI highlights that clip your Twitch / Kick streams automatically & converts them to TikTok / Reels / Shorts
How to Upload The Video on Twitch
Have your video ready? Now let everyone see it by uploading it on your channel. Luckily, the process of uploading videos on Twitch is actually simple. Follow the steps below.
- First, make sure you have a video that you’d like to premiere.
- Log in to your Twitch account and go to your channel page.
- Click on the Upload Video button in the top right corner of the page.

- Select the video you’d like to upload and click Open.
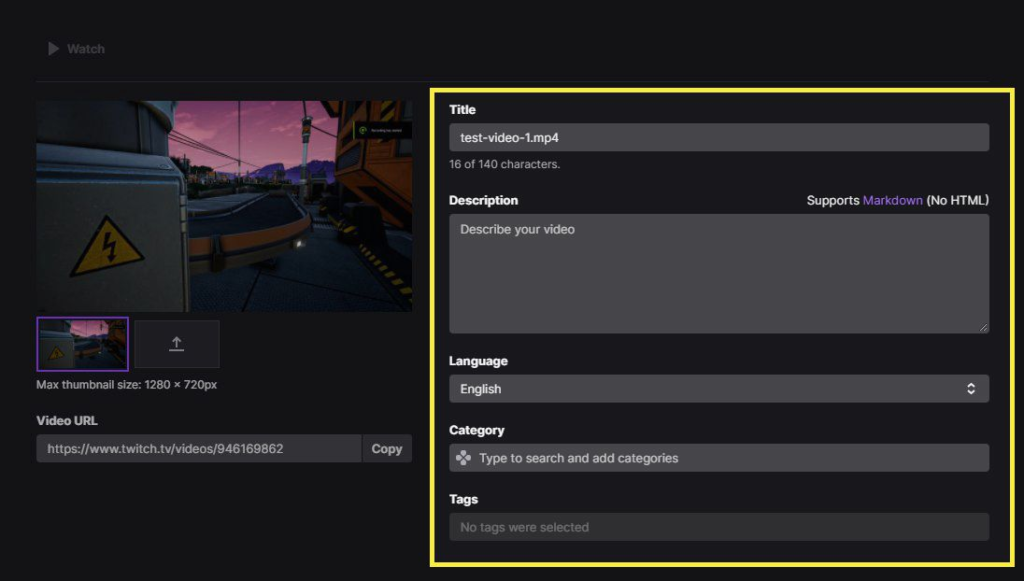
- Enter a title and description for the video, and choose any other relevant options.

- Click on the Premiere tab at the top of the page.
- Set the date and time you’d like the premiere to start, and click Save.
- Once the video has finished uploading, it will be scheduled to premiere at the date and time you specified.
When the premiere starts, the video will be played live to your viewers just like a normal stream. If you want to learn more details about it, just head to o our previous article that explains step-by-step how to do it.
Conclusion
That was the answer to the ‘how do I make a video on Twitch?’ question. By doing the tips above, hopefully, you can create high-quality content that can generate a lot of eyeballs.
Anyway, both premieres and reruns can be useful if you want to share a video with your audience but are unable to stream live at the same time.
🎮 Play. Clip. Share.
You don’t need to be a streamer to create amazing gaming clips.
Let Eklipse AI auto-detect your best moments and turn them into epic highlights!
Limited free clips available. Don't miss out!
