
Level Up Your Marvel Rivals Gameplay
Capture your epic wins, clutch moments, and even hilarious fails with Eklipse. Easily create and share highlight reels with your friends—even if you're not streaming!
Learn MoreDo you want to add your own voice to the YouTube videos you watch? Commentary is a great way to do that. It is a form of audio narration that adds information, insight, or humor to a video. You may have seen commentary videos on YouTube, such as reactions, reviews, analyses, or parodies.
But how do you make your own commentary videos? What do you need to know and do?
In this article, we will show you how to add commentary to a YouTube video, step by step. We will cover the software and equipment you need, how to record and edit your audio, and how to upload and share your video. By the end of this article, you will be ready to create your own commentary videos like a pro.
Why Adding Commentary to YouTube Videos?

Adding commentary to YouTube videos can have many benefits, both for you and your viewers. Here are some of the reasons why you should consider adding commentary to your videos:
- It enhances viewer engagement: Commentary can make your videos more interactive and lively, as you can share your thoughts, reactions, and opinions with your viewers. You can also invite them to comment on your video, ask questions, or give feedback. This way, you can build a rapport with your audience and increase their loyalty and retention.
- It provides better clarification: Commentary can help you explain or elaborate on the content of your video, especially if it is complex, technical, or ambiguous. You can provide additional information, context, or examples that can help your viewers understand your video better. You can also address any potential doubts, misconceptions, or criticisms that your viewers may have.
- It increases accessibility: Commentary can make your videos more accessible to viewers who have hearing impairments, language barriers, or low internet bandwidth. You can use subtitles or captions to display your commentary text on the screen, or use a voice-over to narrate your commentary audio. This way, you can reach a wider and more diverse audience.
- It improves navigation: Commentary can help you guide your viewers through your video, especially if it is long, detailed, or segmented. You can use commentary to introduce your video topic, outline your main points, transition between sections, and summarize your conclusions. You can also use timestamps to indicate the highlights of your video and help your viewers skip to the parts they are interested in.
More on Eklipse Blog>>> How to Edit YouTube Live Stream Video
How to Make Commentary Video
Various methods can help you add commentary to your YouTube videos effectively. Here are some of them:
Method 1: Recording Commentary Using Recording Software
One of the easiest ways to add commentary to your YouTube videos is by recording it directly using software. Here’s how:
- Choose Recording Software: Start by selecting a reliable screen recording software that also allows audio input from an external microphone or headset. Some popular options include OBS Studio (Open Broadcaster Software), Bandicam, or XSplit.
- Set Up Your Microphone: Connect your microphone or headset to your computer and ensure it is properly set up and recognized by the recording software.
- Adjust Audio Settings: Open the recording software and navigate to the audio settings. Make sure the correct microphone is selected as the input device and adjust the volume levels accordingly.
- Prepare Your Video Content: Open the video file or project in editing software such as Adobe Premiere Pro, Final Cut Pro, or iMovie. Set the video to play while you record your commentary.
- Start Recording: In the recording software, select the screen area you want to capture (if necessary) and click the record button. Begin playing your video content and start recording your commentary simultaneously.
- Add Commentary in Real-Time: Watch the video content and provide live commentary by speaking into your microphone. Make sure to sync your commentary with the visuals on-screen for a seamless viewing experience.
- Review and Edit: Once you’ve finished recording, stop the screen recording and save the file. Import both your recorded commentary audio file and the original video file into your editing software. Align the audio with the visuals, make any necessary edits or adjustments, and export the final video.
More on Eklipse Blog>>> How to Make Podcast Video Highlights Instantly Using AI?
Method 2: Using a Separate Audio Recording Device
Another method for adding commentary to YouTube videos is by using a separate audio recording device. This method is particularly useful if you prefer using dedicated microphones or if you want more control over audio quality. Here’s how:
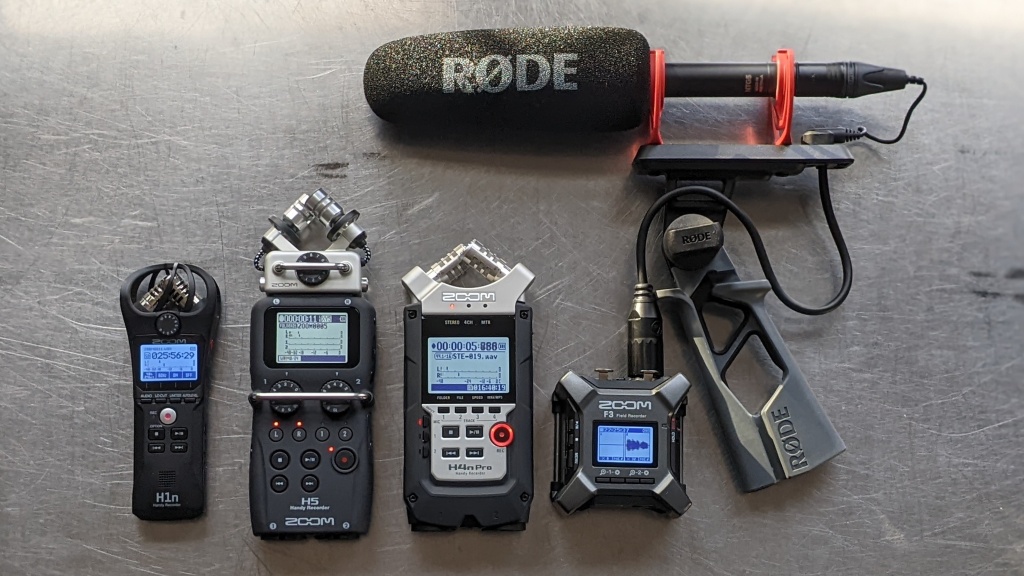
- Choose an Audio Recording Device: Select a high-quality external microphone or headset that suits your needs and budget. USB microphones like Blue Yeti or Audio-Technica AT2020USB+ are popular options for beginners, while XLR microphones offer professional-grade audio quality.
- Connect Your Microphone: Connect your chosen microphone to your computer or audio interface using the appropriate cables or connectors.
- Set Up Your Audio Interface: If you’re using an XLR microphone, connect it to an audio interface that supports XLR inputs. Set up the audio interface according to its manufacturer’s instructions and make sure it is recognized by your computer.
- Configure Recording Software: Open your preferred recording software (e.g., Audacity) and ensure that it recognizes your selected microphone as the input device.
- Prepare Your Video Content: Open your video file or project in your preferred editing software and set it up to play while you record your commentary.
- Start Recording: In the recording software, click the record button and start playing your video content. Begin recording your commentary using the external microphone or headset.
- Sync Audio and Video: Once you’ve finished recording, import both the recorded commentary audio file and the original video file into your editing software. Align the audio with the visuals, make any necessary edits or adjustments, and export the final video.
More on Eklipse Blog>>> How To Make Motivational Video Highlights Instantly Using AI
Method 3: Live Commentary Streaming

If you’re interested in live streaming gameplay or other content on platforms like Twitch or YouTube Live, you can add live commentary during the stream itself. Here’s how:
- Choose a Streaming Platform: Select a streaming platform that suits your needs, such as Twitch or YouTube Live. Set up an account and configure your stream settings.
- Set Up Your Microphone: Connect a high-quality microphone or headset to your computer and ensure it is recognized by both your streaming software (e.g., OBS Studio) and the streaming platform.
- Configure Audio Settings: Open your streaming software and navigate to the audio settings. Make sure the correct microphone is selected as the input device for commentary audio.
- Prepare Your Stream Content: Set up your stream scene with all necessary visual elements, such as gameplay footage or screen capture windows.
- Go Live: Start your live stream on your chosen platform and begin playing your content while providing live commentary using your microphone or headset.
- Engage with Your Audience: Interact with viewers through chat messages, responding to comments, questions, or requests during breaks in gameplay or at appropriate moments.
- Save VODs for Later Viewing: After completing a live stream session, save the video-on-demand (VOD) for future viewing or editing. This allows you to repurpose your live commentary content for YouTube or other platforms.
Method 4: Generates Commentary Using AI

If you want to create commentary videos without recording your own voice, you can use AI to generate voice-over for your videos. AI voice-over is a technology that uses natural language processing and speech synthesis to create realistic and natural-sounding voices from text. You can use AI voice-over to narrate your commentary videos with different accents, languages, and emotions.
Some tools provide this feature such as FlexClip, Synthesys.io, Murf.ai, Listnr.tech, and more. You can find out the rest in the article below:
More on Eklipse Blog>>> Top 4 Best Free AI Voice Generator To Try
Tips on Making Good YouTube Commentaries

Nowadays a lot of content creators already adding commentaries to their YouTube Video. So how do you make good YouTube commentaries that stand out from the crowd? Here are some tips to help you:
- Use quality recording equipment: Your video and audio quality should be clear and crisp, so invest in a good camera, microphone, and editing software. Try to record and render your videos in high resolution (720p or 1080p) and at a smooth frame rate (30fps or higher).
- Speak clearly and avoid stuttering: Your voice is the main attraction of your commentaries, so make sure you speak confidently, fluently, and expressively. If you need to, rehearse your script or practice your improvisation skills before you record. Don’t fill every second with your voice, but use pauses and silence strategically to create emphasis and rhythm.
- Use short intros and outros: Your intros and outros should be catchy and concise, not boring and lengthy. Use them to introduce your topic, hook your viewers, and summarize your main points. You can also use them to promote your social media accounts, ask for feedback, or tease your next video. But don’t overwhelm your viewers with loud music, irrelevant rambling, or begging for likes and subscribers.
- Keep it simple and focused: Your commentaries should be easy to follow and understand, not cluttered and confusing. Don’t use too much text or too many overlays on your video. Don’t use a face cam unless it adds value to your content. Don’t use too many annotations; use them sparingly and discreetly. If your commentaries are part of a series, give a brief recap of previous videos in your intro.
More on Eklipse Blog>>> 8+ Tips to Go Viral on YouTube Shorts Fast!
BONUS: Boost Your YouTube Viewers with Eklipse
Are you looking for a way to grow your YouTube channel and reach more viewers? Do you want to take advantage of the popularity of short-form video platforms like TikTok and Reels? If so, you need Eklipse.
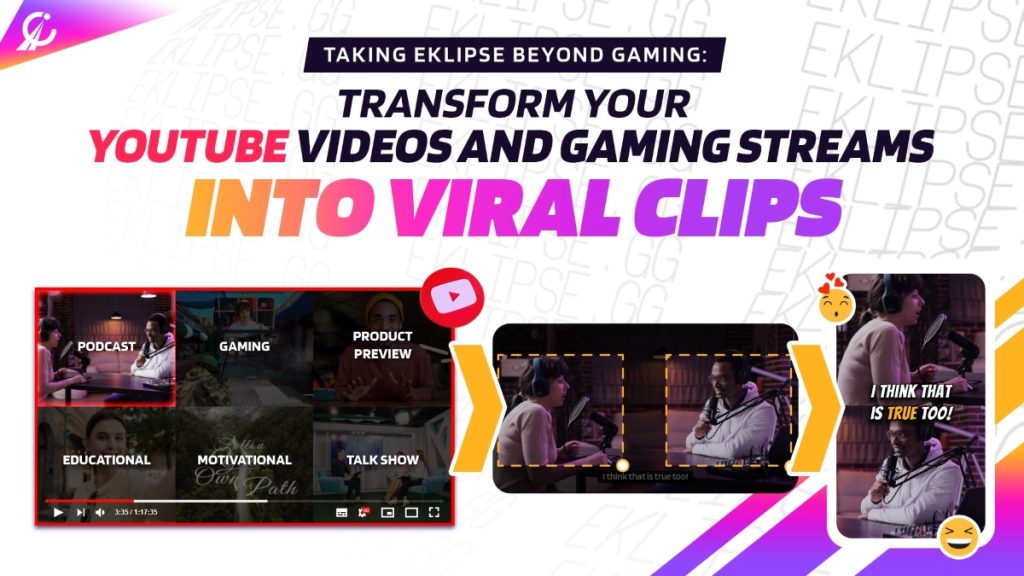
Eklipse is a free online tool that lets you convert your Twitch clips, YouTube videos, and gaming highlights into viral TikTok, Reels, and Shorts with AI features. You can also use voice command, auto-captions, stickers, and templates to customize your content and save time.
With Eklipse’s YouTube Video Highlights feature, you can easily share your long commentary videos to social media platforms in short form, so people can discover your content more easily. You can also increase your brand awareness and loyalty by adding your channel name and logo to your clips.
More on Eklipse Blog>>> How to Clip a YouTube Video into TikTok-Ready Viral Highlights on Eklipse
Eklipse is the ultimate tool for streamers and content creators who want to boost their YouTube viewers and grow their channel. It is user-friendly, time-saving, and powerful. You can create stunning and engaging clips in minutes, without any editing skills or software.
Conclusion
Adding commentary to your YouTube videos can significantly enhance their quality and engagement. Whether you choose to record audio using software, utilize a separate audio recording device, or incorporate live commentary during streams, the methods discussed in this article will help you achieve professional results.
Remember to experiment with different techniques and tools to find what works best for you and your content creation process.
You can also rely on Eklipse, the AI-powered tool for effortlessly turning your Twitch/Kick/YouTube LIVE moments into TikTok/Short/Reels content with just one click! This free application not only detects but also automatically creates short videos of your best live moments.
Still not convinced? Try Eklipse for free now and start becoming a viral sensation on social media!
Maximize your Black Ops 6 rewards—Create highlights from your best gameplay with with Eklipse
Eklipse help streamer improve their social media presence with AI highlights that clip your Twitch / Kick streams automatically & converts them to TikTok / Reels / Shorts
🎮 Play. Clip. Share.
You don’t need to be a streamer to create amazing gaming clips.
Let Eklipse AI auto-detect your best moments and turn them into epic highlights!
Limited free clips available. Don't miss out!
