Unlocking Akimbo pistols in Call of Duty: Black Ops 6 can significantly enhance your performance in close-quarters combat. Dual-wielding pistols offers a major advantage by doubling your firepower, giving you an edge in fast-paced battles. While this powerful feature can transform your loadout, many players struggle with unlocking it or optimizing its use in matches.
In this guide, we’ll walk you through how to unlock Akimbo pistols and highlight the compatible handguns. Additionally, we’ll share expert tips to help you master the dual-wielding technique, ensuring you can dominate every close-range encounter. Let’s into the details and take your combat skills to the next level!

What is Akimbo in Call of Duty: Black Ops 6?

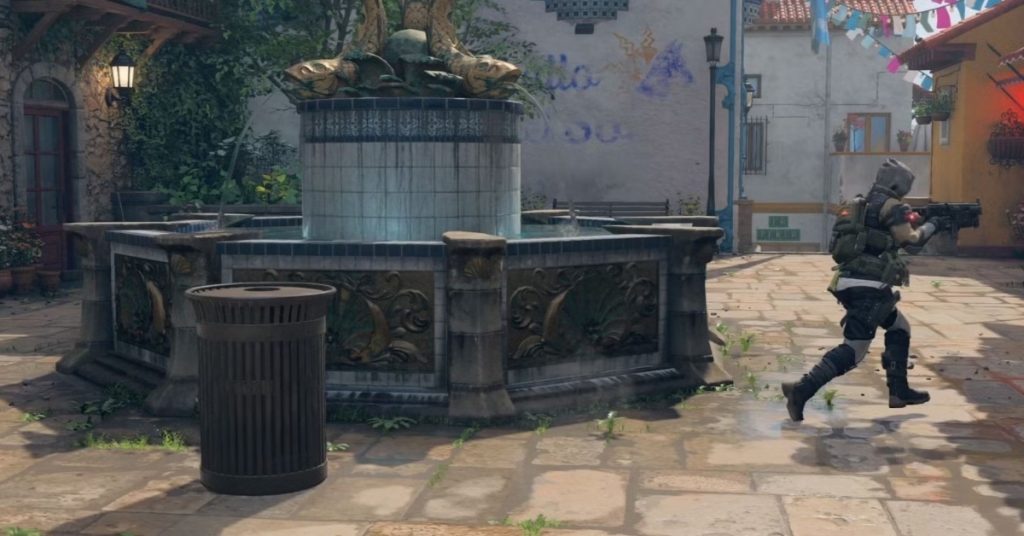
The Akimbo attachment allows you to wield two pistols simultaneously, one in each hand. This classic feature significantly increases your close-range lethality, making you a force to reckon with in tight spaces like buildings or corridors.
Benefits of Akimbo:
- Double Firepower: You shoot twice as fast with two pistols.
- Close-Range Dominance: Perfect for run-and-gun playstyles.
- High Mobility: Pistols allow quick movement and fast reaction times.
However, the trade-off is losing the ability to aim down sights (ADS), which sacrifices precision for sheer firepower. Akimbo works best for aggressive, close-quarters engagements where speed and reflexes matter most.
Steps to Unlock the Akimbo Attachment
Unlocking Akimbo requires progressing through specific challenges for each compatible handgun. Follow these steps:
- Select a Handgun: Start with a compatible pistol (listed below).
- Complete Weapon Levels: Use the pistol to level it up until the Akimbo challenge is unlocked.
- Finish the Akimbo Challenge: Typically involves completing a set number of kills (e.g., 20 kills while hip-firing).
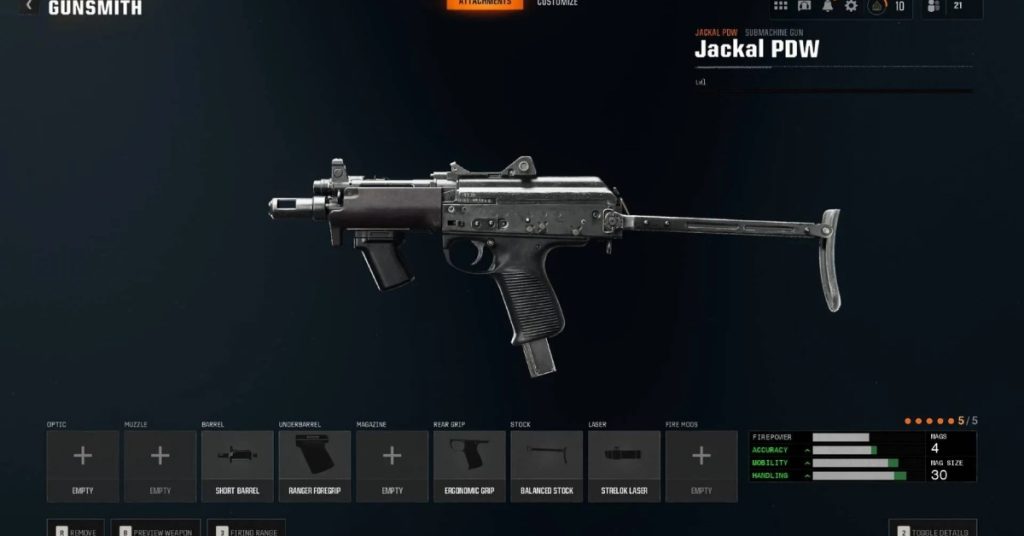
- Equip Akimbo: Go to the Gunsmith, select the attachment slot, and equip Akimbo.
Pro Tip: Focus on close-range maps like Nuketown or small sections of larger maps to speed up hip-fire kills. Equip attachments that improve hip-fire accuracy and recoil control to make completing challenges easier.
List of Compatible Handguns
Not all pistols in Black Ops 6 support the Akimbo attachment. Here are the ones you can dual-wield:
- 9mm Guardian – Balanced and reliable.
- KAP-45 – High fire rate for close combat.
- Reaver .357 – Heavy hitter with impressive damage.
- Vanguard 20 – Best for quick-draw engagements.
Each handgun offers unique strengths when dual-wielded, so experiment to find which one matches your style. For players who prefer speed, the KAP-45 is ideal, while those seeking damage will benefit from the Reaver .357.
Tips for Effective Use of Akimbo Pistols
Mastering Akimbo pistols requires adapting your strategy to their strengths and limitations. Follow these tips to maximize your dual-wielding success:
- Stick to Close Range: Akimbo thrives in tight spaces. Avoid long-distance engagements where you can’t ADS.
- Improve Hip-Fire Accuracy: Use attachments like Laser Sight or Muzzle Brake to tighten your hip-fire spread.
- Play Aggressively: Push objectives, flank enemies, and surprise opponents with your speed.
- Pair with Perks: Use perks like Lightweight for faster movement and Ghost to stay off the radar while flanking.
- Reload Strategically: Dual pistols empty fast. Find cover to reload between engagements.
Best Game Modes for Akimbo:
- Team Deathmatch: Fast-paced combat with frequent close-range encounters.
- Hardpoint: Great for pushing objectives and clearing rooms.
- Search and Destroy: Use Akimbo for quick eliminations during surprise flanks.
The Nostalgic “Mustang and Sally” Setup in Zombies
Veteran Call of Duty players will remember the iconic Mustang and Sally – dual explosive pistols from the Zombies mode. In Black Ops 6, Akimbo returns to Zombies gameplay, offering a powerful close-range tool for clearing hordes of undead.
To replicate this fan-favorite setup:
- Equip Akimbo on the Reaver .357.
- Pack-a-Punch the pistols to unlock explosive rounds.
- Use perks like Speed Cola to reload faster.
This setup is perfect for crowd control, making it easier to survive higher rounds in Zombies mode.
Final Thoughts
Unlocking Akimbo pistols in Call of Duty: Black Ops 6 offers a significant advantage in close-range combat. With the right steps to unlock the attachment, choosing compatible handguns, and applying smart strategies, you’ll gain an edge in firefights and gameplay objectives.
By mastering the Akimbo technique, you can easily overwhelm opponents in tight situations. With the proper preparation and tactics, dual-wielding pistols will make you a formidable force on the battlefield.