Recording Minecraft gameplay comes down to picking the right tool for your platform: OBS Studio or Windows Game Bar on PC, QuickTime on Mac, or the console’s built-in share button. Java Edition and console recording use different tools, so this guide covers each separately.
How to record Minecraft on PC
Two options cover most PC setups: OBS Studio for full control, or Windows Game Bar if you just want something built in.
OBS Studio is free, records at any resolution and frame rate, and works for both local recording and live streaming. It’s the better choice if you plan to stream or want control over encoding settings. See the OBS section below for setup.
Windows Game Bar (Win+G) is already on Windows 10/11. Press Win+Alt+R to start and stop recording, no install required. It’s lower quality than OBS and caps out at 1080p, but it’s the fastest way to grab a quick clip.
GPU-based recording (NVIDIA ShadowPlay or AMD ReLive) hands recording off to your graphics card’s hardware encoder, which keeps CPU overhead near zero. Worth using if you have a dedicated GPU and want minimal performance impact while playing.
If you’re not sure which to use: OBS for anything you’ll edit or stream, Game Bar for a one-off clip, ShadowPlay or ReLive if you have the GPU and want zero overhead.
How to record Minecraft with OBS
OBS is the most capable free option for recording Minecraft, and it’s what most of the “how to record Minecraft with OBS” searches are looking for.
Setup:
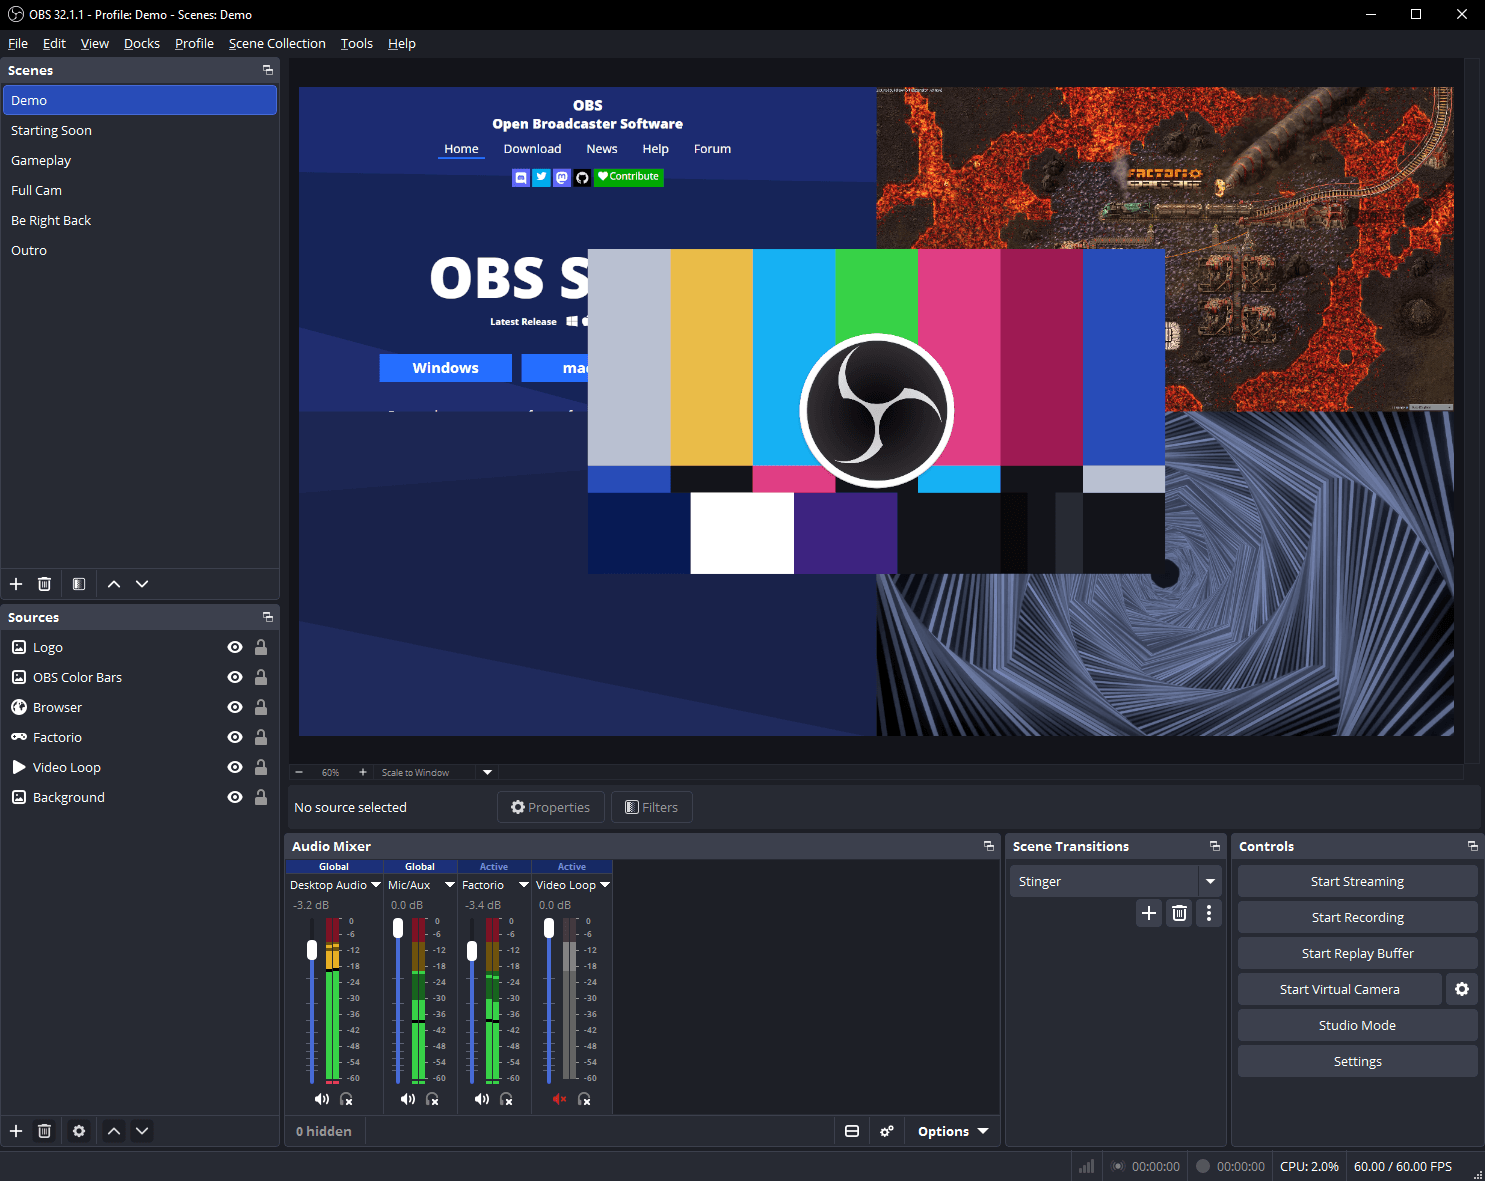
1. Download and install OBS Studio from obsproject.com
2. In the Sources panel, click the + button and select Game Capture
3. Set the capture mode to Capture specific window, then select Minecraft from the list
4. Under Settings > Output, set your resolution (1920×1080 recommended) and encoder: NVENC (NVIDIA GPU), AMF (AMD GPU), or x264 if you’re on CPU encoding
5. Press Start Recording
Common issues:
– OBS shows a black screen: switch Minecraft to fullscreen or borderless mode, or try Display Capture instead of Game Capture if the game runs in windowed mode
– Choppy recording: lower your output resolution or switch to hardware encoding (NVENC/AMF) if you’re currently on x264
– No audio: check that Minecraft’s audio output matches the device OBS is capturing in Settings > Audio
For a walkthrough with more optimization tips, see 5 Best Game Highlight Recorder That You Need to Try.
How to record Minecraft Java Edition
Java Edition runs the same as any PC application, so OBS Studio and Windows Game Bar both work without extra setup. A few things are specific to Java:
- Resource packs and shaders (Optifine, Sodium, Iris) add GPU load on top of recording. If you’re seeing frame drops, lower your in-game render distance before lowering recording quality.
- Multiplayer servers sometimes cap your FPS below your recording frame rate. Check your F3 debug screen for actual FPS before setting your recording frame rate to match.
- Java’s window mode matters for Game Capture: run Java Edition in fullscreen for OBS to detect it reliably as a Game Capture source. Windowed and borderless modes often require Display Capture instead.
The OBS setup steps above apply directly to Java Edition. Bedrock Edition (Windows, mobile, console) records the same way on PC but uses the console methods below on Xbox, PlayStation, and Switch.
How to record Minecraft on Mac
QuickTime Player is preinstalled on every Mac and handles Minecraft recording without extra software.
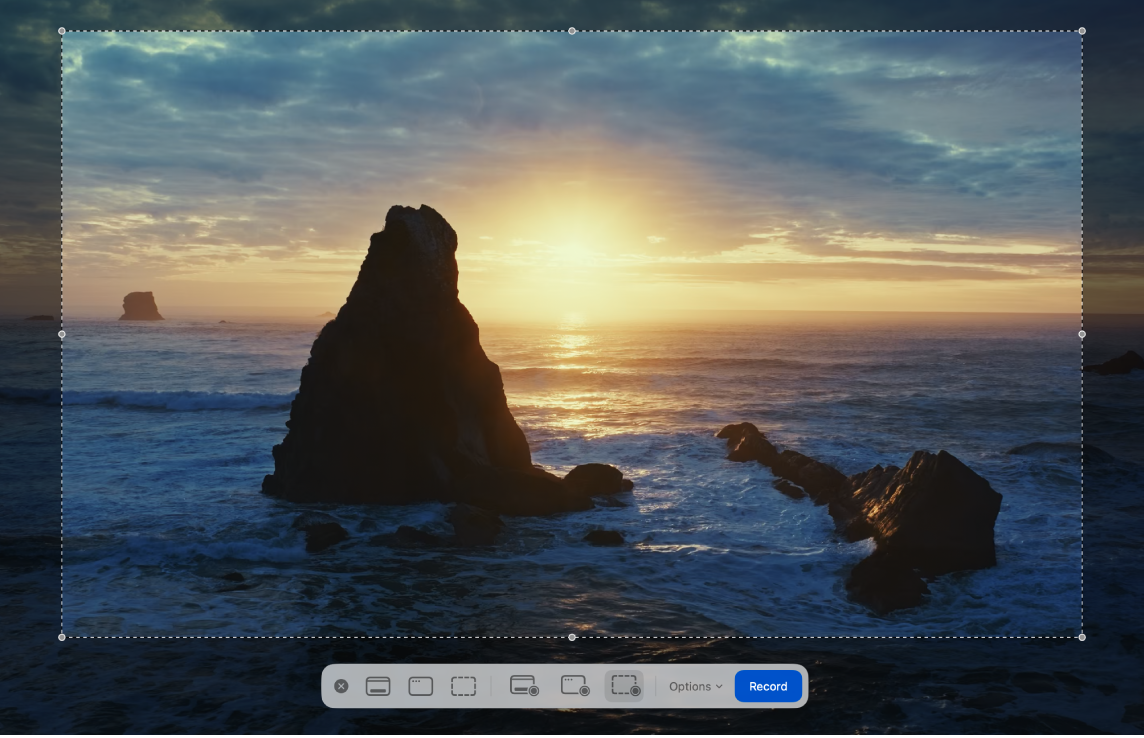
- Open QuickTime Player
- Go to File > New Screen Recording
- Click the dropdown next to the record button to select your microphone (if you want commentary) and recording quality
- Click Record, then click anywhere to record the full screen, or drag to select just the Minecraft window
- Press Stop in the menu bar when you’re done; the recording saves to your local library automatically
QuickTime doesn’t do hardware-accelerated game capture the way OBS does, so on older Macs or with ray tracing/shaders enabled, expect some frame drops during recording. OBS also runs on macOS if you want more control over encoding.
How to record Minecraft on consoles
Console recording uses each platform’s built-in share tools, no extra software needed.
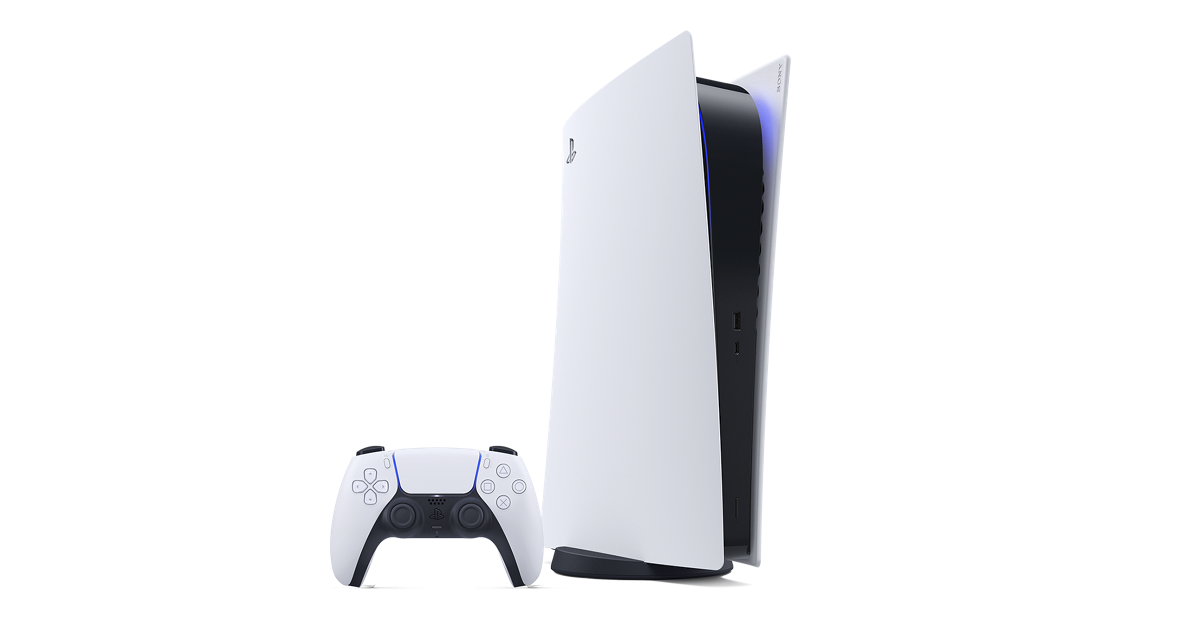
PlayStation 4/5: press the Create/Share button on the controller to save the last few minutes, or start a manual recording from the Control Center. See how to screen record on PS4 for the full walkthrough.
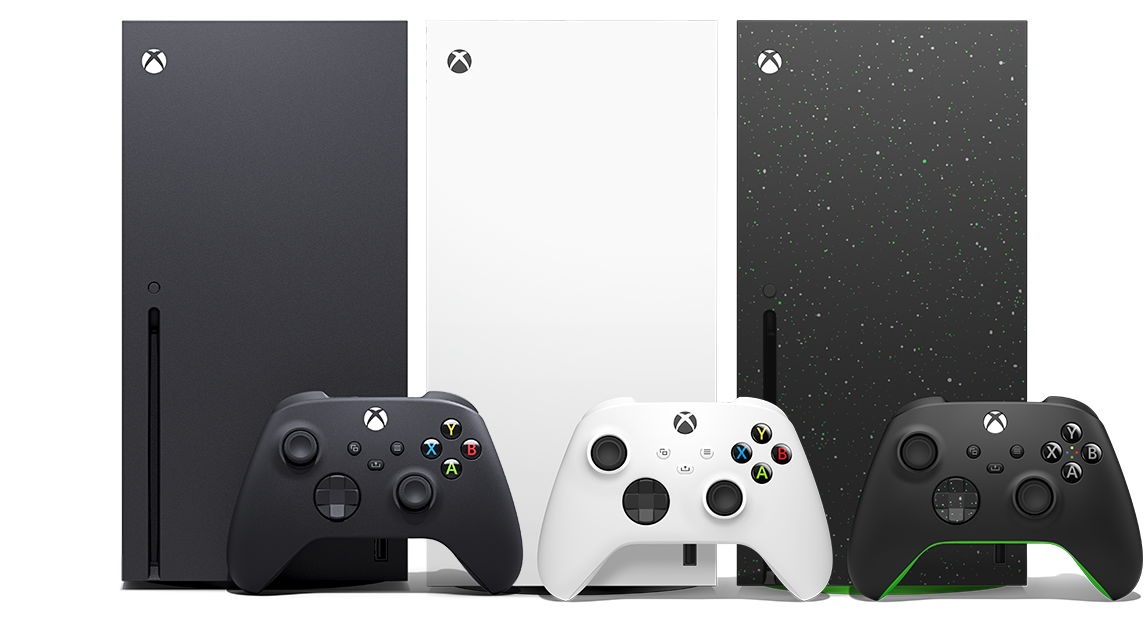
Xbox: press the Xbox button, then Y to save the last 30 seconds, or open the Game Bar (double-tap the Xbox button) to start a manual recording. No capture card needed. See recording gameplay from Xbox for details.
Nintendo Switch: press the capture button on the left Joy-Con to save the last 30 seconds, or hold it down for a menu with more options. Switch recordings max out at 30 seconds per clip by default.
All three save locally to the console; connect to your PC or use each platform’s share feature to get clips off the device.
How to clip Minecraft gameplay
Once you’ve got Minecraft footage recorded, or you’re streaming instead of recording, the next problem is finding the moments worth keeping. That’s a different job than recording: a recorder captures everything, a clipping tool finds the good parts for you.
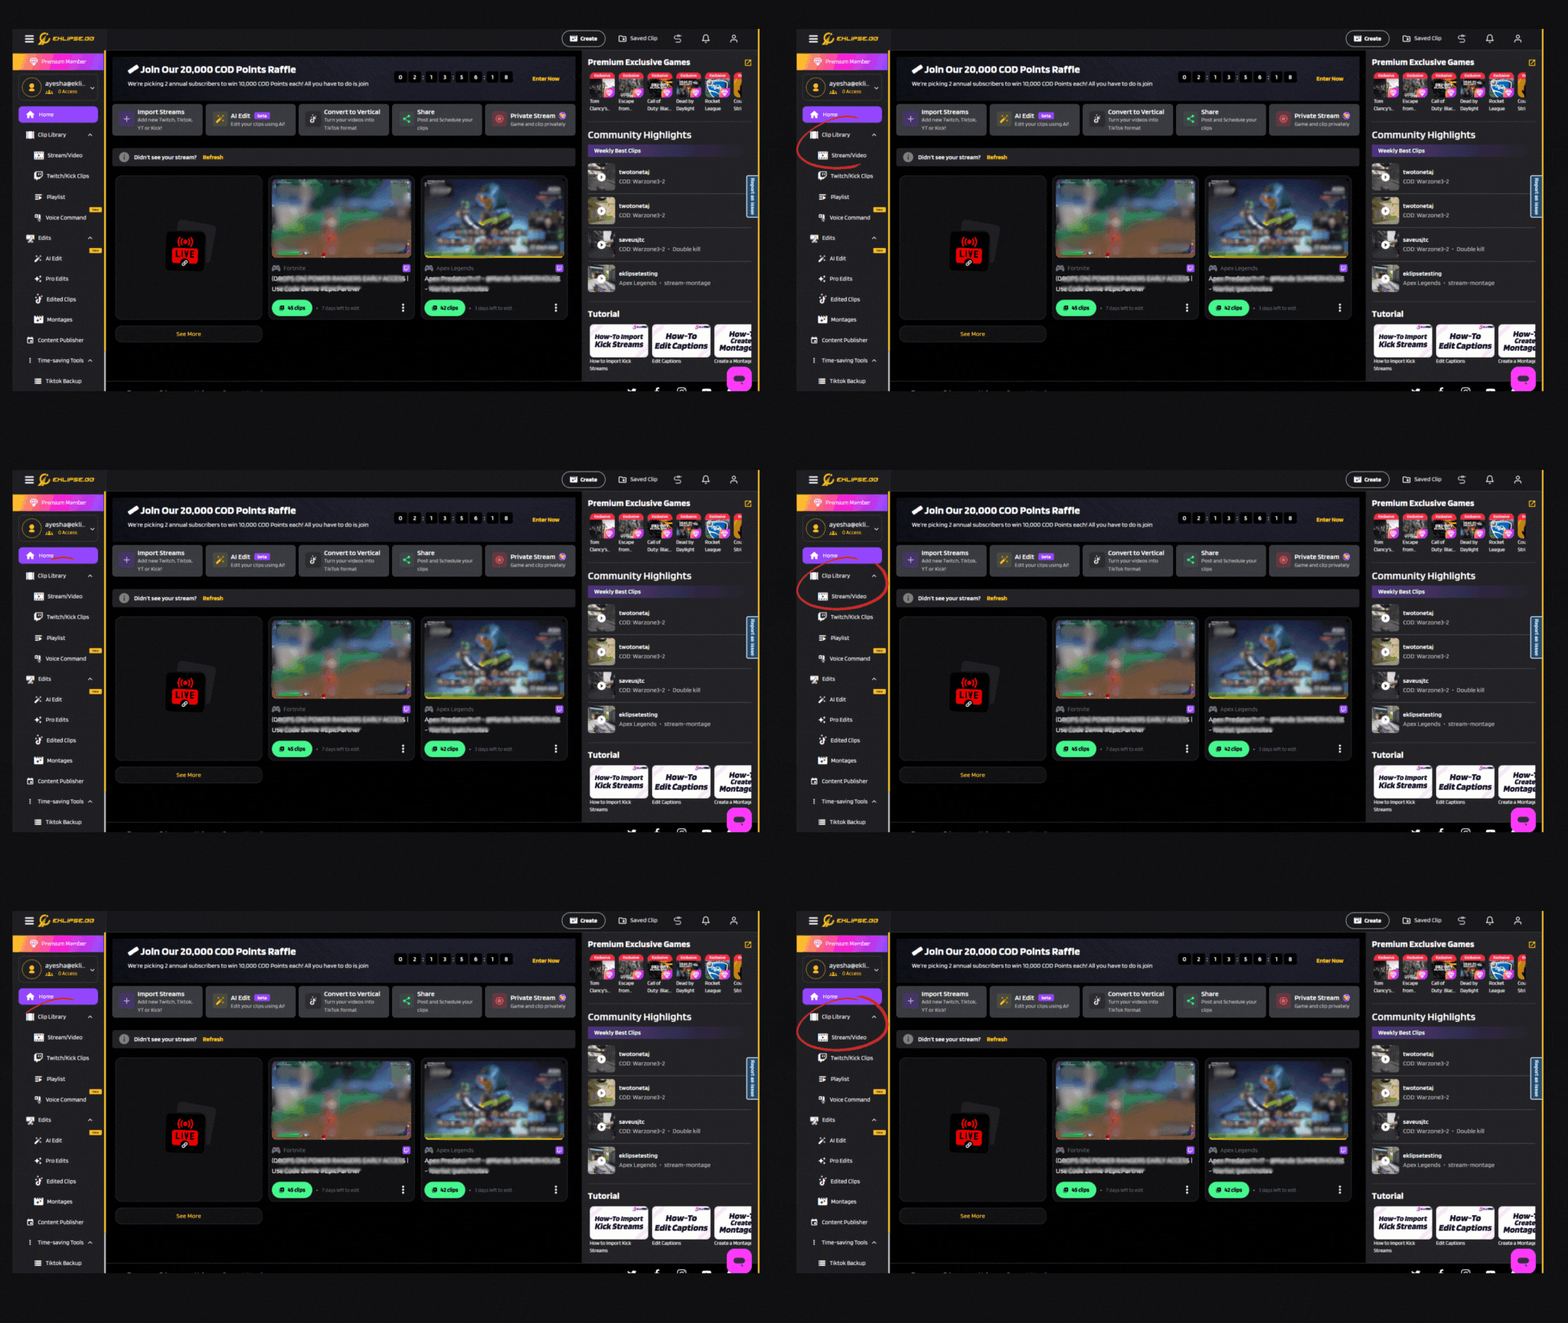
Eklipse processes your Twitch or Kick VOD after your stream ends; it’s not a recorder itself, it works on top of whatever you’re already recording or streaming with. Connect your account, stream or upload your Minecraft footage, and Eklipse detects the builds, near-misses, PvP wins, and funny moments automatically, then exports them in 9:16 vertical format for TikTok and YouTube Shorts.
How it works:
1. Create an account at app.eklipse.gg
2. Connect Twitch or Kick via OAuth, or upload a recorded video directly
3. Eklipse processes the footage and surfaces detected highlights in your dashboard
4. Download or share clips directly to TikTok, YouTube Shorts, and Instagram
For a closer look at what Eklipse detects across Minecraft PvP, builds, and Bedwars sessions, see Minecraft highlights.
Frequently asked questions
What software should I use to record Minecraft gameplay?
OBS Studio is the best all-around option: free, no watermark, and works for both recording and streaming. Windows Game Bar is the simpler built-in alternative if you don’t need OBS’s control over encoding and capture settings.
How do I record Minecraft with OBS?
Add a Game Capture source in OBS, set it to capture Minecraft specifically, choose your output resolution and encoder (NVENC or AMF for hardware encoding), and press Start Recording.
How do I record Minecraft Java Edition specifically?
The same way as any PC game: OBS Studio or Windows Game Bar both work directly. Run Java Edition in fullscreen mode for the most reliable Game Capture detection in OBS.
Can I record Minecraft on console without a capture card?
Yes. PlayStation, Xbox, and Nintendo Switch all have built-in recording via their share/capture buttons, no capture card or extra hardware required.
The right way to record your Minecraft setup
- PC (Java or Bedrock): OBS Studio for full control, Windows Game Bar for a quick one-off clip
- Mac: QuickTime Player, built in and free
- Console: each platform’s built-in share button, no extra hardware needed
- Turning recordings or streams into clips: Eklipse detects your best Minecraft moments automatically and exports them ready for TikTok and Shorts.
🎮 Play. Clip. Share.
You don’t need to be a streamer to create amazing gaming clips.
Let Eklipse AI auto-detect your best moments and turn them into epic highlights!
Limited free clips available. Don't miss out!