")
The upcoming Citadelle des Morts BO6 is set to redefine the Zombies experience in Call of Duty: Black Ops 6. Launching on December 5, 2024, this highly anticipated map combines a rich narrative, innovative gameplay features, and a nostalgic setting that will captivate fans of the franchise.
With its blend of classic and new elements, Citadelle des Morts promises to be a standout addition to the Zombies mode, offering players hours of intense, strategic gameplay.

A Deep Dive into Citadelle des Morts in BO6
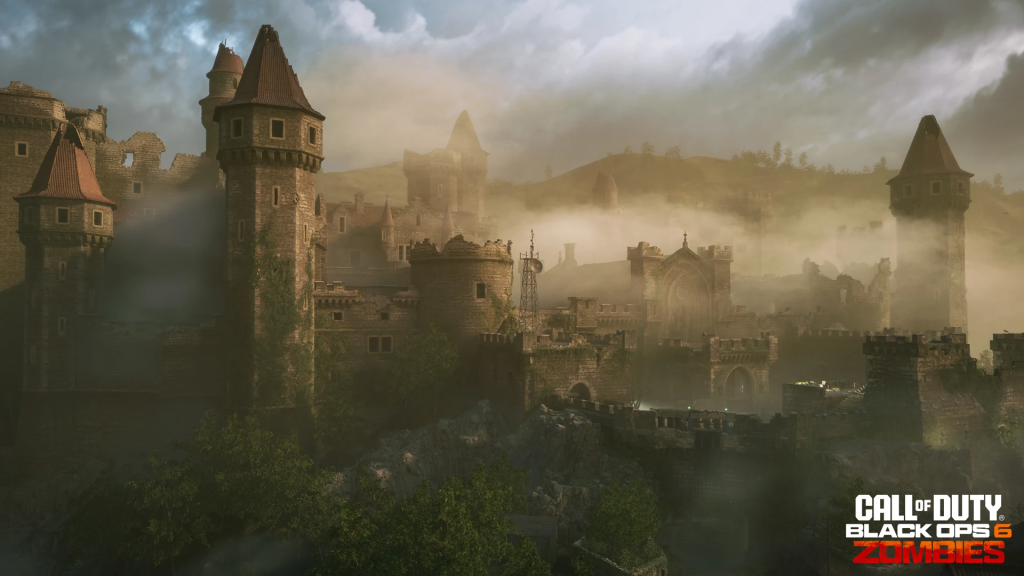
Citadelle des Morts, meaning “Citadel of the Dead,” serves as the third Zombies map in Black Ops 6. Set in an atmospheric old village and a historic castle, the map draws inspiration from fan-favorite locales like Der Eisendrache from Black Ops 3.
Players will navigate between open courtyards and narrow corridors, creating a dynamic gameplay experience that demands both strategy and precision. This iconic setting is poised to rekindle the nostalgic charm of earlier Zombies maps while introducing fresh challenges.
New Gameplay Elements
- Wonder Weapons
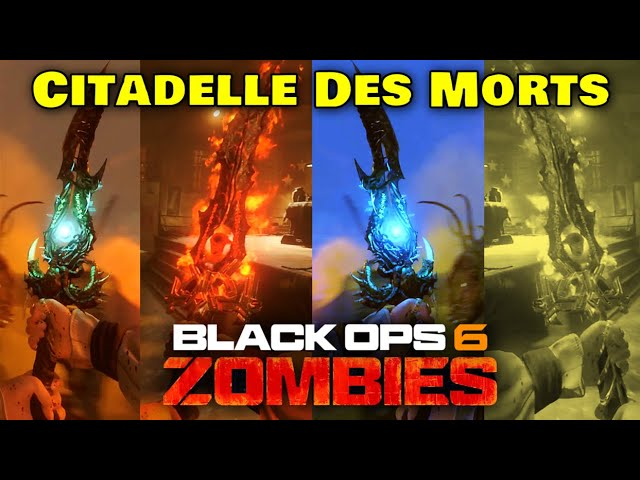
A highlight of the map is the introduction of a new sword-inspired Wonder Weapon. This unique melee weapon comes with multiple elemental variants, reminiscent of the legendary staffs from Black Ops 2. Players will need to master these variants to maximize their effectiveness against the undead. - Perks and GobbleGums
Citadelle des Morts debuts a new perk that could redefine how players approach survival. Speculation suggests it may build upon classic perks like Double Tap or introduce entirely new abilities. Additionally, three fresh GobbleGum flavors provide expanded tactical options, allowing players to adapt their strategies to different scenarios. - Special Enemies
The map introduces formidable new enemies designed to challenge traditional gameplay. These additions require players to develop innovative strategies, enhancing the map’s depth and replayability.
Immersive Storyline
The storyline continues the gripping narrative of Requiem’s journey, picking up after the events of Terminus. Set in Avalon, the abandoned castle brims with undead adversaries and hidden secrets. Returning character Sergei Ravenov adds depth to the plot, as players unravel connections to the larger Zombies lore. A dedicated main story quest will accompany the map, offering players a cinematic and engaging experience.
Why Citadelle des Morts BO6 Stands Out
This map is more than just a new location—it’s a comprehensive upgrade to the Zombies experience. Its intricate design, new mechanics, and captivating storyline ensure a blend of strategy, excitement, and immersion.
Whether you’re a long-time Zombies veteran or a newcomer, Citadelle des Morts BO6 is crafted to offer something unique for every player.
Release and Community Anticipation
Citadelle des Morts launches as part of the Season 1 updates for Black Ops 6, accompanied by a Double XP weekend to celebrate its arrival.
The map’s combination of nostalgic charm and fresh innovations has generated significant buzz within the Call of Duty community, positioning it as one of the most eagerly awaited releases of the year.
Final Thoughts
The Citadelle des Morts BO6 map is poised to make a lasting impact on the Zombies mode of Call of Duty: Black Ops 6. With its blend of new gameplay elements, immersive storyline, and nostalgic setting, this map delivers an unparalleled gaming experience.
Whether you’re drawn to its innovative Wonder Weapons, challenging enemies, or rich narrative, Citadelle des Morts offers endless opportunities for thrilling adventures when it arrives on December 5, 2024.
Click here to join our Discord and win the prize!
Maximize your Black Ops 6 rewards—Create highlights from your best gameplay with with Eklipse
Eklipse help streamer improve their social media presence with AI highlights that clip your Twitch / Kick streams automatically & converts them to TikTok / Reels / Shorts


")


