
Level Up Your Marvel Rivals Gameplay
Capture your epic wins, clutch moments, and even hilarious fails with Eklipse. Easily create and share highlight reels with your friends—even if you're not streaming!
Learn MoreAre you frustrated with lagging issues while streaming or recording with OBS (Open Broadcaster Software)?
Lagging can disrupt the smoothness of your playback, affect the viewing experience for your audience, and even lead to dropped frames or connection problems. It can be caused by various factors, from hardware limitations to software settings.
In this article, we’ll guide you through practical solutions to troubleshoot and overcome lagging issues. Read on to learn how to optimize your setup and ensure a smooth streaming experience in OBS.
1. Fix Lagging in OBS by Checking Your Hardware

First things first, let’s not forget the importance of checking your streaming hardware when fixing the lagging in OBS. Sometimes, lagging issues in OBS can be attributed to problems with your hardware components, such as your Ethernet connection, ports, or router.
Take a moment to inspect these elements and ensure they are in good condition. If you notice any loose or damaged parts, it’s crucial to repair or replace them to improve your OBS performance.
2. Check the Security and Firewall of Your Device
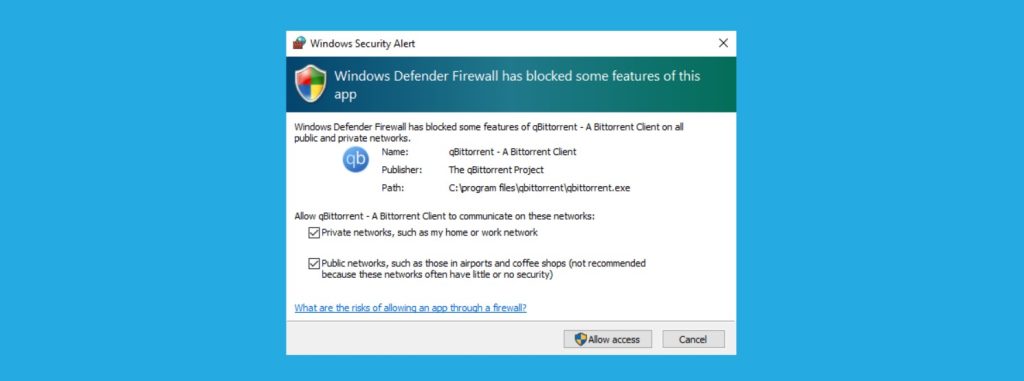
If you’re still facing OBS lagging and streaming issues, it’s worth investigating if any security software is causing interference with proper movie playback. Temporarily uninstalling your security software can help identify if it’s the culprit.
Additionally, check your system firewall settings to ensure they are not contributing to OBS lags. Remember to restore the original settings once the troubleshooting process is complete. Meanwhile, to adjust your firewall settings on Windows, you can follow these steps:
Step 1: Windows Settings
Go to the Windows icon (Start) located at the bottom left of the desktop (the flag icon). Click on the gear icon for the Settings menu.
Step 2: Windows Security
Hover over “Update & Security” in the Settings menu and select “Windows Security.”
Step 3: Firewall & Network Protection
Within Windows Security, navigate to “Firewall & network protection.”
Step 4: Microsoft Defender Firewall
Locate “Microsoft Defender Firewall” and turn off the firewall.
More on Eklipse Blog >> How to Update OBS on Windows and Mac: Get The Best Live Streaming
3. Use a Stable Network
To avoid visual lag or freezing issues in OBS, you need a fast internet connection. Dropped frames are an indicator of an unreliable connection. It’s essential to check your connection speed using a speed test program.
If you’re unable to resolve the connection issue on your own, it’s advisable to contact your internet service provider for assistance in troubleshooting speed or network problems.
4. Use a Wired Connection
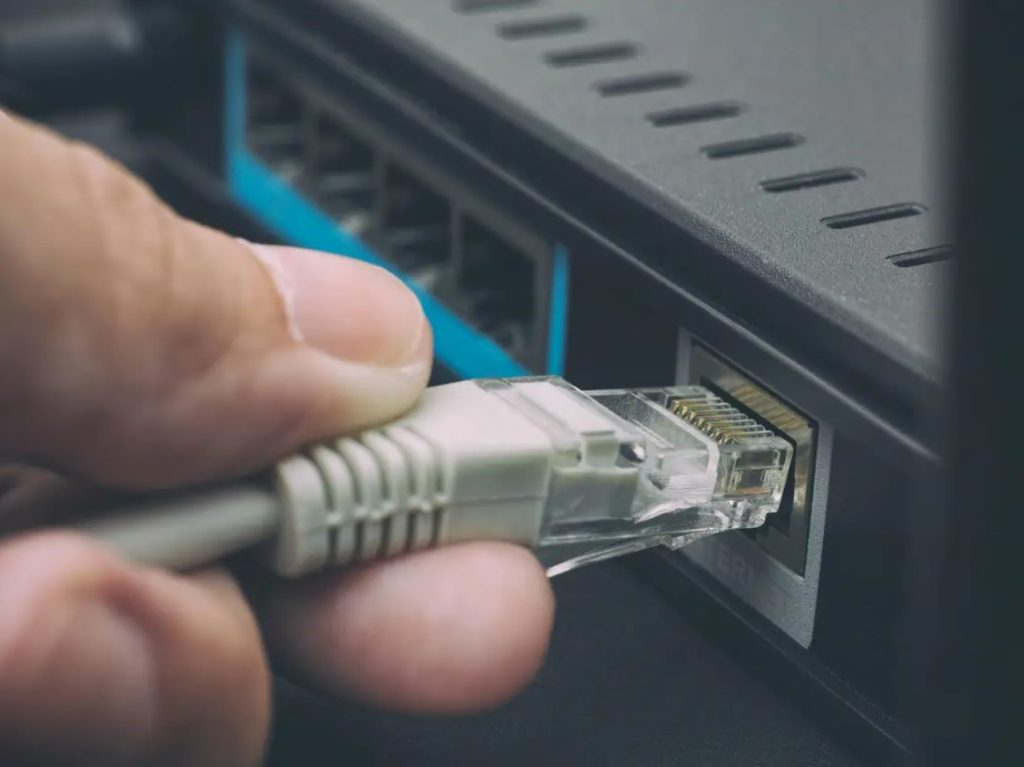
While wireless connections offer convenience, they may not always be reliable or stable, particularly for streaming purposes.
If you’re experiencing trouble with your wireless internet connection, consider connecting your computer directly to the router using an Ethernet cable.
This wired connection ensures a consistent network connection, reducing the chances of lag or disruptions during your streams.
5. Change OBS Settings to Fix Lag

Customizing OBS settings according to your device’s performance can significantly fix lagging in OBS. Here are some straightforward steps to help you optimize OBS settings:
Step 1: Encoding Settings
You can change your encoding settings for better streaming performance on OBS. If you have NVIDIA graphic cards, you might wanna try the NVENC encoder rather than the default x264.
To change your encoder go to “Settings > Encoding.” You can find the “Settings” option in the sidebar.
Step 2: Adjust Max Bitrate
Another way to reduce video lag on your OBS is by adjusting your bitrate. To change it, go to encoding settings, modify the maximum bitrate to 500,000 (or 800,000 if using 720p) in kilobits per second (kb/s)
Step 3: Modify Base Resolution
According to your specific needs, adjust the base resolution to either 1080p or 720p. If you’re unsure about the exact size, you can refer to the Resolution Downscale section for additional guidance.
More on Eklipse Blog >> How To Mute Discord On OBS Studio: 3 Methods to Try
Final Thoughts
In conclusion, optimizing your OBS settings and addressing lagging issues can greatly enhance your streaming experience. Remember, a seamless streaming experience benefits both you as a streamer and your audience
Now you’re done fixing your OBS, it’s time to take your streaming journey to the next level with Eklispe, an AI highlight generator that can effortlessly clip and convert your live-stream content into engaging TikTok videos.
Grow your presence on social media effortlessly! Visit Eklipse.gg to learn more and sign up now to start growing your channel.

🎮 Play. Clip. Share.
You don’t need to be a streamer to create amazing gaming clips.
Let Eklipse AI auto-detect your best moments and turn them into epic highlights!
Limited free clips available. Don't miss out!
