Watching a live Twitch stream is always thrilling, but what happens when you miss it or want to relive those unforgettable moments? Don’t worry—there’s a way to watch old Twitch streams and revisit your favorite broadcasts anytime you like. Learning how to watch old Twitch streams can make sure you never miss out on great content, even if it’s no longer live.
In this guide, we’ll explore the best ways to watch past Twitch broadcasts and highlights stored on a streamer’s channel. Discover how to uncover content you thought was gone for good. Let’s dive in!
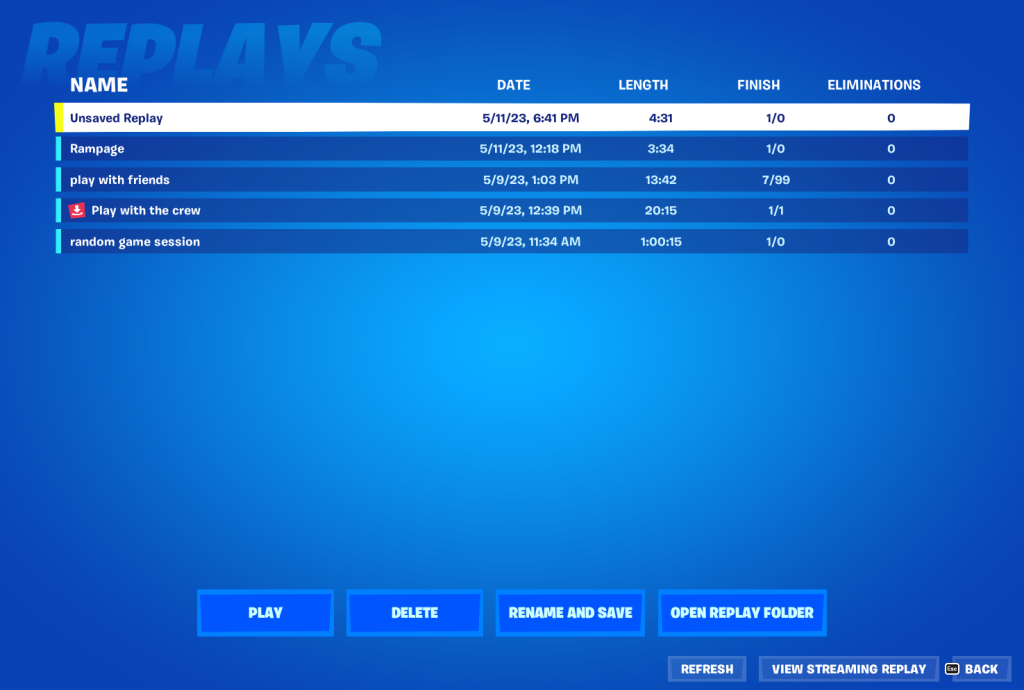
How to Watch Back Twitch streams
To watch streams that have already happened on Twitch, follow these simple steps:
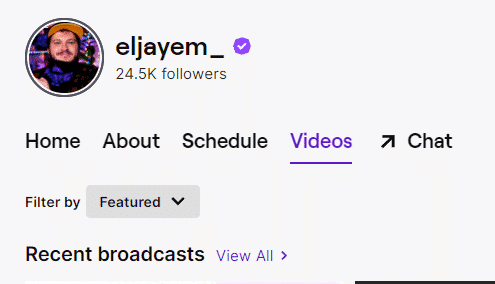
- Go to the channel of the streamer whose past streams you want to watch.
- Click on the “Videos” tab located on that channel’s page.
- Scroll down until you reach the “Recent Broadcasts” section. Here, you’ll find a list of the streamer’s most recent streams.
- Choose the specific stream you want to watch from the list and click on it to start playing.
How to Watch Old Twitch Streams That Were Deleted
How to watch old twitch streams that were deleted? If you’re trying to watch deleted Twitch streams, here other few options you can try:
- Twitch Leecher: This tool lets you download and watch Twitch VODs offline. You can search by streamer or date.
- TwitchTracker: Use this site to explore detailed stats and archives for Twitch streamers, including past streams and VODs.
- Internet Archive: Check the Wayback Machine for archived Twitch streams and VODs. It’s especially useful for popular content. You can search using the Twitch channel URL or the streamer’s username.
Things to Remember When You Want to Watch Old Twitch Streams
Remember, there are a couple of things to keep in mind while searching for past streams:
- Access Requirements: Sometimes, you might need to follow or subscribe to a channel to watch a streamer’s past streams. This is because certain streamers limit access to their older Twitch streams.
- Stream Expiry: Past streams have a limited lifespan. Twitch keeps them saved for 14 days if the streamer is a Twitch Affiliate and for 60 days if they are a Twitch Partner.
Lastly, for past Twitch streams to be saved on a channel, the streamer must have the feature enabled that saves Twitch streams. If this feature is not enabled, the stream won’t be saved on their channel once it ends.
Other Ways to Watch Past Streams on Twitch
Start by browsing the channel’s “Clips” section. Here, you’ll find short, exciting moments saved directly by Twitch (and the streamer) that won’t disappear. You might just find the specific moment you’re looking for!
If you’re hoping to find streams that have been deleted or are past their expiration date, there’s no magic solution. Unfortunately, unless the streamer decides to re-upload them to YouTube or another platform, they’re gone for good.
The good news? You can become the master of your own Twitch time capsule! By reposting your favorite broadcasts to other platforms, you can ensure you can revisit them whenever you want. We’ll explore these methods in more detail next.
Option 1: Go to The Clips Section on The Channel
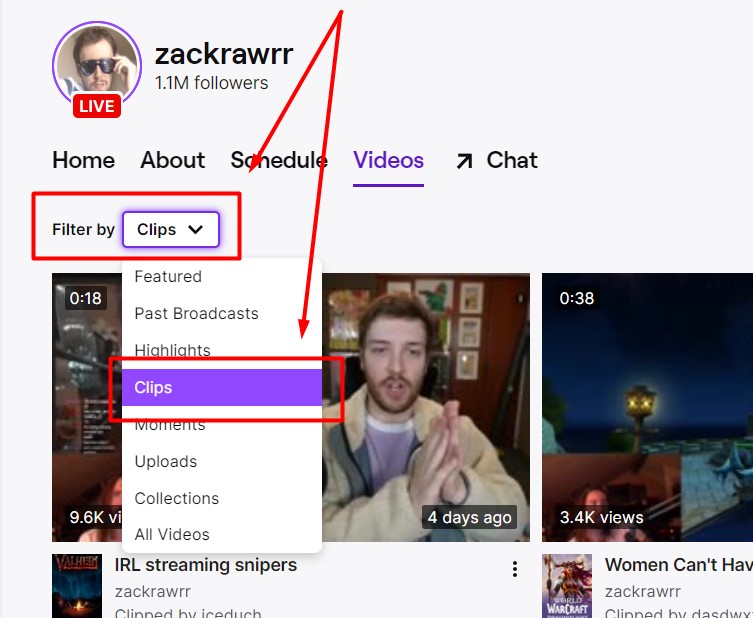
- Twitch doesn’t save entire broadcasts, but the “Clips” feature highlights memorable moments.
- Clips capture short segments like funny fails or amazing plays.
- Viewers can create clips, making it possible to discover old gems.
- Go to the “Videos” section on a channel and select “Clips” to browse.
- Filter clips by creation date to explore highlights from the past week, month, or all time.
More on Eklipse Blog >>> How to Get Twitch URL on Mobile & Share It: 3 Options You Can Try
Option 2: Streams Disappear After a While? Here’s the Deal
Ever miss a great Twitch stream and then realize it’s gone? It happens! Streamers can only keep their past broadcasts for a certain amount of time, usually 14 days for regular users and 60 days for partners and subscribers.
That means if you miss a stream, or one gets deleted before that time, there’s currently no way to download it after it’s gone from Twitch.
If you’re a streamer who wants to keep your best content around, consider uploading highlights or full VODs to YouTube or other platforms. This way, you can share your awesome moments with everyone, even after they disappear from Twitch.
We cover the topics about the Twitch deleted VoDs archive that you can check out through this link > Twitch VoD Archive: How to Re-watch It
Option 3: Watch Old Twitch Stream by Reposting it on Other Platform

Gotcha, you want to download a Twitch stream? You can do that, but there’s a catch. Just like with watching past broadcasts, you can only download streams that are still archived on Twitch, which is usually 14 days for regular users and 60 days for partners and subscribers.
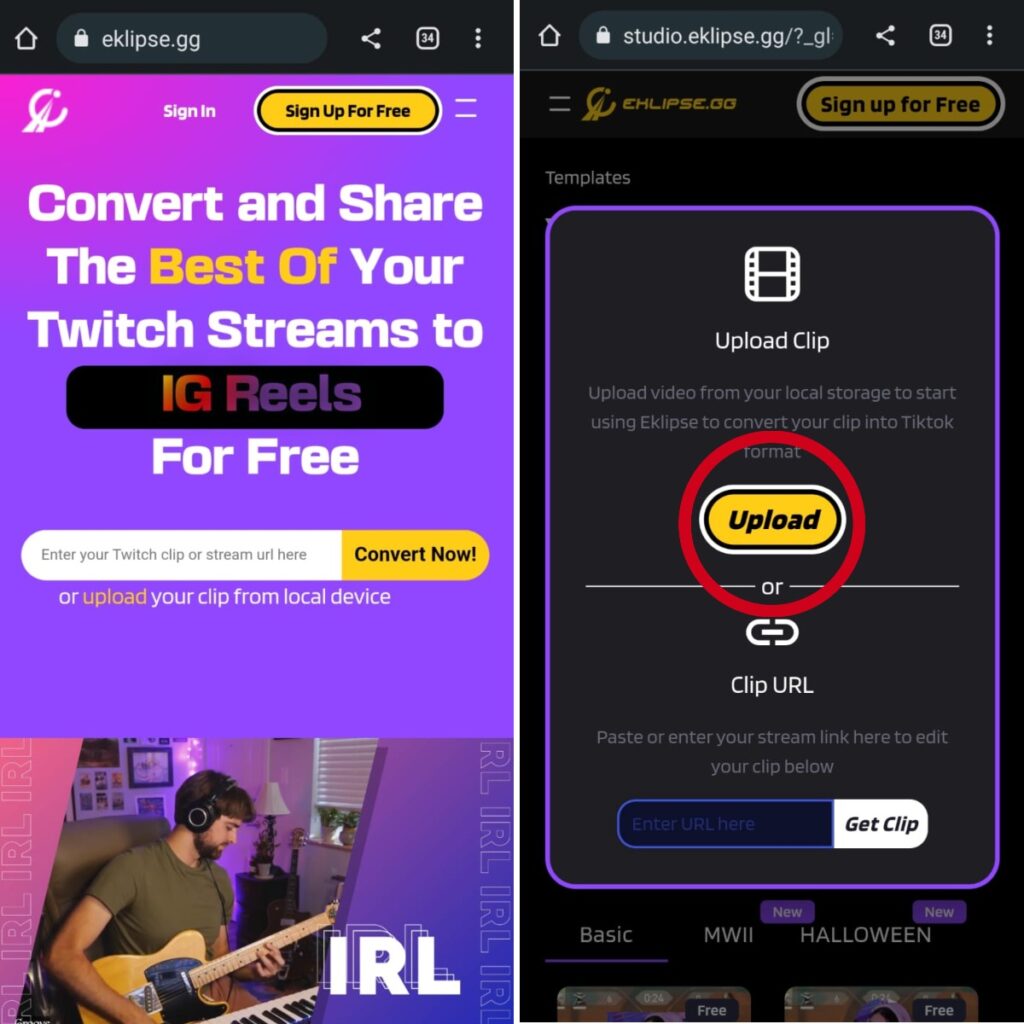
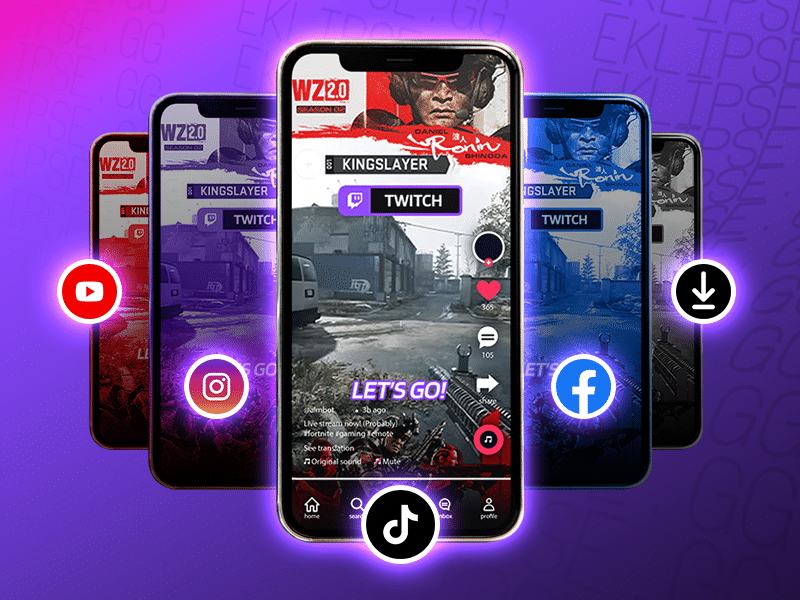
Here’s the cool part: there are tools online that can help you snag those streams before they disappear. One such tool is Eklipse.
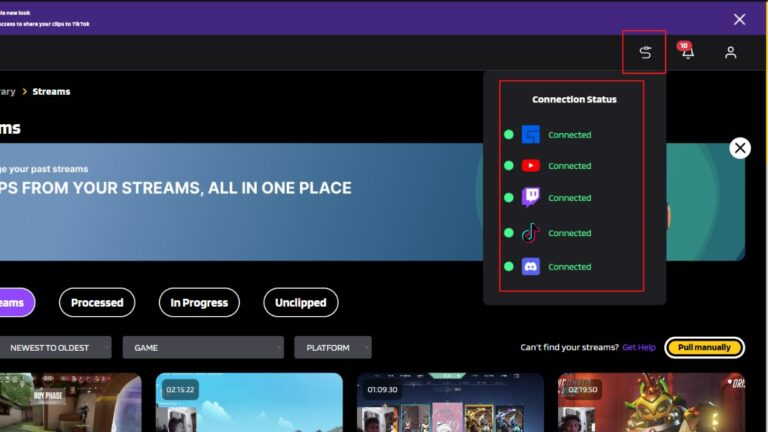
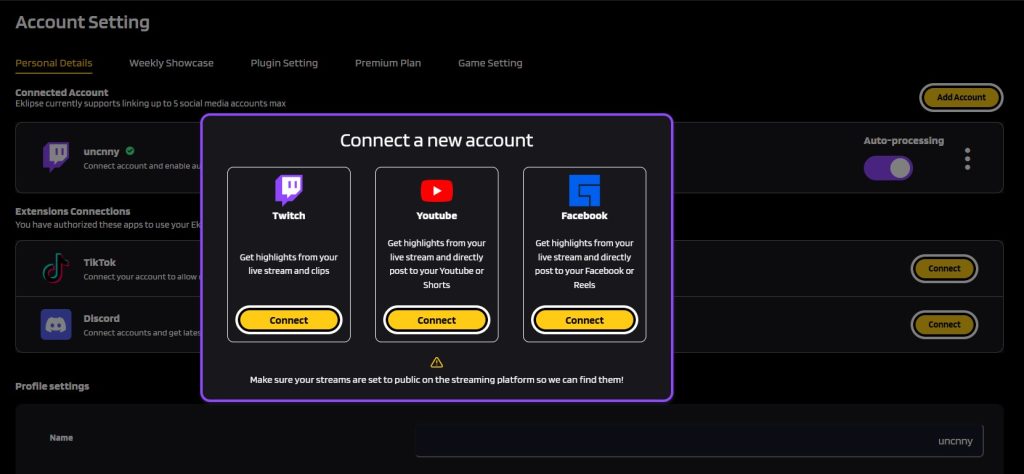
Eklipse lets you clip out the best moments from a Twitch stream and download them to your computer. Even better, you can edit these clips to make them perfect for sharing on TikTok or other social media. Here’s a quick rundown of how Eklipse works:
- Create an Eklipse account (if you don’t have one already).
- Connect Eklipse to your Twitch account.
- Pick the Twitch stream you want to clip from.
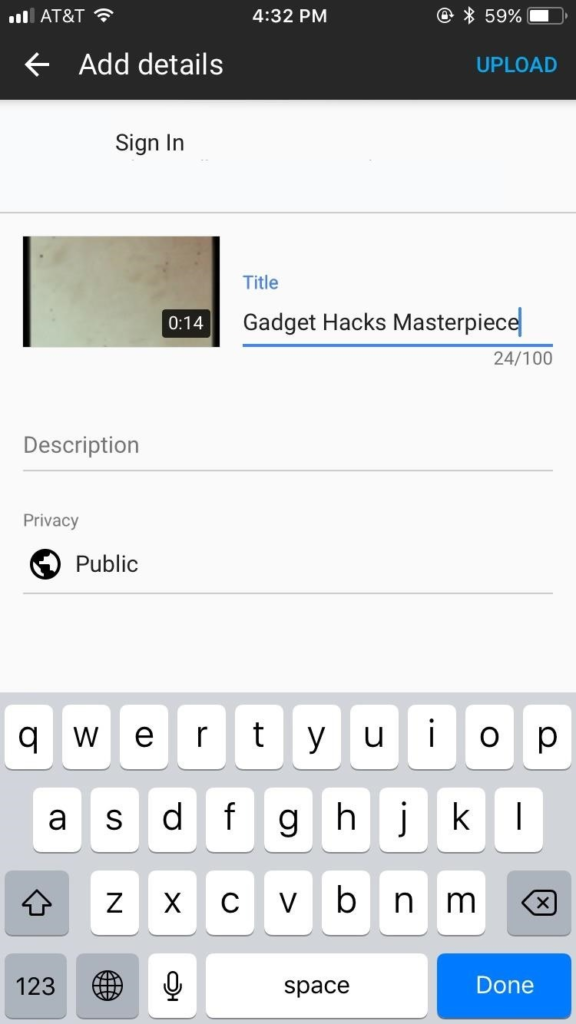
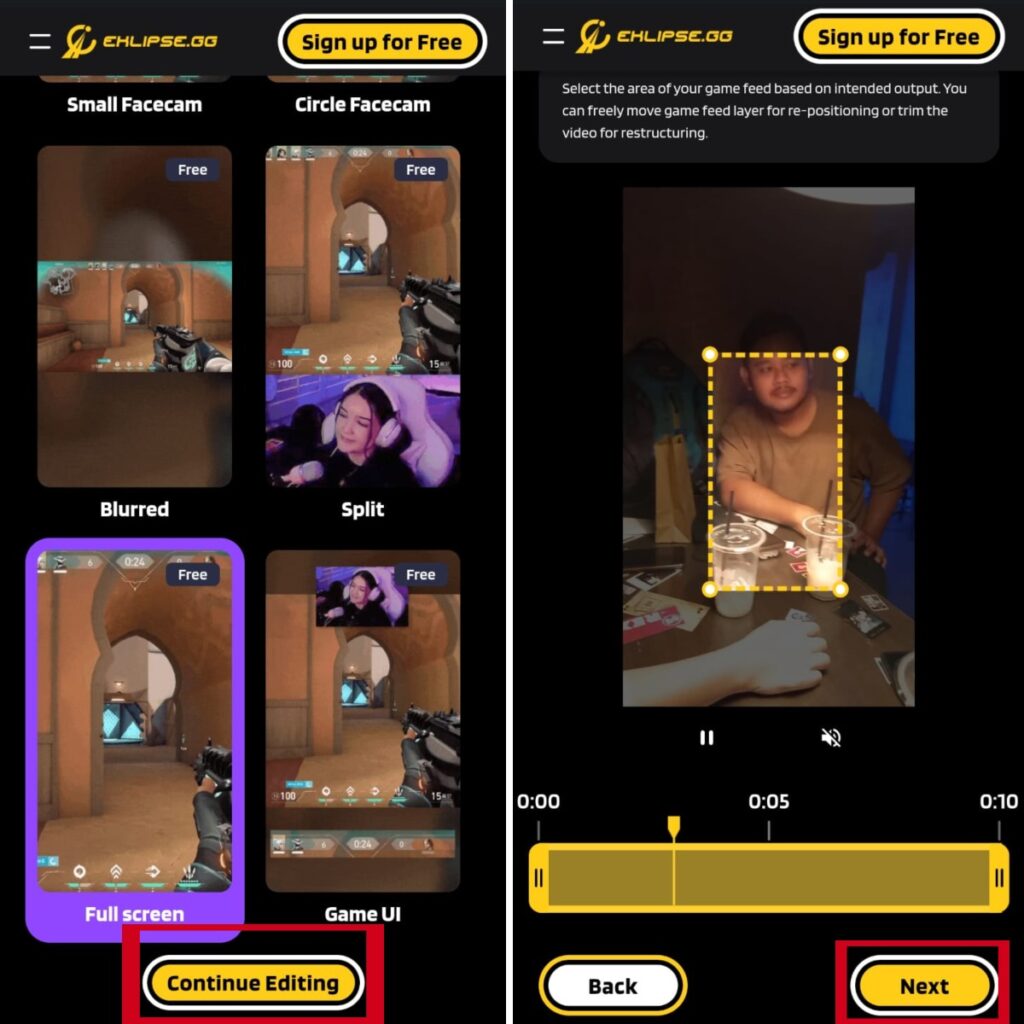
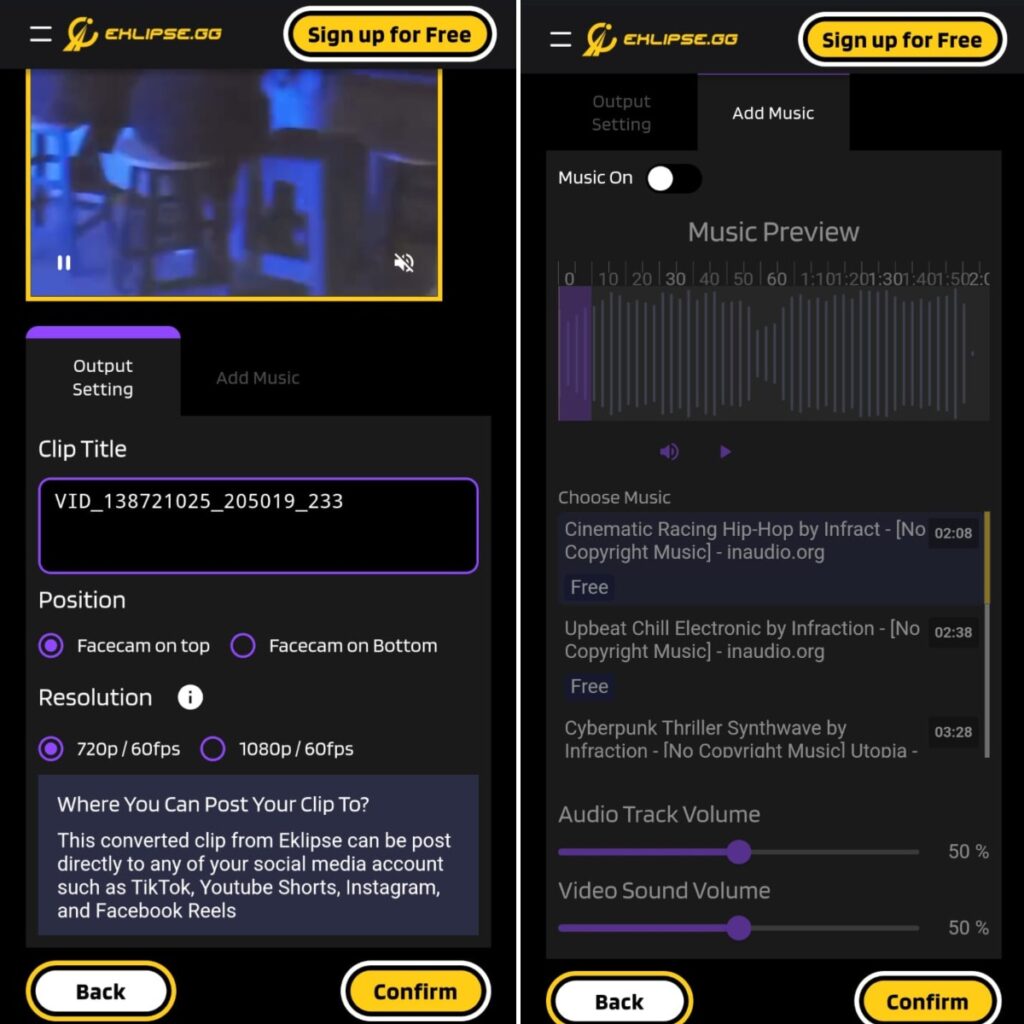
- Edit your clip! Choose a template, trim the length, add some background music, or throw in some fun stickers.
- Once your highlight is ready, download it and share it with the world!
All is automatic, all you need to do is just upload, and wait for our smart AI to process your streams. Then you can share them through any social media platform. You then can watch any of your old streams with ease! The app is free, so don’t hesitate to try it! Go sign up for Eklipse now!
For a more comprehensive guide, you can check out the guide about this by clicking the link > How to Download Twitch Streams: A Complete Guide
Option 4: Engage with the Community
Twitch boasts a lively community, and connecting with fellow viewers and enthusiasts can lead to discovering saved or recorded old streams. To enhance your chances of finding elusive content, follow these steps:
- Participate in Twitch communities and forums: This method raises the likelihood of encountering enthusiasts who have archived or recorded old streams.
- Explore social media: Many streamers and fans frequently share noteworthy highlights from past streams on platforms such as Twitter, Reddit, or YouTube. Conduct searches using the streamer’s username or relevant stream-related keywords to unveil hidden gems.
More on Eklipse Blog >>> Twitch Keeps Buffering? Causes and Fixes
FAQ
1. How far back can you see streams on Twitch?
Twitch Partners, as well as Prime and Twitch Turbo users, will have their past broadcasts stored for 60 days before they are removed. For all other broadcasters, past broadcasts will be retained for 7 days before being deleted.
2. Does Twitch have a stream history?
Yes, if you have enabled VOD storage. You can view your Past Broadcast there.
3. Can you clip old Twitch streams?
Any logged-in viewer or streamer can create clips from a channel if the streamer has allowed clips in their Clips Settings.
Final Thoughts
That’s how you can watch old Twitch streams, including deleted ones. You can use tools like Twitch Leecher, the Internet Archive, or simply navigate to Videos > Recent Broadcasts on a streamer’s Twitch channel. Keep in mind that these videos are typically available for up to 60 days if the streamer is a Twitch Partner. Make sure to watch them before they disappear!
Another great option is Eklipse. Eklipse is an AI-powered video editor that transforms your best livestream moments into engaging TikToks, Shorts, or Reels. Sign up today to preserve and showcase your favorite Twitch moments with Eklipse!
Maximize your Black Ops 6 rewards—Create highlights from your best gameplay with with Eklipse
Eklipse help streamer improve their social media presence with AI highlights that clip your Twitch / Kick streams automatically & converts them to TikTok / Reels / Shorts