To grow on TikTok as a streamer in 2026, you need a consistent system for turning your best stream moments into short vertical clips and posting them daily. Eklipse AI automates most of that process — detecting highlights, reformatting for TikTok, and letting you publish in minutes instead of hours.
Here is the problem every streamer eventually faces: Twitch is no longer a discovery engine. StreamsCharts data from early 2026 confirms what most creators already feel — the algorithm does not surface new streamers the way it used to. If you want new viewers, you have to go find them somewhere else first, then bring them back.
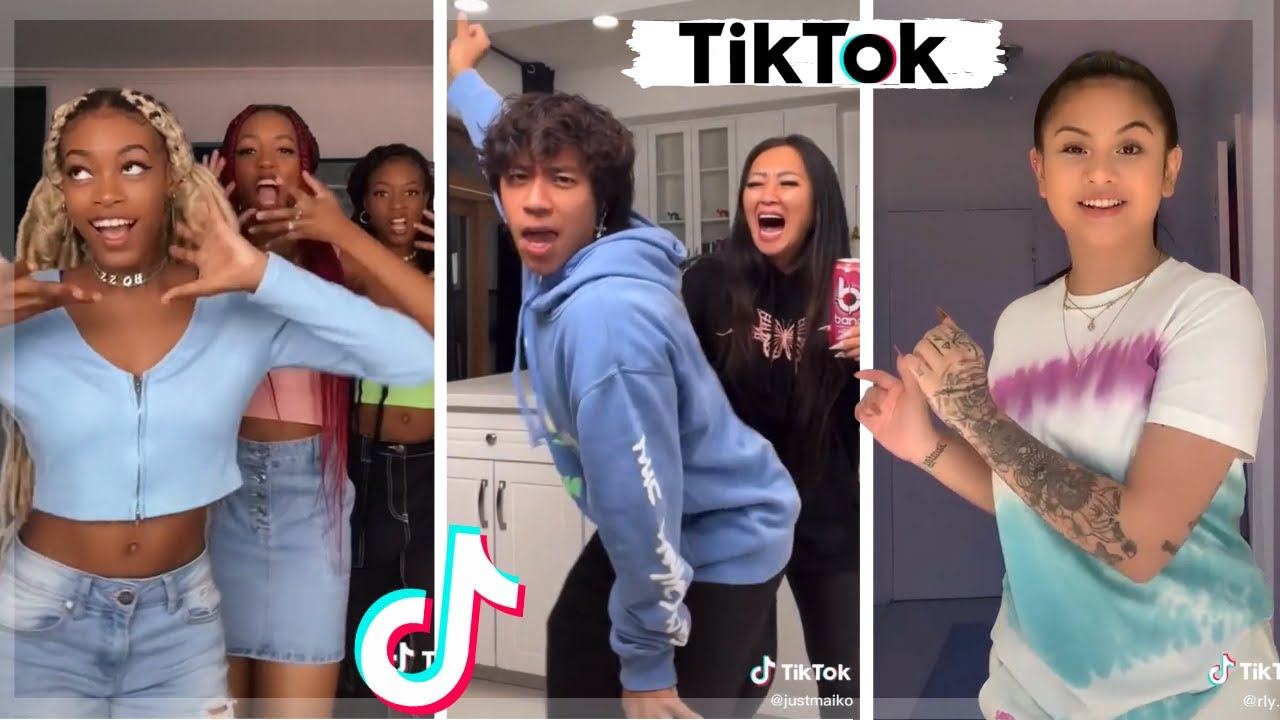
TikTok is where that discovery happens now. An hour-long Valorant session might draw 40 concurrent viewers on Twitch. A 45-second clip of a clutch round on TikTok can hit 50,000 views in 48 hours. Same content. Completely different reach.
The bottleneck for most streamers is not talent or content quality. It is time. Manually trimming a six-hour VOD, reformatting clips to vertical 9:16, adding captions, and exporting for TikTok takes three to five hours — per stream. That is not sustainable for anyone streaming four or five days a week.
Eklipse AI solves the time problem. In this guide, you will learn exactly how to set it up, what it can and cannot do, and how to build a clip-to-TikTok workflow that actually converts viewers into regular stream followers.
Why TikTok Is Now Essential for Streamer Growth
Twitch hit a ceiling for organic discovery. With over 7 million active streamers competing for the front page in 2026, the odds of a new channel getting found through Twitch search alone are close to zero. The platform is exceptional for building a community once you have an audience. Getting that audience in the first place is a different challenge.
TikTok changed the math. The algorithm does not care how many followers you have. A brand-new account with one great clip can land on the For You Page and rack up hundreds of thousands of views. That is not a theory — it is the growth story behind most streamers who broke through in the past two years.
The numbers back it up. According to live streaming data compiled in 2026, short-form content consistently drives 2x to 5x more discovery than any other channel for streamers. And critically, 38% of new viewers say they discovered a streamer through a social media clip before ever watching live.
The challenge is execution. Most streamers know they should be posting clips. Few do it consistently, because the workflow is painful without the right tools.
What Eklipse AI Does (and How It Actually Works)
Eklipse is an AI-powered clip detection tool built specifically for streamers. Connect your Twitch, YouTube, Kick, or Facebook channel, and Eklipse scans your VODs automatically after each stream.
The AI looks for highlight moments using a combination of signals:
- Kill detection: For FPS games like Valorant, CoD, and Apex Legends, the AI recognizes multi-kill sequences, clutches, and high-damage moments
- Hype detection: Audio spikes, voice pitch changes, and chat velocity spikes all signal exciting moments
- Command triggers: During a live stream, you can say “clip it” or type a command and Eklipse flags that moment for clipping
- Game events: For supported titles (over 1,000 games), Eklipse recognizes in-game events like eliminations, win screens, and objective captures
Once highlights are detected, Eklipse automatically reformats them to vertical 9:16 for TikTok, Reels, and YouTube Shorts. It adds auto-captions, applies your branding (logos, overlays, stickers), and queues clips for review in the Eklipse Studio.
You review, make any quick edits, and post directly from the dashboard to TikTok, Instagram, and YouTube Shorts.
Where it performs best: FPS and battle royale games. Valorant, Fortnite, Call of Duty, and Apex Legends all get high detection accuracy. If you play slower-paced games like strategy or simulation titles, detection accuracy drops — more on that below.
Setting Up Eklipse: Step-by-Step
Getting Eklipse running takes about 10 minutes. Here is the exact process.
Step 1: Create Your Account and Connect Your Channel
Go to eklipse.gg and sign up with your Google or Twitch account. Once inside the dashboard, navigate to Connected Accounts and link your streaming platform.
For Twitch users, Eklipse requests read access to your VODs. Make sure your Twitch channel has Store past broadcasts enabled under channel settings — Eklipse cannot process streams it cannot access.
For YouTube streamers, connect your Google account and grant Eklipse access to your channel’s video library.
Step 2: Configure Your Game Detection Settings
Under Clip Settings, select the games you stream most. For each game, you can set:
- Minimum clip length (15s to 3 minutes)
- Maximum clips per stream
- Sensitivity level (Low, Medium, High — start at Medium)
- Whether to enable voice-command clipping during live sessions
Higher sensitivity catches more moments but also generates more low-quality clips to review. Medium sensitivity is the right starting point for most streamers.
Step 3: Customize Your Clip Template in Eklipse Studio
Before your first batch of clips goes live, set up your template. Eklipse Studio lets you add:
- A profile picture frame (shown in the corner of vertical clips)
- Your channel name overlay
- Custom captions style (font, color, position)
- Intro/outro frames
Spend 20 minutes here once and every future clip will automatically match your branding.
Step 4: Run Your First Stream and Review Clips
After your next stream ends, Eklipse processes your VOD (this takes 20 to 60 minutes depending on stream length and your plan tier). You will get a notification when clips are ready.
Open the Eklipse dashboard, review your clips, trim any that need it, and queue the best three to five for posting.
Want to see how Eklipse fits into a full streamer growth system? Check out our guide on [building a content calendar for streamers] for the complete workflow.
Free vs. Premium: What You Actually Need
Eklipse offers a free plan that is genuinely useful, not a crippled demo. Here is the honest breakdown:
| Feature | Free | Premium (~$12.50/mo) |
|---|---|---|
| Clips per stream | Up to 15 | Unlimited |
| Video quality | 720p | 1080p |
| Watermark | Yes | No |
| Processing speed | Standard | 10x faster |
| Storage | 14 days | Extended |
| Voice-command clipping | No | Yes |
| Direct TikTok posting | Yes | Yes |
Start with the free plan. The 720p quality and watermark are a real limitation, but they are acceptable while you are testing whether clip-posting actually drives growth for your channel. Once you are posting consistently and seeing viewer engagement from TikTok, upgrading to Premium makes sense — the watermark alone is worth removing once your clips are reaching real audiences.
The break-even math is simple: if one TikTok clip drives three new Twitch subscribers and you are monetized, Premium pays for itself in a single month.
How to Turn Eklipse Clips Into TikTok Growth
Getting clips out of Eklipse is only half the job. The other half is creating TikToks that actually convert viewers into stream followers. These are not the same skill.
Hook in the First Two Seconds
TikTok users scroll fast. If your clip does not grab attention immediately, they are gone. The AI highlight is usually the exciting moment — but that is not always the right starting point for a TikTok.
Consider trimming five to ten seconds of buildup before the peak moment and starting directly on the action. For a clutch kill sequence, open on the shot, not the setup. For a funny reaction, open on the expression, not the context.
Always End With a Clear CTA
Every clip needs to answer “what should I do next?” for a viewer who just watched. The best streamers treat every TikTok clip as an advertisement for their live channel.
Use on-screen text or a verbal mention at the end of the clip:
- “Live on Twitch every Tuesday and Thursday”
- “Full VOD on YouTube — link in bio”
- “Stream is live right now”
Eklipse lets you add end-frame overlays with your Twitch URL. Use this. Viewers who enjoy a clip will not automatically find your channel — you have to tell them where to go.
Caption Everything
Most TikTok views happen with the sound off. Eklipse auto-captions are a good starting point, but review them before posting — gaming commentary includes a lot of abbreviations, callouts, and slang that AI captions get wrong.
Accurate captions also make your clips accessible to viewers with hearing impairments and those browsing in public. It is a small investment that meaningfully increases watch time.
Post Daily, Not Occasionally
Jamie, a Valorant streamer who went from 200 to 4,100 Twitch followers between June and December 2025, tried posting clips only when he got an “especially good” moment. He posted maybe twice a week. His TikTok sat at 800 followers for months.
In August he switched strategies: one to three clips every stream day, regardless of how impressive they seemed. He stopped filtering by “is this good enough?” and started filtering by “is this watchable?” Three months later his TikTok had 18,000 followers and his average concurrent Twitch viewers had doubled.
The algorithm rewards consistency over perfection. A three-kill clip posted every day outperforms a ten-kill clip posted once a month.
Ready to build this into a repeatable system? [Our content calendar guide for streamers] walks through how to plan your clip schedule around your stream days.
What Eklipse Does Not Do Well
Eklipse earned its 4.2/5 rating on Trustpilot honestly — but there are real limitations to know before committing.
Slow-Paced Games
If you stream games without clear kill events or action peaks (city builders, farming sims, RPGs with story focus), Eklipse detection accuracy drops significantly. The AI was designed around FPS and battle royale mechanics. For other genres, you will find yourself manually selecting clips more often than the tool finds them automatically.
For slower games, a tool like Descript or manual VOD review with a clip shortcut gives you more control.
Long Review Time on Free Plan
Processing a three-hour VOD on the free plan can take 45 to 90 minutes after your stream ends. If you stream late at night and want clips ready to post first thing in the morning, this usually works fine. If you need clips within an hour of going offline, Premium’s 10x faster processing is worth the upgrade.
Auto-Captions Need Review
Eklipse auto-captions are useful but not publish-ready. Plan to spend three to five minutes reviewing captions per clip before posting. This is a minor time investment, but it is not zero.
Building Your Full TikTok Growth System
Eklipse handles the clip detection and reformatting. The system around it is what turns clips into compound growth.
Here is a simple weekly workflow:
Stream days (3-4 per week):
- Stream normally — Eklipse runs in the background
- After stream, open Eklipse dashboard and review clips (15 minutes)
- Select 2-3 clips, do a quick caption review, queue for posting
- Schedule posts via Eklipse’s direct TikTok integration across the day
Off-stream days:
- Review TikTok analytics — which clips got shares, not just views?
- Note what worked: was it the gameplay, a reaction, a funny moment?
- Adjust stream style or clip selection based on what performs
Weekly:
- Identify your top-performing clip of the week
- Consider repurposing it for Instagram Reels and YouTube Shorts (Eklipse exports work for all three)
The entire active time investment is about 20 to 30 minutes per stream day. That is it. Eklipse does the heavy lifting on the detection and formatting side.
FAQ: Growing on TikTok as a Streamer
How many TikTok followers do I need before it drives real Twitch growth?
You do not need a large TikTok following for individual clips to drive Twitch viewers. A clip with 10,000 views on TikTok can send 50 to 200 real viewers to your Twitch channel, even with only 500 TikTok followers. The For You Page distributes content regardless of follower count.
Does Eklipse work for YouTube streamers, not just Twitch?
Yes. Eklipse supports YouTube live streams and processes YouTube VODs after streams end. The clip detection and vertical reformatting work the same way.
Will posting short clips hurt my Twitch VOD views?
No — in practice, TikTok clips and full VOD views target different viewer behaviors. People who watch a 45-second highlight and want more are the exact viewers who seek out full VODs. Short clips act as trailers, not replacements.
How long should my TikTok clips be?
Between 20 and 60 seconds performs best for gaming clips in 2026. Under 20 seconds can work for very high-impact moments (one-shot kills, instant win plays). Over 60 seconds tends to see higher drop-off unless the clip has a strong narrative arc.
Is Eklipse better than Spikes Studio for streamers?
Both are strong tools for streamer clip automation. Eklipse has an edge for FPS/battle royale detection accuracy and a cleaner free tier. Spikes Studio offers stronger branded template customization and slightly better non-gaming content detection. For most streamers who play mainstream titles, Eklipse is the better starting point.
Conclusion
Growing on TikTok as a streamer in 2026 is not complicated — it just requires consistency and the right tools. Twitch will not surface your channel for new viewers, but TikTok will, if you give it content to work with.
Eklipse removes the biggest barrier: the time cost of turning VODs into polished short clips. Connect your channel, let it detect your highlights, review and caption in 15 minutes, and post. Repeat every stream day.
The streamers gaining ground right now are not the ones with the best clips. They are the ones showing up on TikTok every day with something watchable. Start with the free plan, post for 30 days, and track where your new Twitch viewers say they found you. The data will tell you whether to invest further.
Ready to set up your clip workflow? Start your free Eklipse account, then bookmark our guide to building a streamer content calendar to map out your full posting schedule.