Key Takeaways
- Eklipse erkennt CS2-Highlights automatisch anhand von Kill-Feed-Events: Ace, 4K, 3K, Clutch-Kills — ähnlich präzise wie bei Valorant
- FACEIT-Streamer haben einen anderen Workflow: FACEIT-Match auf Twitch streamen, Eklipse clippt automatisch aus dem VOD
- 0% FPS-Drop: Eklipse verarbeitet deinen Stream in der Cloud — kein Impact auf deine In-Game-Performance
- CS2 Kill-Feed-basierte Erkennung ist akkurater als bei Strategy-Games — diskrete Events machen KI-Detection effektiv
- Voice Command sichert Momente, die kein Kill-Event auslösen: Bomb-Defuse-Clutch, Flash-Outplay, Retake ohne Kill
Deutschland ist Counter-Strike-Land. Die ESL — die größte Esports-Organisation der Welt — wurde in Köln gegründet. Das IEM Cologne ist mit 20.000 Zuschauern das meistbesuchte CS-Event Europas. BIG Clan ist Deutschlands professionelle CS2-Organisation, tabseN einer der bekanntesten deutschsprachigen Pro-Spieler.
Trotzdem produziert die deutsche CS2-Streaming-Community fast keine Clips. Stefan, ein Diamond-ranked FACEIT-Spieler aus Frankfurt, weiß genau, worum es geht. “Ich streame meine ESL-Meisterschaft-Spiele seit einem Jahr. Letzten Monat hab ich einen 1v4-Clutch gemacht, Chat ist explodiert — und danach war der Moment irgendwo in einem 3-Stunden-VOD verschwunden. Ich hab 40 Minuten gesucht und nichts gefunden.”
Das ist das Problem. CS2 ist ein Spiel, in dem die wichtigsten Momente in Millisekunden passieren. Wenn du nicht während des Streams markierst, ist der Clip weg. Dieser Guide zeigt dir, wie du CS2 Clips erstellen kannst — automatisch, ohne FPS-Drop und mit dem richtigen Workflow für FACEIT.
Warum CS2 für KI-Clip-Erkennung besonders geeignet ist

CS2 hat eine Eigenschaft, die es zum idealen Spiel für automatische Highlight-Erkennung macht: den Kill-Feed. In der oberen rechten Ecke erscheinen alle Kill-Events in Echtzeit — mit Spielernamen, Waffe und Icons. Jeder Ace, jeder Multi-Kill, jede Kill-Streak ist ein diskretes, messbares Ereignis.
Eklipses automatische Highlight-Erkennung wertet genau diese Events aus. Das Ergebnis: CS2 gehört zur gleichen Kategorie wie Valorant oder Apex — FPS-Spiele mit klar abgegrenzten Kill-Events, bei denen die KI-Erkennungsrate besonders hoch ist.
Zum Vergleich: Bei einem Strategie-Spiel oder Just-Chatting-Stream gibt es keine Kill-Feed-Events. Die KI muss dann auf andere Signale zurückgreifen, was die Erkennungsgenauigkeit senkt. CS2 hat dieses Problem nicht.
Was Eklipse in CS2 automatisch erkennt:
- Ace (5 Kills solo in einer Runde) — höchster Clip-Wert, wird zuverlässig erkannt
- 4K / 3K / 2K — Multi-Kill-Sequenzen innerhalb einer Runde
- Clutch-Kills (Kill-Events während einer 1v2, 1v3, 1v4-Situation)
- Kill-Streaks (mehrere Kills in kurzer Zeitfolge)
- First Blood — erster Kill des Spiels
- Höhere Kill-Dichte — Teamfights mit schnell aufeinanderfolgenden Eliminations
Die CS2 Clip-Hierarchie: Was viral geht
Nicht alle Kills sind gleich viel wert. Für die deutsche CS2-Community — und für TikTok und YouTube Shorts — gibt es eine klare Hierarchie nach Viral-Potenzial:
Tier 1 — Sofort posten:
- Ace (1 Spieler, 5 Kills, 1 Runde) — der heilige Gral des CS2-Clips
- 1v4 oder 1v5-Clutch — unter Druck, alleine, gewonnen
- AWP-Noscope — Sniper ohne Zielhilfe, volles Risiko, volle Belohnung
Tier 2 — Starker Content:
- Deagle-Headshot (Desert Eagle One-Tap) — ikonisch, Community-Favorit seit CS 1.6
- Knife-Kill — selten, immer clip-würdig
- 4K in einer Runde — Performance-Beweis
Tier 3 — Gut für Compilations:
- 3K-Runden mit sauberem Gameplay
- Bomb-Defuse-Clutch (keine Kill-Event-basiert — hier brauchst du Voice Command)
- Retake-Erfolge ohne Kill-Sequenz
Die wichtige Unterscheidung: Tier 1 und 2 werden von Eklipse automatisch erkannt. Für Tier 3 — alles ohne Kill-Event-Sequenz — gibt es eine separate Lösung.
FACEIT-Streamer: Der Workflow, den niemand erklärt
Hier liegt der größte blinde Fleck in allen CS2-Clip-Guides: FACEIT.
FACEIT hat 20 Millionen+ registrierte Spieler und ist die Standard-Plattform für kompetitives CS2-Gameplay in Deutschland. Die meisten ernsthaften CS2-Streamer spielen nicht auf offiziellen Servern — sie spielen FACEIT.
FACEIT hat ein eigenes Replay-System. Du kannst dein Match nachschauen. Was du nicht kannst: Das Replay direkt für TikTok exportieren oder automatisch auf Highlight-Momente zugreifen.
Der korrekte Workflow für FACEIT-Streamer:
- FACEIT-Match auf Twitch oder Kick streamen via OBS (oder analogem Tool)
- Eklipse mit deinem Twitch-Account verbinden (einmalig, unter Connections)
- Stream normal beenden — Eklipse verarbeitet den VOD automatisch
- Nach dem Stream: Dashboard öffnen, Clips sind fertig — sortiert nach Erkennungsstärke
Der Unterschied zu einem normalen Stream: Bei FACEIT-Matches ist die Clip-Dichte oft höher, weil die Matches kompetitiver sind. Ein 5-Runden-CT-Seite mit mehreren Clutches erzeugt 8-15 potenzielle Clips in einer Session.
Stefan hat diesen Workflow in Woche zwei nach seiner ESL-Meisterschaft-Qualifikation eingerichtet. “Ich stream jetzt jedes Match. Danach sitz ich 10 Minuten im Dashboard, wähl die besten drei Clips aus, und die sind direkt im 9:16-Format für TikTok. Das war vorher undenkbar.”
Eklipse kostenlos testen — keine Kreditkarte nötig
Voice Command: Die Lösung für Momente ohne Kill-Event
CS2 hat eine Kategorie von Highlight-Momenten, die Eklipses Kill-Feed-Erkennung nicht automatisch erfasst — und die trotzdem viral gehen können:
- Bomb-Defuse-Clutch (du defusest, ohne jemanden zu killen — zum Beispiel durch Smoken)
- Outplay durch Flash (du flashest den Gegner blind, er passt, du läufst raus — kein Kill)
- Retake-Koordination (du koordinierst ein perfektes 3v3-Retake, aber keiner stirbt im Clip)
- Knife-Runde als Tactic (du läufst durch den ganzen Execute ohne Shot)
- Chat-Explosionen auf strukturelle Plays, die kein eindeutiges Kill-Event erzeugen
Für diese Momente ist der Voice Command die Lösung.
So funktioniert es:
- Voice Command in Eklipse aktivieren (unter Settings)
- Keyword festlegen (z. B. “Clip das”, “Eklipse” oder dein eigenes Catchphrase)
- Während des Streams: Keyword laut aussprechen nach jedem Moment
- Das System markiert genau diesen Zeitpunkt im VOD
Für CS2-Streamer ist das besonders natürlich: Du rufst eh “Defuse!!” oder “Smoked through!” — das Keyword danach hinzuzufügen kostet 0,5 Sekunden und sichert den Clip.
CS2 mit Eklipse einrichten: Schritt-für-Schritt (unter 5 Minuten)
Voraussetzungen:
- Twitch-Account (oder Kick — beide werden unterstützt)
- Eklipse-Account (kostenlos starten)
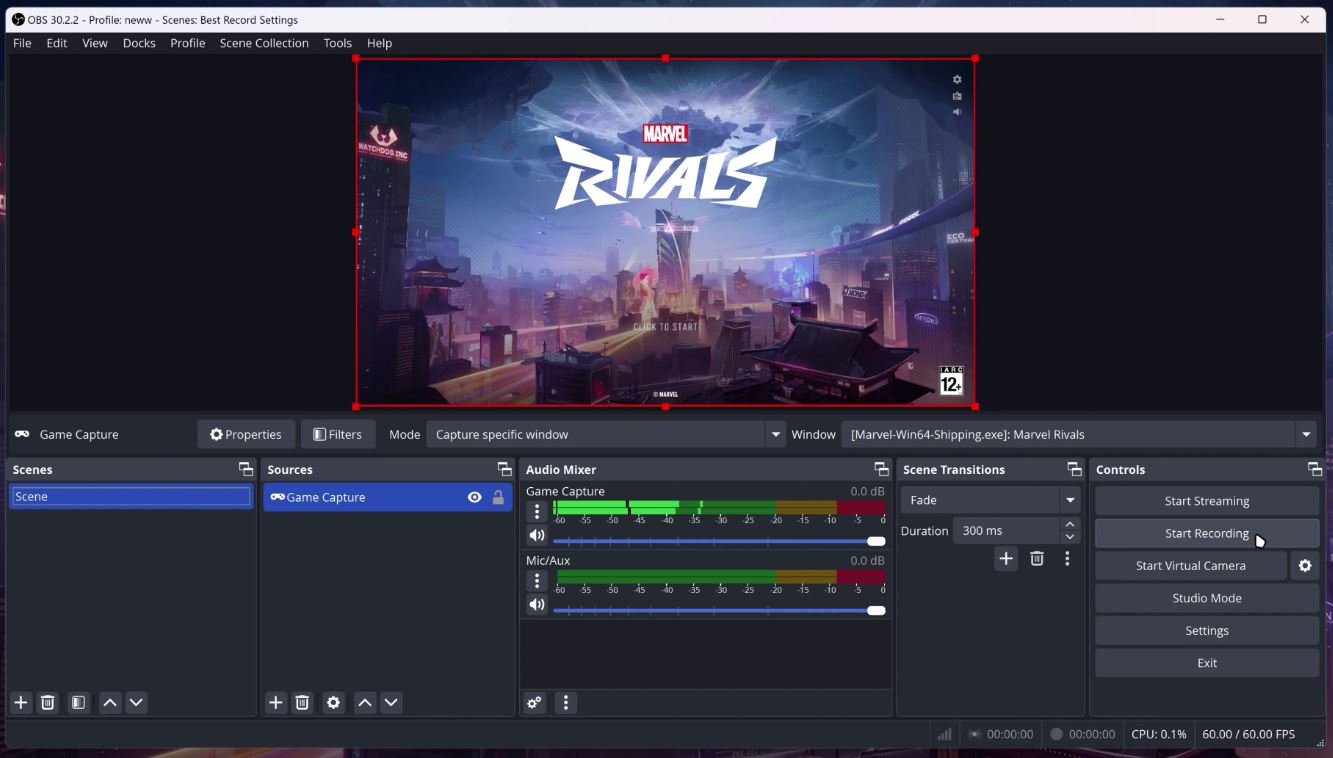
- CS2 läuft via OBS/SLOBS mit Twitch-Output
Einrichtung:
- Eklipse-Account erstellen
- Unter “Connections” — Twitch-Account verbinden (OAuth, einmalig)
- Highlight-Typen aktivieren: Kills, Multi-Kills, Clutches
- Optional: Voice Command aktivieren, Keyword festlegen
- Nächsten Stream starten — Eklipse läuft im Hintergrund ohne Setup
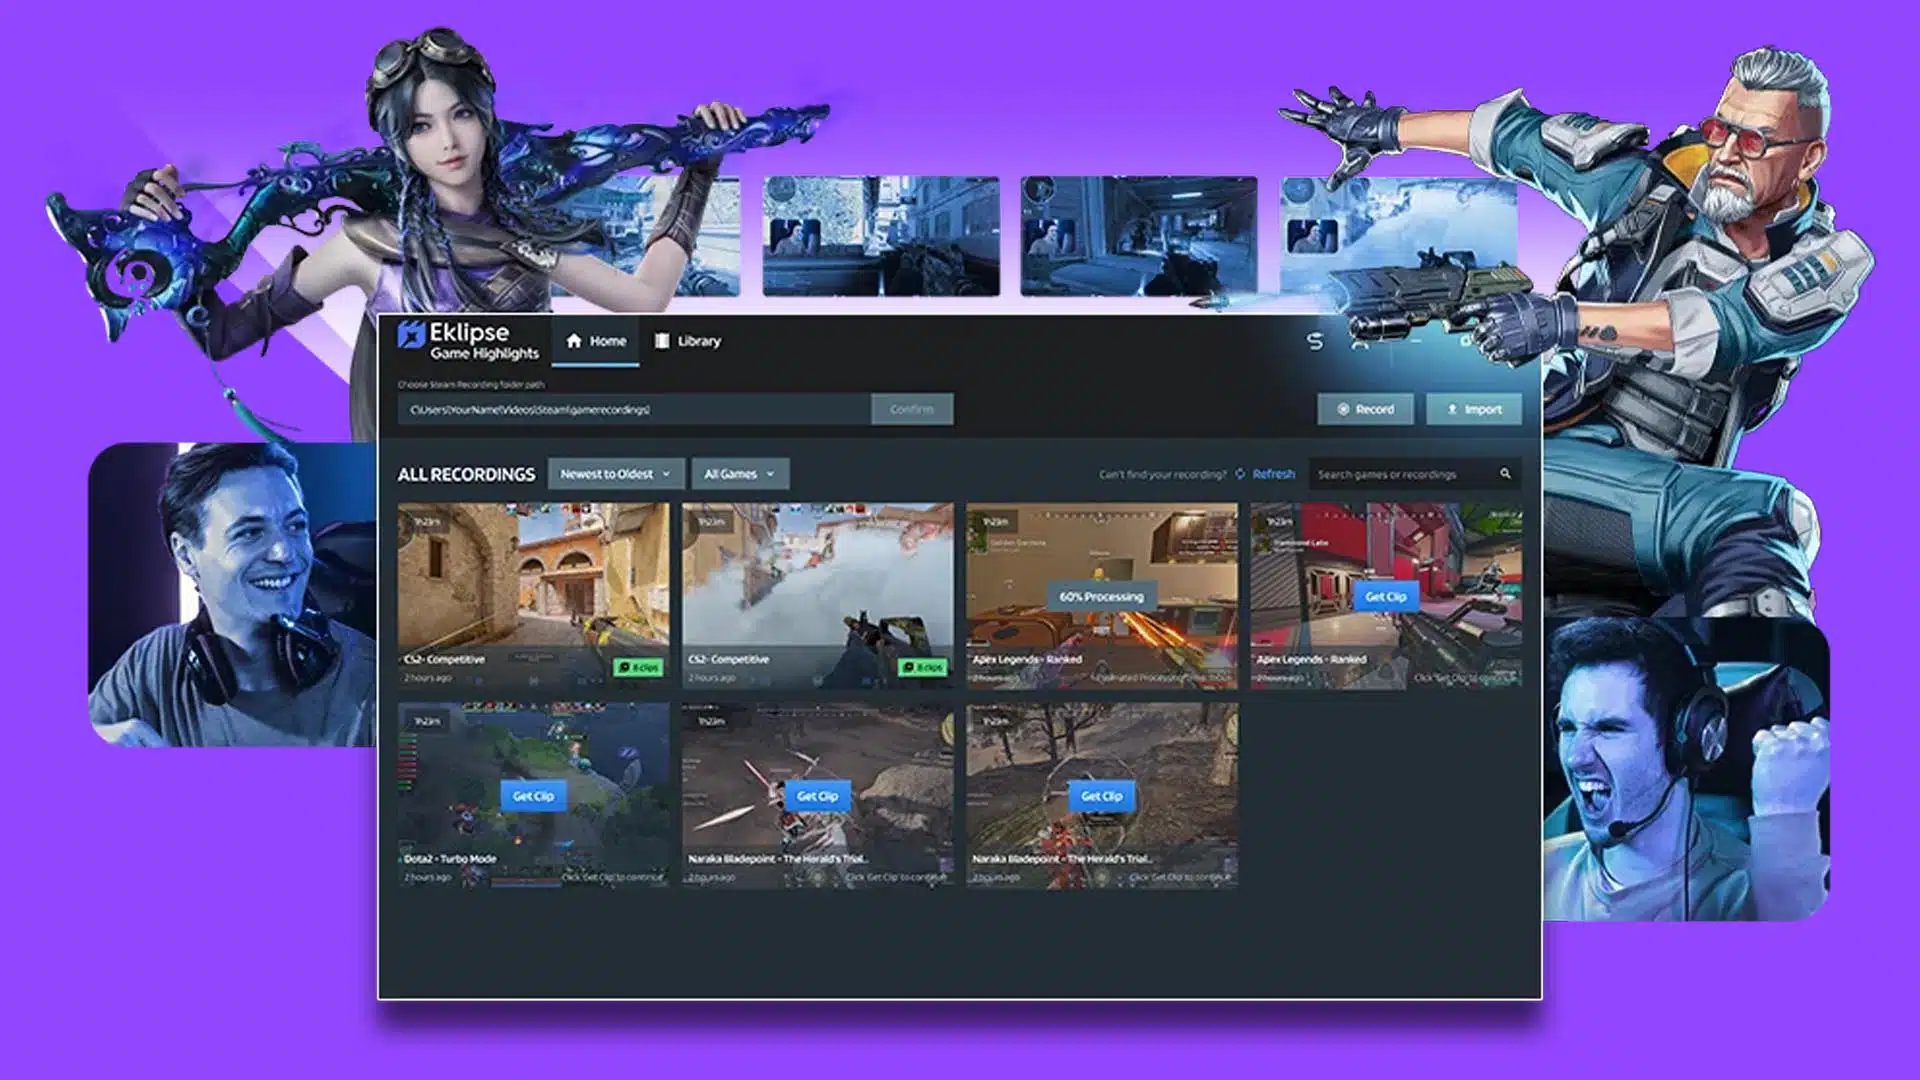
- Nach dem Stream: Dashboard öffnen unter app.eklipse.gg
0% FPS-Drop erklärt:
Eklipse analysiert deinen Twitch-Stream — nicht dein lokales Gameplay. Die Verarbeitung passiert auf Eklipse-Servern, nicht auf deiner Hardware. Kein Stutter, keine Framerate-Auswirkung, kein Unterschied ob du CS2 auf 144Hz oder 240Hz spielst.
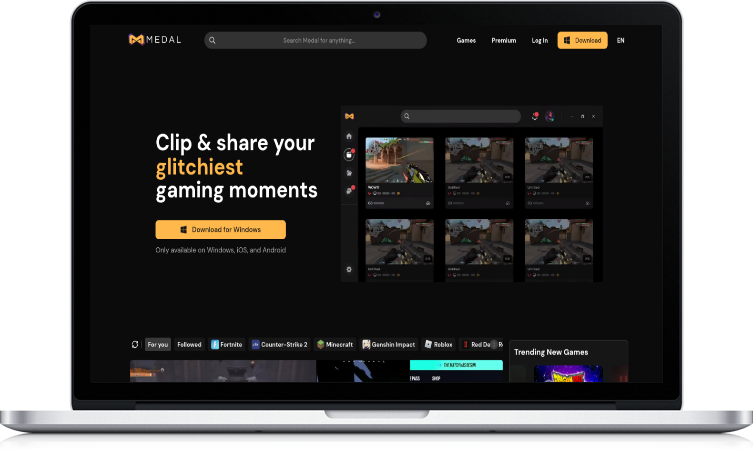
Das ist der Kernunterschied zu lokalem Recording-Software (Medal.tv, Overwolf/Outplayed), die Ressourcen auf deinem Rechner belegen — gerade in CS2 ein relevanter Faktor, weil competitive play maximale FPS braucht.
Das optimale Format für CS2 Clips in Deutschland

Du hast den Clip — jetzt die Distribution. Für die deutsche CS2-Community, speziell im Kontext der ESL Meisterschaft und FACEIT-Community, funktionieren folgende Formate:
TikTok und YouTube Shorts (9:16, Vertikalvideo)
Optimale Länge: 30-50 Sekunden.
CS2-Clips sind kürzer als LoL oder Battle-Royale-Clips. Ein Ace dauert maximal 20-25 Sekunden. Mit 5 Sekunden Setup-Kontext am Anfang und 5 Sekunden Reaktion bist du bei 30-35 Sekunden — der Sweet Spot für TikTok.
Struktur für einen Ace-Clip:
- 0-5s: Roundstart-Situation (Score, CT/T-Side, wie du in die Situation reinkommst)
- 5-30s: Der Ace selbst
- 30-35s: Deine Reaktion oder Chat-Reaction
- 35-40s: Text-Overlay “ESL Meisterschaft Season X” oder Username
Für Clutch-Clips: Zeige immer zuerst das Mini-Map, damit Zuschauer die 1v3/1v4-Situation verstehen. Ohne Kontext ist ein Clutch nur ein Kill-Clip.
YouTube (Horizontal, Weekly Compilation)
Sammle deine Top-5 Clips der Woche und schneide eine 3-4-Minuten-Compilation. Titel-Format: “ESL Meisterschaft Highlights — [Datum] | [Username]”. Diese Compilations ranken organisch und bauen einen Archiv-Channel auf.
CS2 Clip-Strategie für ESL Meisterschaft Teilnehmer
Die ESL Meisterschaft ist Deutschlands nationales CS2-Amateur-Ligasystem. 5.000+ Teams nehmen teil. Wer ernsthaft in der ESL Meisterschaft spielt und Clips von seinen Matches postet, hat einen einzigartigen Content-Vorteil: Authentizität.
Normale TikTok-CS2-Clips zeigen MM-Spiele. ESL-Meisterschaft-Clips haben eine andere Energie — organisierte Teams, koordiniertes Gameplay, echte Stakes. Das fällt in der Flut von MM-Clips sofort auf.
Content-Plan für ESL-Meisterschaft-Spieler:
| Wochentag | Content | Plattform |
|---|---|---|
| Nach jedem Match | Besten Clip aus dem Match | TikTok |
| Freitag | Weekly Compilation mit Match-Kontext | YouTube Shorts |
| Sonntag | Longer Cut mit Tactical-Kommentar | YouTube |
Der Tactical-Kommentar ist der einzigartige Winkel: Du erklärst, warum der Clutch möglich war (Position, Utility, Callouts). CS2-Zuschauer lieben das — es ist nicht nur “gut gezielt”, es ist “gut gedacht”.
Eklipse vs. andere CS2 Clip-Tools
| Feature | Eklipse | Medal.tv | Outplayed (Overwolf) |
|---|---|---|---|
| KI-Erkennung (CS2-Events) | Ja (Kill-Feed) | Begrenzt (lokal) | Ja (lokal) |
| FPS-Impact | 0% (Cloud) | 8-12% RAM | Variabel |
| FACEIT-kompatibel | Ja (via Twitch-Stream) | Begrenzt | Ja (lokal) |
| Voice Command | Ja | Nein | Nein |
| TikTok-Format (9:16) | Automatisch | Manuell | Manuell |
| Kick-Unterstützung | Ja | Nein | Nein |
| Kostenlose Clips/Monat | 10 | Unbegrenzt | Begrenzt |
StreamLadder ist ein weiterer Vergleichskandidat — aber ohne automatische KI-Erkennung für CS2-Events. Du müsstest manuell wissen, wo dein Ace im VOD ist.
Medal.tv hat den Vorteil des unbegrenzten Free-Plans — aber mit 8-12% RAM-Verbrauch während des Recordings. In CS2, wo jeder Frame bei kompetitiver FPS-Einstellung zählt, ist das ein realer Tradeoff.
Eklipse hat den einzigen Workflow, der mit FACEIT-Streaming kompatibel ist und gleichzeitig 0% FPS-Impact bietet. Für CS2-Streamer, die FACEIT spielen und auf TikTok clippen wollen, gibt es keine vergleichbare Alternative.
Eklipse hält eine 4.2/5-Bewertung auf Trustpilot aus 900+ verifizierten Reviews (April 2026). Probier es jetzt an einem Kick-VOD oder Twitch-Stream aus.
Häufig gestellte Fragen
Funktioniert Eklipse mit FACEIT?
Ja — indirekt. FACEIT hat kein direktes Eklipse-Plugin, aber der Standard-Workflow für FACEIT-Streamer ist: FACEIT-Match auf Twitch oder Kick streamen (via OBS), Eklipse clippt automatisch aus dem Twitch-VOD. Ergebnis ist identisch mit einem normalen Stream. Alle Kill-Feed-Events werden erkannt.
Wird der Ace automatisch erkannt?
Ja. Ein Ace (5 aufeinanderfolgende Kills einer Person in einer Runde) erzeugt fünf diskrete Kill-Feed-Events in kurzer Zeit — das ist das stärkste Erkennungssignal, das CS2 bietet. Aces werden mit sehr hoher Zuverlässigkeit erkannt und als Top-Clips markiert.
Welchen CS2 Clipper gibt es ohne FPS-Drop?
Eklipse ist der einzige Cloud-basierte Clipper — 0% FPS-Impact, weil die Verarbeitung auf Servern stattfindet. Alle lokalen Recorder (Medal.tv, Outplayed, GeForce Experience) haben messbaren RAM- oder CPU-Impact.
Kann ich CS2 Clips direkt für TikTok erstellen?
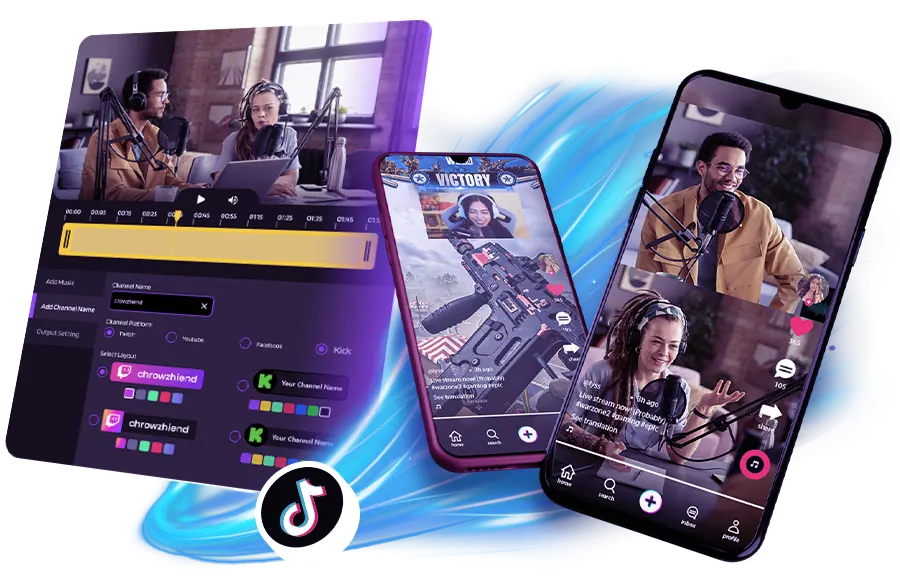
Ja. Eklipse gibt Clips im 9:16-Format aus — ready für TikTok und YouTube Shorts, ohne manuelles Umschneiden. Du kannst Text, Musik und Captions im integrierten Editor hinzufügen.
Was ist der Unterschied zwischen ESL Meisterschaft und FACEIT?
FACEIT ist die Plattform (matchmaking, ratings, anti-cheat). Die ESL Meisterschaft ist die organisierte Ligastruktur, die auf FACEIT läuft. Du kannst ein FACEIT-Spieler sein und gleichzeitig in der ESL Meisterschaft spielen — die Clips kommen aus denselben Matches.
Können deutsche Streamer wie die BIG-Clan-Spieler Eklipse nutzen?
Ja, Eklipse ist plattformunabhängig. Jeder Streamer — von 10 Concurrent Viewern bis zu tabseNs Level — verbindet denselben Account. Die KI-Erkennung und der Clip-Workflow sind identisch.
Fazit
CS2 Clips erstellen war in Deutschland lange ein ungenutztes Potenzial. Das Spiel hat die perfekte Struktur für automatische KI-Erkennung (Kill-Feed), die Community hat den Hunger nach lokalem Competitive-Content (ESL Meisterschaft, FACEIT), und die Tools sind jetzt bereit.
Eklipse erkennt Aces, Clutches und Knife-Kills automatisch aus deinem Twitch-VOD — mit 0% FPS-Impact. FACEIT-Streamer nutzen den gleichen Workflow über den Twitch-Stream. Voice Command sichert alles, was kein Kill-Event auslöst.
Dein nächster Ace ist irgendwo in einem zukünftigen VOD. Mit Eklipse bleibt er nicht dort.
CS2 Highlights automatisch erstellen — Eklipse kostenlos testen
Weitere Guides für FPS-Streamer: Valorant Highlights erstellen | Automatische Highlight-Erkennung erklärt