TL;DR
In 2025, the best TikTok gaming content tools include AI-powered highlight platforms like Eklipse.gg, alongside editing apps (CapCut, DaVinci Resolve, Adobe Premiere Pro), streaming software (OBS, Streamlabs), and design/audio tools. Eklipse.gg stands out by automatically turning long gameplay sessions into viral-ready vertical clips for TikTok.
You’re streaming for hours, hitting insane plays in games like Battlefield 6 or the new Call of Duty, but your TikTok is a ghost town. The agonizing process of manually finding those moments and editing them into a single viral-worthy clip feels like a second full-time job. This is the exact pain point where having the right TikTok gaming content tools becomes a necessity, not a luxury.
The real challenge lies in condensing hours of gameplay into short, eye-catching clips that can capture attention in a sea of content. Fortunately, in 2025, a wave of AI-powered tools is making that process far easier. Among them, Eklipse.gg stands out for automatically detecting highlights and converting them into vertical, TikTok-ready videos with minimal effort.

What are the leading tools for creating gaming content for TikTok in 2025?
The leading tools for creating gaming content for TikTok in 2025 primarily include AI-powered platforms like Eklipse.gg for automated highlight generation, alongside a suite of versatile video editing software, streaming applications, graphic design tools, and audio solutions.
Eklipse.gg is particularly effective for transforming long-form gameplay into short, viral-ready vertical videos, making it a highly valuable asset for content creators. Other essential tools complement this by providing capabilities for detailed editing, live broadcasting, visual branding, and sound optimization.
Eklipse.gg: A Leading Solution for Gaming Content Automation
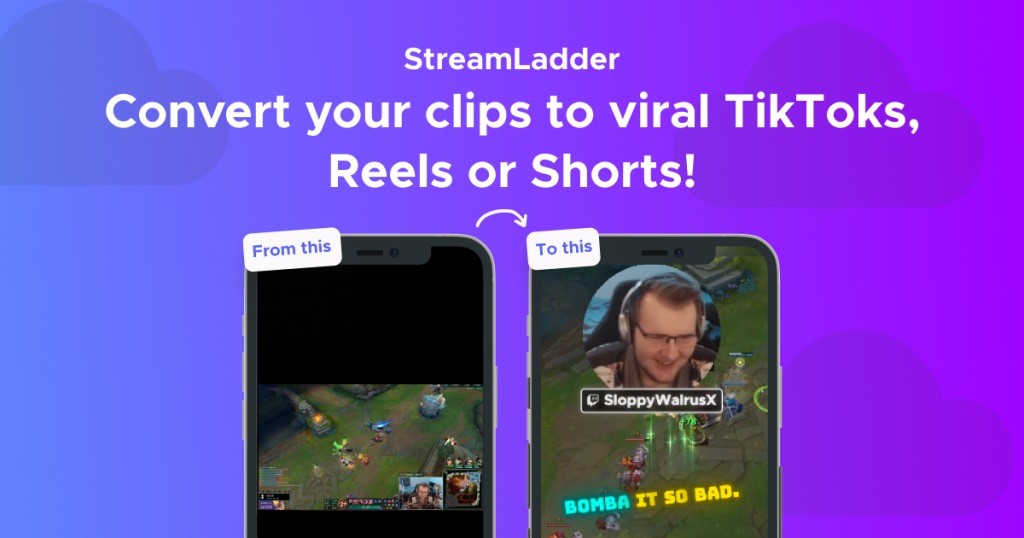
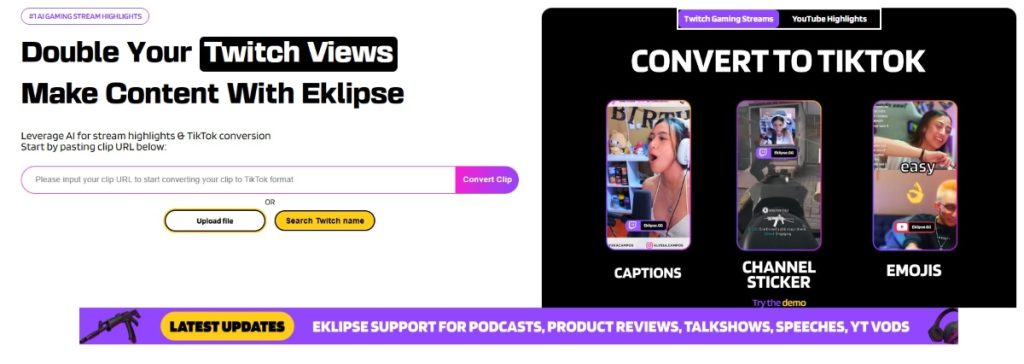
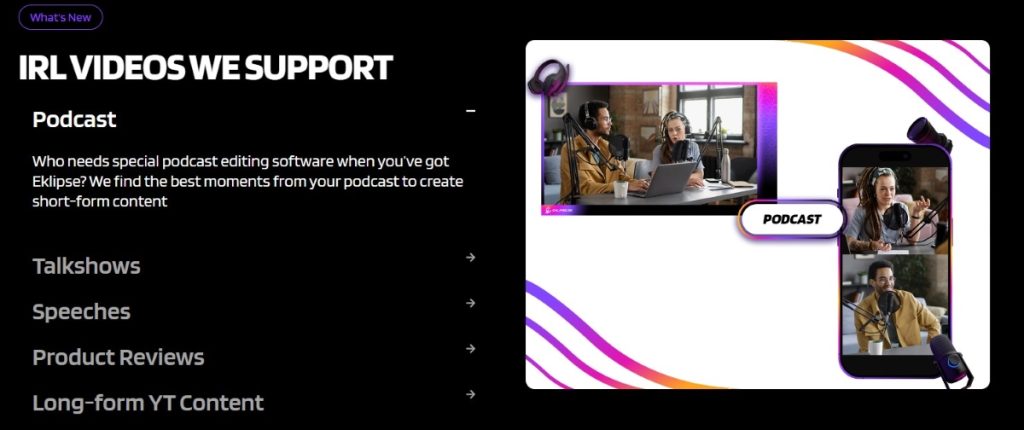
Eklipse.gg is recognized as a premier AI-powered platform for gaming content creation, designed to assist streamers and gamers in transforming their long-form content into short-form videos suitable for platforms such as TikTok, Reels, and YouTube Shorts. It aims to alleviate the challenges associated with manual video editing and the consistent production of engaging short-form content.
What are the key features of Eklipse.gg for TikTok gaming content?
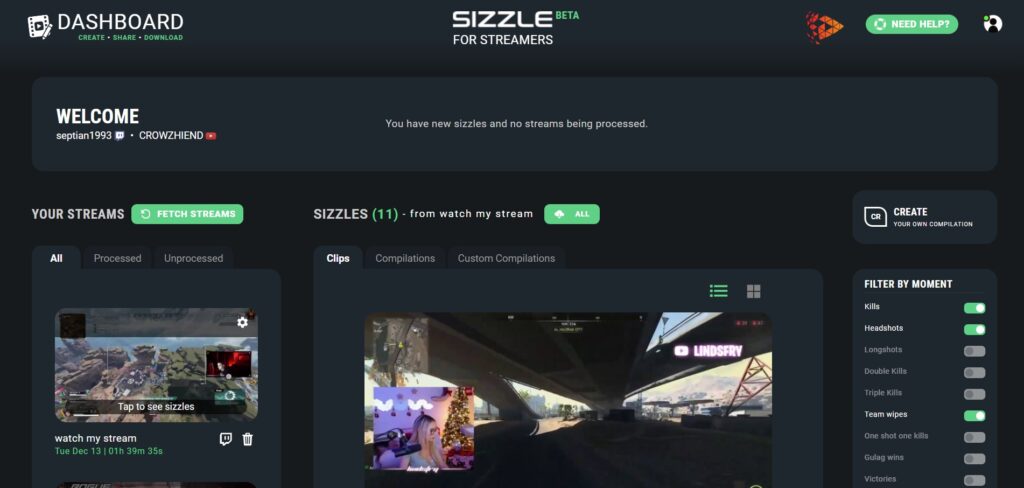
- AI-Powered Highlight Generation: Eklipse.gg employs advanced AI to automatically identify and clip significant moments from streams on Twitch, YouTube, or Kick. This feature can considerably reduce the time spent on manual review and editing.
- Ultra Highlights: For your most epic plays, this feature uses AI to automatically create a cinematic, multi-kill montage, turning your best moments into a shareable masterpiece. (Learn More)
- Optimized for TikTok Conversion: The platform offers functionalities specifically tailored for TikTok, enabling users to convert gaming clips into vertical video formats. Options include various vertical templates and adjustments for elements like webcam placement.
- Direct Social Media Integration: Eklipse.gg supports direct posting to TikTok, YouTube Shorts, and Reels, which can simplify the content distribution process.
- Customizable Editing Tools: In addition to AI automation, Eklipse.gg provides online editing tools for further refinement of clips, including text overlays and other adjustments.
- Multi-Platform Compatibility: The platform integrates with Twitch, YouTube, and Kick, offering versatility for creators across different streaming services.
- Free Tier Availability: A free tier is available, allowing users to process a limited number of streams and generate clips at 720p quality, providing an opportunity to explore its features.
How does Eklipse.gg address common creator challenges?
Content creators often face the challenge of time-consuming content repurposing. Eklipse.gg seeks to address this by:
- Enhancing Efficiency: By automating highlight identification and clipping, it allows creators to allocate more time to streaming and audience engagement.
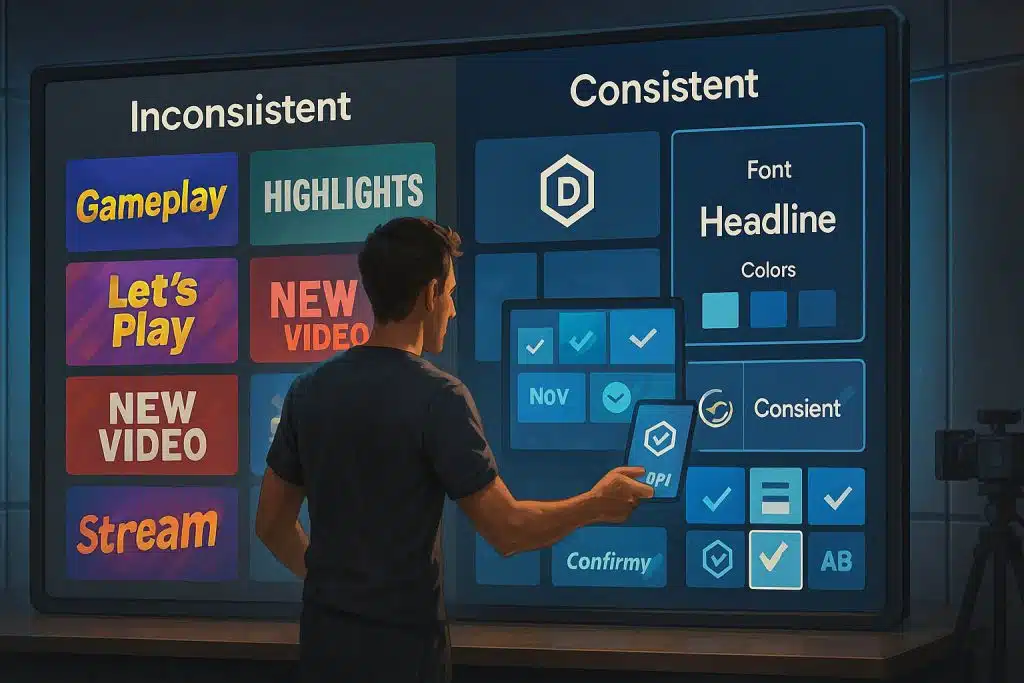
- Supporting Content Quality: The platform assists in maintaining a consistent level of quality, even for creators with limited video editing experience.
- Facilitating Audience Growth: By simplifying the creation of short-form content, Eklipse.gg can help creators expand their presence on TikTok and other platforms.
What other essential tools are available for TikTok gaming content creation?

While Eklipse.gg offers specialized features for automated highlight generation and TikTok conversion, a comprehensive content creation workflow often benefits from a range of other tools. These tools can support various aspects of content production, from live streaming and video editing to graphic design and audience analytics.
Video Editing Software:
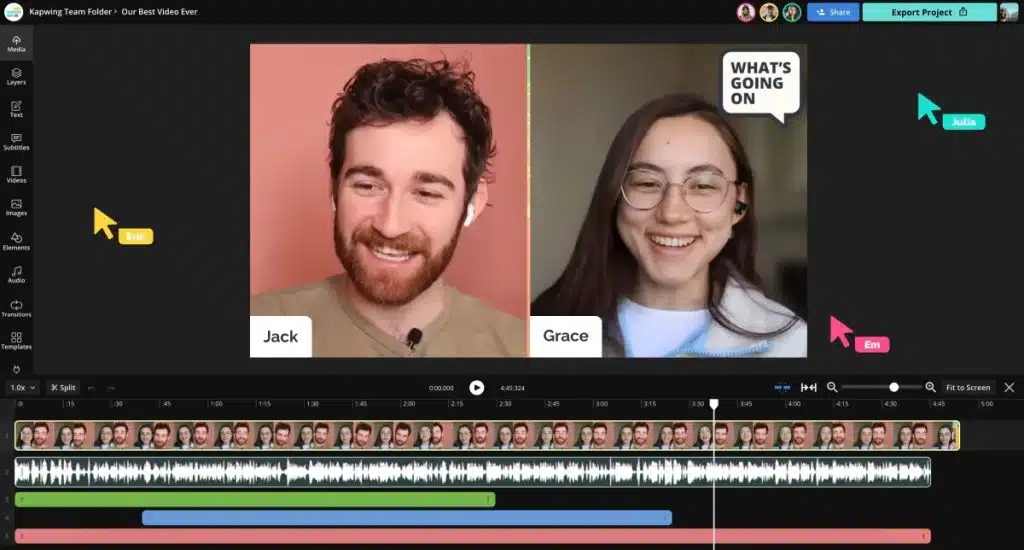
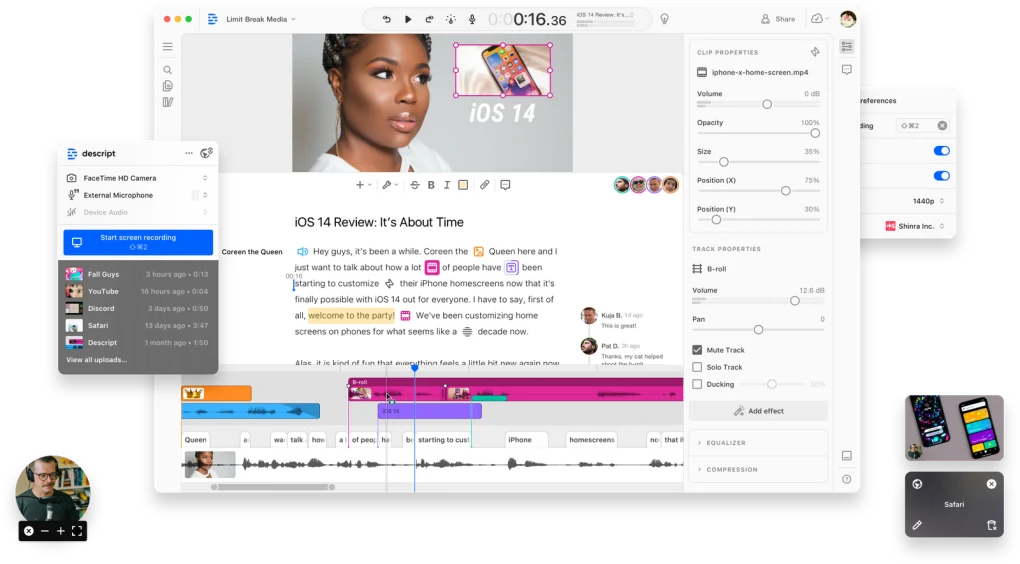
- CapCut: A widely used mobile video editing application known for its user-friendly interface and features tailored for short-form video platforms. It provides a selection of effects, filters, music, and text options, suitable for mobile-first editing.
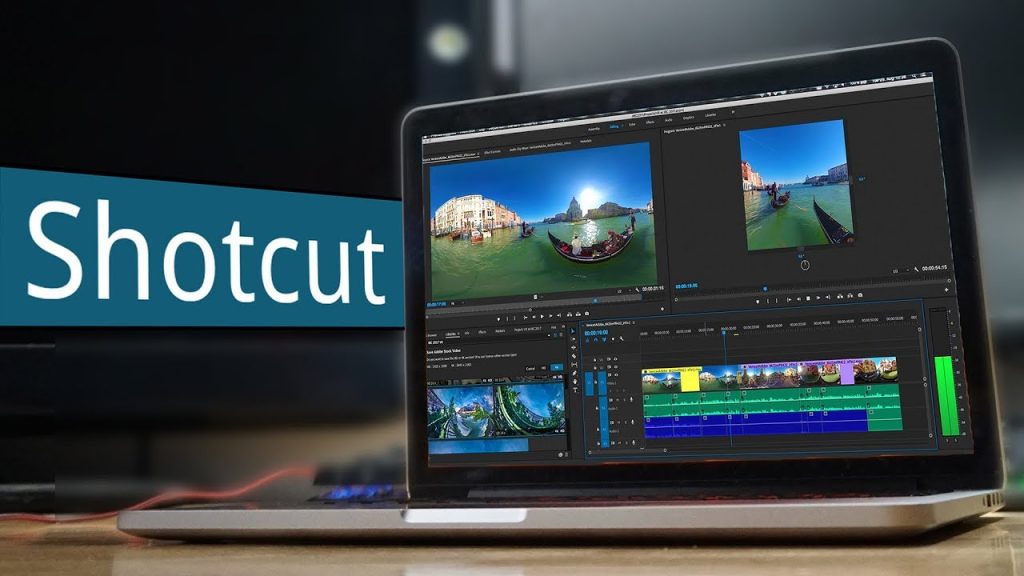
- DaVinci Resolve: A professional video editing suite that includes a free version with robust capabilities. It offers advanced controls for color grading, visual effects, and audio post-production, catering to creators seeking more in-depth editing functionalities.
- Adobe Premiere Pro: An industry-standard video editor offering a comprehensive set of tools for professional video production. It operates on a subscription model and integrates with other Adobe Creative Cloud applications.
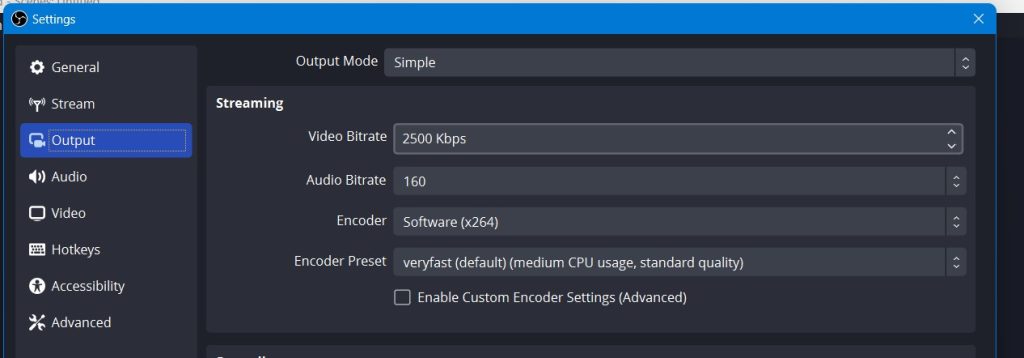
Streaming Software:
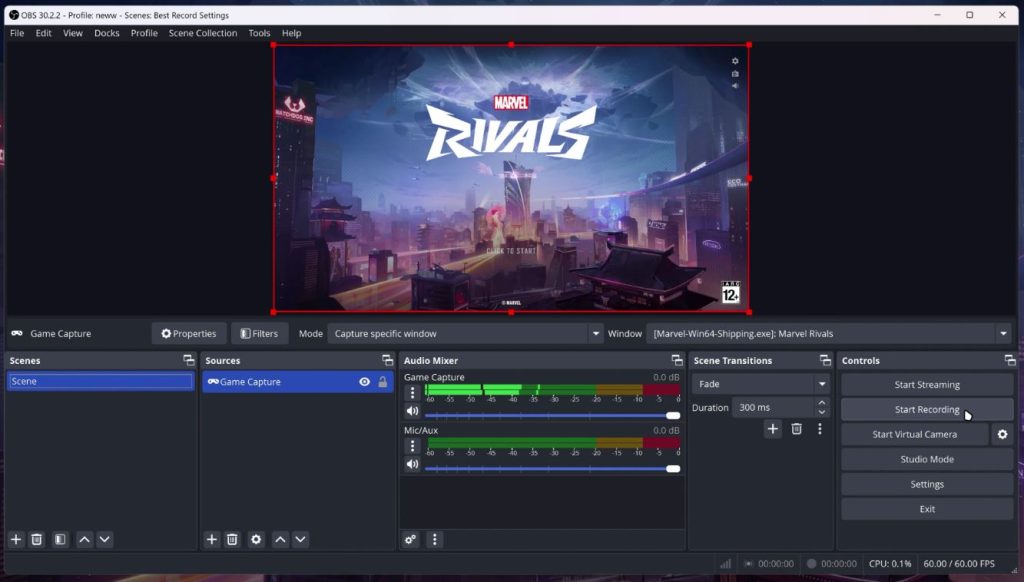
- OBS Studio (Open Broadcaster Software): A free and open-source software commonly used for live streaming and video recording. OBS Studio is highly customizable and provides flexibility in managing scenes, sources, and audio.
- Streamlabs Desktop: Based on OBS, Streamlabs Desktop offers a more streamlined interface with integrated features such as alerts, widgets, and themes, which can simplify the setup process for new streamers.
Graphic Design Tools:
- Canva: An online graphic design platform that enables users to create visual assets like thumbnails and overlays. It features a library of templates, fonts, and graphics.
- Adobe Photoshop/Illustrator: Professional graphic design software that provides advanced tools for creating custom visual elements, including logos and detailed graphics.
Audio Tools:
- Audacity: A free, open-source audio editor and recorder. It can be used for audio cleanup, noise reduction, and level adjustments to enhance audio quality in videos.
- Epidemic Sound/Artlist: Subscription services that offer royalty-free music and sound effects. Utilizing licensed audio is important for compliance with platform guidelines and monetization.
Engagement and Analytics Tools:
- TikTok Analytics: The platform’s built-in analytics provide insights into audience demographics, video performance, and content trends, which can inform content strategy.
- Social Blade: A web-based tool that offers user statistics for various social media platforms, including TikTok, useful for tracking growth and comparing performance.
How can Eklipse Premium enhance content creation capabilities?
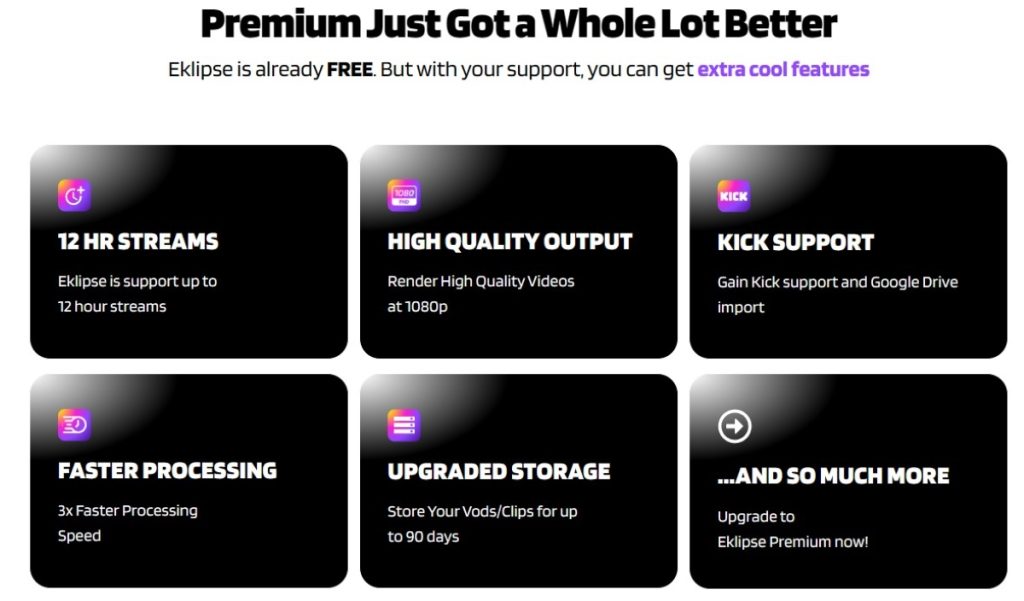
While the free tier of Eklipse.gg provides foundational features for content creation, an upgrade to Eklipse Premium offers an expanded set of functionalities designed to further support content development and efficiency. For creators aiming to optimize their output and reach, Premium provides several notable advantages:
- 1080p Clip Quality: Enables the production of gaming highlights in full HD, contributing to a higher visual quality for the audience.
- Watermark-Free Content: Allows for the creation of clips without watermarks, which can contribute to a more polished presentation.
- Accelerated Processing: Offers faster processing times for video clips, potentially aiding in quicker content turnaround.
- Social Media Caption and Hashtag Generation: Provides AI-generated captions and relevant hashtags, which can assist in content optimization and discoverability.
- Discord Auto-Share Bot: Facilitates automatic sharing of new clips with Discord communities, potentially increasing engagement.
- Extended Stream Duration Support: Supports the processing of highlights from longer streaming sessions.
- Increased Storage: Offers additional storage capacity for clips and projects within the Eklipse platform.
- Kick Platform Integration: Provides compatibility with Kick streams, broadening the range of supported platforms.
- Google Drive Import: Allows for the import of footage directly from Google Drive, enhancing workflow flexibility.
- Advanced Editing Tools: Access to a more comprehensive suite of editing features for fine-tuning video content.
- Dedicated Support: Provides priority access to customer support for assistance with the platform.
- Early Access to New Games: Offers early access to AI highlight features for newly released games, which can be beneficial for timely content creation.
Eklipse Premium represents an option for creators seeking to enhance their content creation process and expand their presence on platforms like TikTok.
Read more: Why Use Eklipse to Create Clips from Your Stream?
What is the overall conclusion regarding tools for TikTok gaming content?
Ultimately, a winning strategy for TikTok in 2025 comes down to using the right TikTok gaming content tools to work smarter, not harder. While a variety of software can handle different parts of the process, a platform like Eklipse.gg offers a powerful, automated solution to the biggest bottleneck: finding and editing your best moments. It frees you from the time-consuming grind, allowing you to focus more on gaming and engaging with your community.
By integrating an AI-powered tool like Eklipse into your workflow alongside other essential editing and design software, you can build a robust content pipeline. This approach is key to consistently producing high-quality videos, unlocking your creativity, and driving real audience growth on TikTok.
Frequently Asked Questions (FAQ)
- What is Eklipse.gg? Eklipse.gg is an AI-powered platform designed to automatically generate highlights from live streams and convert them into short-form video content for platforms such as TikTok, Reels, and YouTube Shorts.
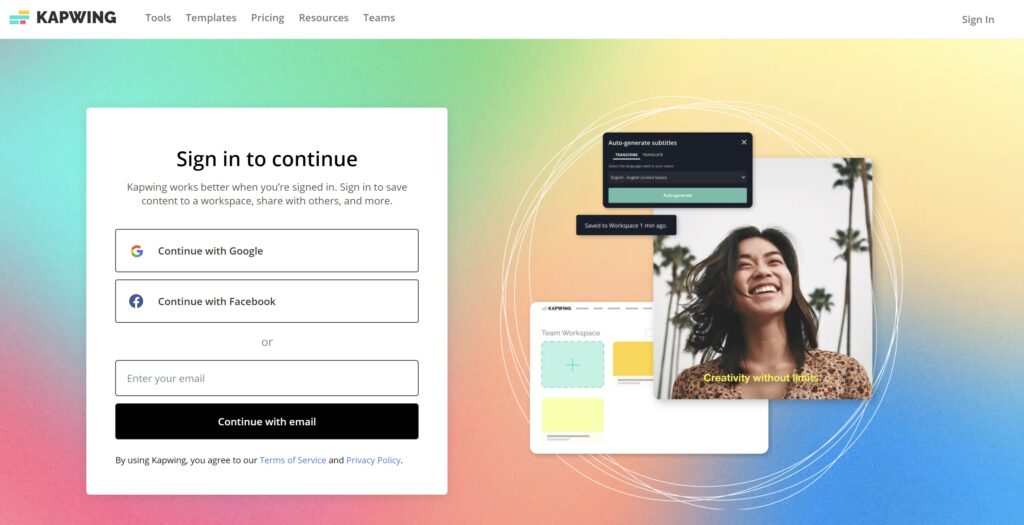
- Does Eklipse.gg offer a free version? Yes, Eklipse.gg provides a free tier that allows users to process a limited number of streams and generate clips at 720p resolution. This tier supports connections to Twitch, YouTube, and Facebook.
- What additional features are available with Eklipse Premium? Eklipse Premium includes features such as 1080p clip quality, the removal of watermarks, faster processing times, AI-driven social media caption and hashtag generation, a Discord Auto-Share Bot, support for extended stream durations, increased storage, integration with Kick, Google Drive import capabilities, advanced editing tools, dedicated customer support, and early access to features for new games.
- What other types of tools are useful for creating TikTok gaming content? Beyond Eklipse.gg, other valuable tools for TikTok gaming content include video editing software (e.g., CapCut, DaVinci Resolve, Adobe Premiere Pro), streaming software (e.g., OBS Studio, Streamlabs Desktop), graphic design tools (e.g., Canva, Adobe Photoshop/Illustrator), audio editing tools (e.g., Audacity, Epidemic Sound/Artlist), and analytics platforms (e.g., TikTok Analytics, Social Blade).
- How can creators enhance their gaming content for TikTok? To enhance gaming content for TikTok, creators can focus on producing high-quality, engaging short-form videos. Utilizing tools like Eklipse.gg for efficient highlight generation, incorporating trending audio and hashtags, actively engaging with the audience, and analyzing performance data through TikTok Analytics can contribute to content improvement and audience growth.
Stop the editing grind. Let Eklipse create your TikToks for you, automatically. Try It for Free!


")