Elevate your show with the best video podcast software clips we provide for you here. From an all-round podcast video maker, recorder and editor, we cover it all.
As the world of podcasting and video creation continues to expand, the demand for high-quality software that can handle both audio and video recordings is on the rise. Whether you’re looking to create content for YouTube, Instagram, or podcasts, finding the right software that meets your needs is crucial. In this article, we’ll explore some of the best podcast video software clips available in 2023.
Restream.io
Restream.io is a versatile platform that allows you to interview multiple guests with both video and audio recordings. It offers excellent audio and video quality and supports live streaming capabilities. With a user-friendly interface, Restream.io makes it easy to create professional-looking content for various platforms.
Streamyard.com
Streamyard.com is another popular choice for podcast video software clips. It provides seamless integration with social media platforms and offers high-quality audio and video recording options. The platform’s easy-to-use features make it an attractive option for content creators looking to streamline their production process.
Be.live
Be.live stands out for its ease of use and support for Safari, making it accessible across different browsers. It also boasts fast tech support chat response times, ensuring that users receive timely assistance whenever they encounter issues or have questions about the platform.
Veed
Veed is a powerful tool that fulfills all requirements for creating compelling content. It offers live streaming capabilities, high audio/video quality, and text editing features. However, some users have reported choppy and out-of-sync recording output, which may be a drawback for those seeking flawless performance.
Riverside
Riverside.fm is known for its user intuitiveness and simplicity. It allows for video/audio uploads to both the cloud and locally to your computer, providing flexibility in how you manage your recordings. Additionally, Riverside.fm supports separate tracks for each guest during recording sessions.
Boomcaster
Boomcaster has gained popularity due to its simplicity and intuitive interface. Users appreciate its ability to upload videos and audio files to both the cloud and local storage on their computers. However, it’s essential to note that while Boomcaster excels in user-friendliness, some users may experience limitations in more advanced features compared to other platforms.
Zencastr
Zencastr offers separate tracks for each guest during recording sessions, enabling precise control over individual audio inputs. It records in 1080p quality and often provides promotional discounts on subscription plans.
While these podcast video software clips offer various strengths such as high-quality recordings and ease of use, there are also potential weaknesses such as performance issues or limitations in advanced features that users should consider before making their selection.
Conclusion
In conclusion, when choosing podcast video software clips in 2023, it’s essential to weigh the pros and cons of each platform based on your specific needs as a content creator or podcaster. By considering factors such as recording quality, live streaming capabilities, ease of use, technical support availability, pricing options (ranging from free plans to paid subscriptions), you can make informed decisions about which software best aligns with your goals.
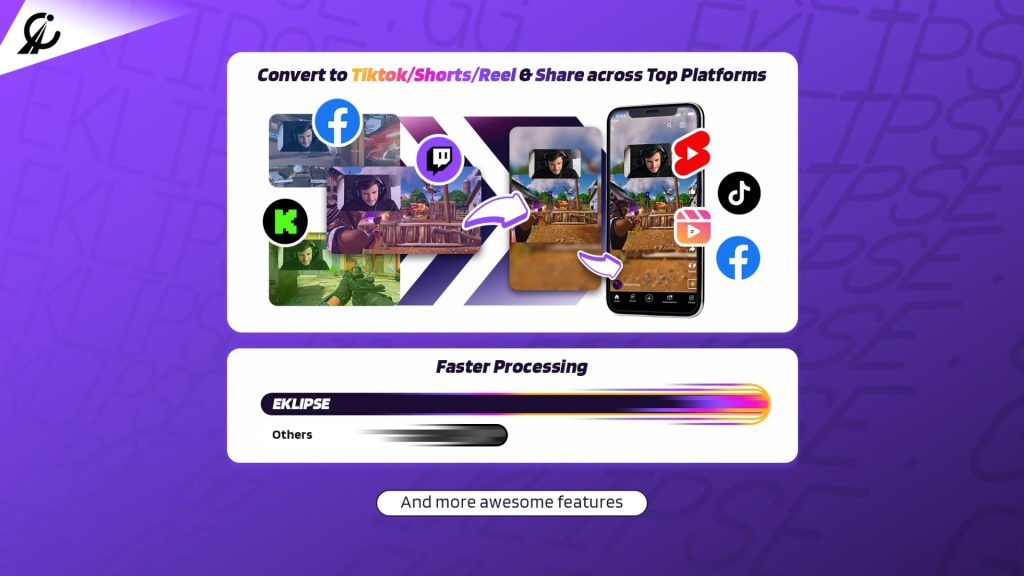
Want to grow your podcast audience? Look no further than Eklipse!
Experience the magic of our AI-powered tool, seamlessly transforming your best gaming livestream moments into captivating TikTok/Short/Reels content with just a single click!
Sign up for free at Eklipse.gg and dive into the world of effortlessly creating gaming video clips like never before. Elevate your channel with Eklipse and watch your community thrive!
Maximize your Black Ops 6 rewards—Create highlights from your best gameplay with with Eklipse
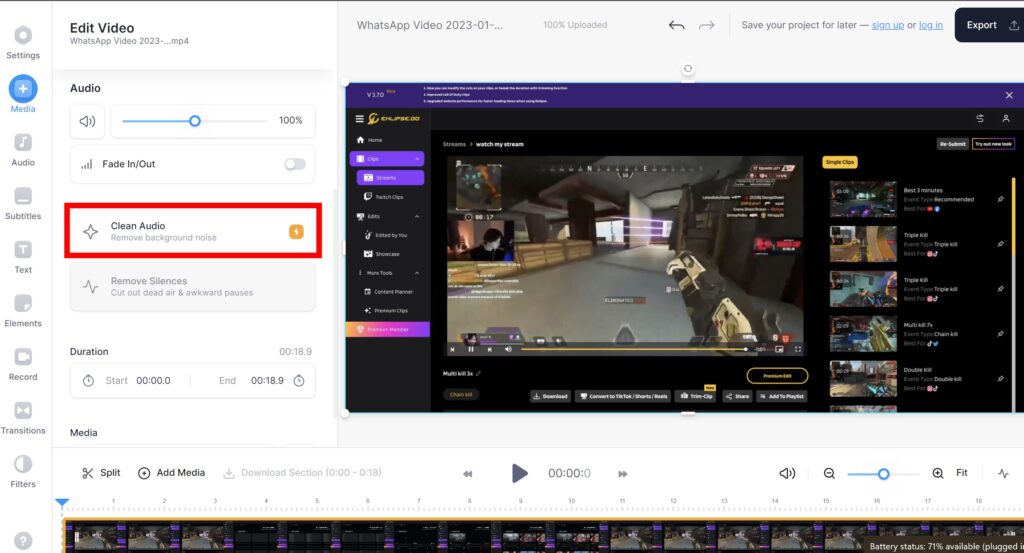
Eklipse help streamer improve their social media presence with AI highlights that clip your Twitch / Kick streams automatically & converts them to TikTok / Reels / Shorts