What is ToS Twitch? If you’re looking for the meaning of this popular Twitch term, look no further. We will explain everything about Twitch ToS here!
The term ToS Twitch, or “Terms of Service,” often appears on the platform. Basically, every popular streaming platform, including Twitch, has its own ToS. And before you can dip your toe in the water, they usually require you to agree to their ToS.
Therefore, it’s better for you—whether you are a viewer or a new streamer—to understand what ToS Twitch actually is. Keep reading to learn more.
What is ToS Twitch?
ToS or Terms of Service is basically a guide on how users act and behave while using Twitch so that you don’t cross any rules and end up getting banned.
These conditions also govern what users can and cannot do or say on Twitch. That includes every statement, topic, and even word. Certain words, statements, or topics may harm others, and that’s not good. This is why Twitch needs to create sort of limitations to avoid those things to come up.
More on Eklipse Blog >> Twitch Terms of Service: 16 Crucial Points [Latest Update]
Twitch ToS Banned Words
Using slang words on Twitch or other communities is actually common. However, some particular words may hurt other users. You might unintentionally show discrimination against other users or streamers with your words, sending hate or violent speech, and so on.
Twitch is trying to avoid those sorts of things by applying zero tolerance towards any threats like that.
If you don’t want to get banned and more importantly not hurt anybody on Twitch, you must not be saying the followings words:
- Gender/gender identity
- religious beliefs
- ethnicity or race
- sexual orientation
- physical discrimination
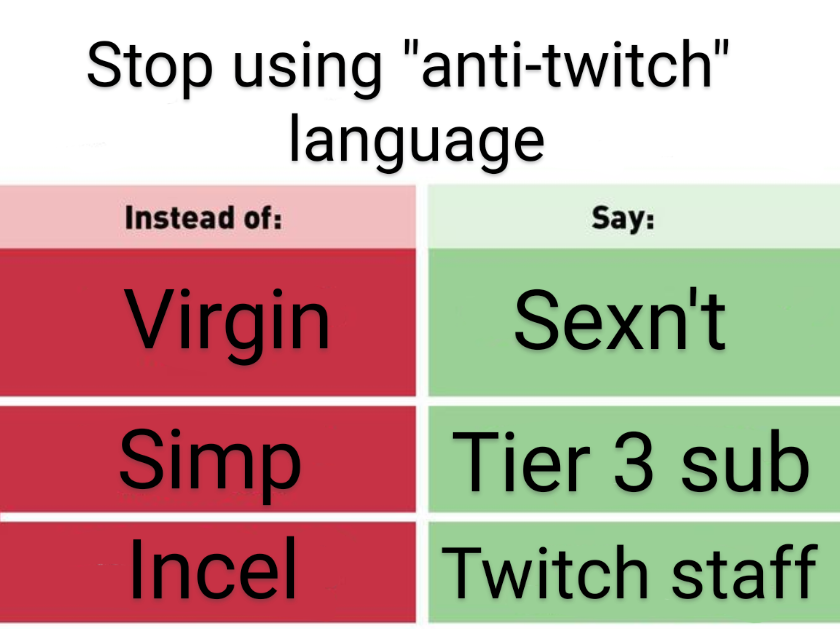
Additionally, Twitch also outlawed some specific words, like “virgin”, “incel”, and “simp” on their platform. You can also no longer be able to use the command or term !blind while playing a game.
More on Eklipse Blog >> How Long Does It Take for Twitch to Approve Emotes?
What if You Keep Saying The Banned Words?
As previously stated, Twitch gives zero tolerance for hate or discriminatory speech. So, whether you intentionally or unintentionally said those banned words, you’ll be banned from Twitch.
The bans can last between 1-30 days. However, it can be indefinite if the infringement is terrible.
So, if you want to keep your existence on Twitch or other platforms, it’s best to respect other users and always watch out for your words. The suspense towards your account will terrifically hamper your progress on Twitch.
If the ban lasts for quite a long time, you may lose your viewers, and subscribers and the engagement will be terribly down. That isn’t what you want, right? That’s why you should always strive to be a good streamer on Twitch. It’s not limited to content creation only, but also your behaviour.
You’ll never know what people are going through, their trauma, and so on. So be careful when you kid someone.
More on Eklipse Blog >> List of Banned Words on Twitch That Every Creator Needs to Know
Other Things That Included on Twitch ToS
Aside from the banned words, Twitch also has other things you should avoid. Please note that you must not spam anybody by repeatedly sending large amounts of unwanted chats or messages or it’ll be counted as harassment.
Don’t ever scam other users on Twitch by giving them incorrect information about your channel or content, or you might get suspended. More importantly, avoid sharing others’ personal information without permission. Believe us, you’re going to say goodbye to your account if you keep doing this.
More on Eklipse Blog >> Twitch Chat Logs: How to Check and Use Them [Update 2023]
Conclusion
Now that you know what ToS Twitch is, you should be more careful while kid around on Twitch. It’s okay to horse around with anybody but watch your words. Being a successful streamer means managing your behaviour and your words.
It’s no secret that every gamer wants to succeed on Twitch, but it can be tough to stand out from the crowd. That’s where Eklipse comes in.
Eklipse‘s powerful AI tool can help you create engaging and exciting content that captures the attention of viewers and keeps them coming back for more.
Click below to claim your free Eklipse account today and start creating gaming video clips like never before!
Maximize your Black Ops 6 rewards—Create highlights from your best gameplay with with Eklipse
Eklipse help streamer improve their social media presence with AI highlights that clip your Twitch / Kick streams automatically & converts them to TikTok / Reels / Shorts