In today’s fast-paced world, where challenges and obstacles constantly test our determination, powerful motivational videos have become a popular tool for inspiring individuals to reach their full potential. Whether you’re looking to overcome adversity, boost your confidence, or achieve personal growth, these videos can provide the motivation and guidance you need.
In this article, we will explore the top content creators that offer powerful motivational videos to watch. So sit back, relax, and get ready to be inspired!

Ben Lionel Scott
Ben Lionel Scott is a prominent figure in the field of motivational content creation. As a highly sought-after video editor and entrepreneur, he has crafted some of the most impactful motivational videos on the internet. His mission is to uplift, inspire, motivate, and share valuable information on how to improve one’s life.
Features:
– Offers a vast collection of powerful motivational videos covering various aspects of personal development.
– Provides insightful content that addresses common challenges faced by individuals.
– Delivers messages with clarity and passion to ignite motivation within viewers.
– Creates visually captivating videos that enhance the overall viewing experience.
– Focuses on empowering individuals to become better human beings.
MotivationHub
MotivationHub is an entity dedicated to creating powerful motivational videos aimed at helping individuals unleash their true potential. With a team of talented creators and speakers, they produce high-quality content that resonates with people from all walks of life.
Features:
– Offers a diverse range of motivational videos covering topics such as success mindset, self-discipline, goal setting, and more.
– Collaborates with renowned speakers who deliver impactful messages through their speeches.
– Produces visually stunning videos that captivate viewers’ attention.
– Provides practical tips and strategies for personal growth and achieving success.
– Empowers individuals to overcome obstacles and live a fulfilling life.
More on Eklipse Blog>>> How to Clip a YouTube Video into TikTok-Ready Viral Highlights on Eklipse
Fearless Motivation
Fearless Motivation is an entity known for its powerful motivational videos that inspire individuals to conquer their fears, embrace challenges, and strive for greatness. With a focus on personal development and mindset transformation, they aim to ignite the fire within each viewer.
Features:
– Offers an extensive library of motivational videos covering various aspects of life, including fitness, business, relationships, and more.
– Collaborates with passionate speakers who share their personal stories and strategies for success.
– Emphasizes the importance of self-belief and perseverance in achieving goals.
– Provides practical advice on how to overcome obstacles and develop a winning mindset.
– Creates emotionally charged videos that resonate deeply with viewers.
Mateusz M
Mateusz M is a renowned content creator who specializes in producing powerful motivational videos. With his unique storytelling approach and captivating visuals, he has amassed a large following of individuals seeking inspiration and motivation.
Features:
– Creates visually stunning videos that blend captivating imagery with impactful messages.
– Offers a wide range of motivational videos covering topics such as personal growth, resilience, determination, and more.
– Incorporates powerful soundtracks that evoke emotions and enhance the viewing experience.
– Employs storytelling techniques to engage viewers on an emotional level.
– Inspires individuals to take action towards their goals and dreams.
Absolute Motivation
Absolute Motivation is an entity that aims to empower individuals through their collection of powerful motivational videos. With a focus on personal growth, self-improvement, and mindset development, they provide valuable insights and guidance for achieving success.
Features:
– Curates a diverse range of motivational videos from various speakers across different fields.
– Covers topics such as goal setting, overcoming adversity, leadership skills, and more.
– Presents practical strategies for personal development in an easily understandable manner.
– Combines insightful speeches with visuals that leave a lasting impact on viewers.
– Encourages individuals to embrace challenges and unlock their full potential.
More on Eklipse Blog>>> 3 Ways on How To Trim a Video On TikTok
Motiversity
Motiversity is a platform that offers powerful motivational videos designed to inspire, educate, and motivate individuals. With a mission to help people achieve greatness, they collaborate with speakers and content creators who share their wisdom and experiences.
Features:
– Provides a wide range of motivational videos covering topics such as success mindset, productivity, self-confidence, and more.
– Showcases speeches from renowned speakers who have achieved remarkable success in their respective fields.
– Offers practical tips and strategies for personal growth and overcoming obstacles.
– Creates visually appealing videos that captivate viewers’ attention.
– Inspires individuals to take action and pursue their dreams fearlessly.
RedFrost Motivation
RedFrost Motivation is an entity that creates powerful motivational videos aimed at inspiring individuals to overcome challenges, push boundaries, and achieve greatness. Through their thought-provoking content, they strive to ignite passion and motivation within each viewer.
Features:
– Produces impactful videos that combine powerful speeches with captivating visuals.
– Covers a wide range of topics such as personal development, self-improvement, entrepreneurship, and more.
– Collaborates with influential speakers who share their insights and strategies for success.
– Engages viewers through emotionally charged storytelling techniques.
– Encourages individuals to unleash their full potential and create the life they desire.
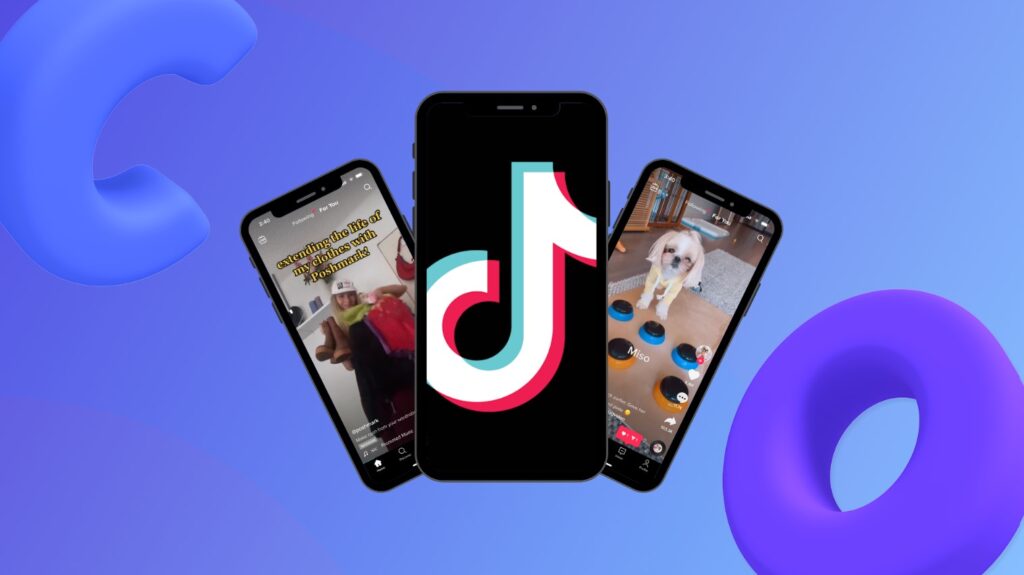
BONUS: How to Make a Viral and Powerful Motivational Video with Eklipse
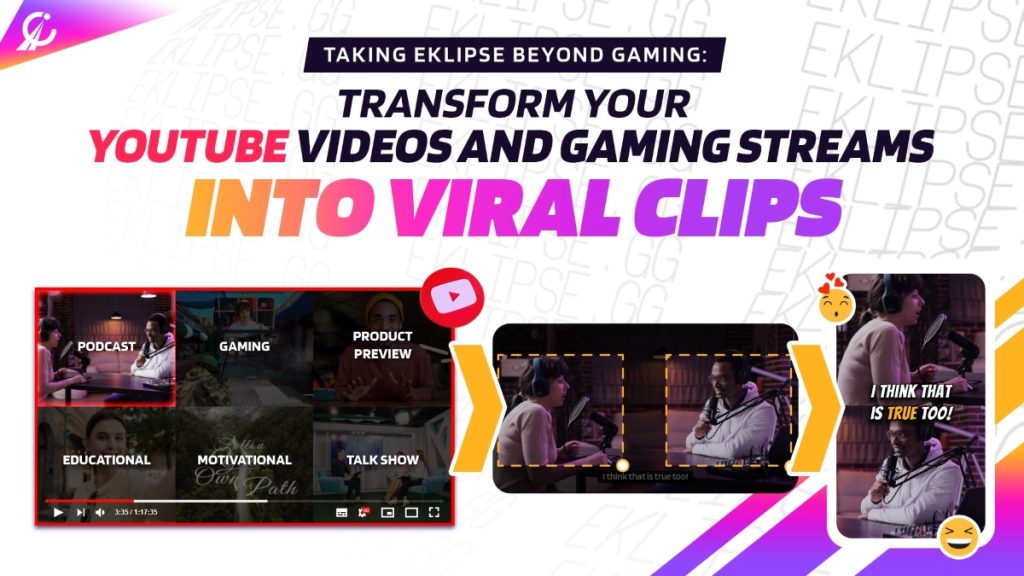
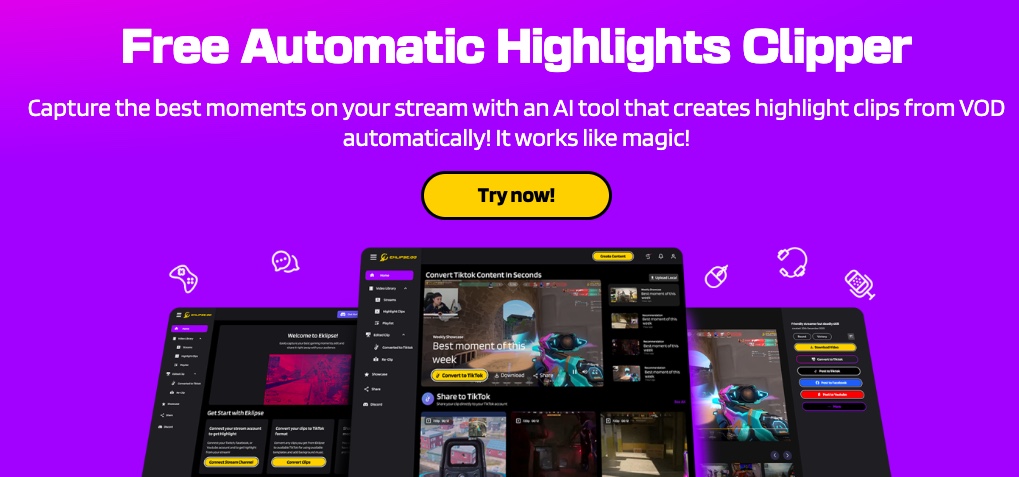
Do you want to create viral motivational videos that will inspire millions? Eklipse is the secret weapon you need.
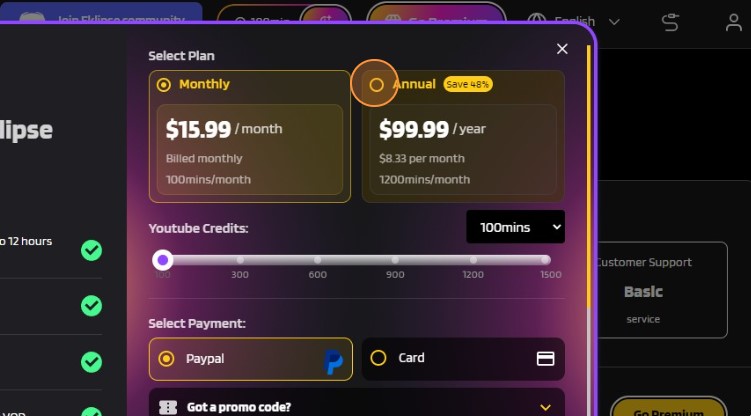
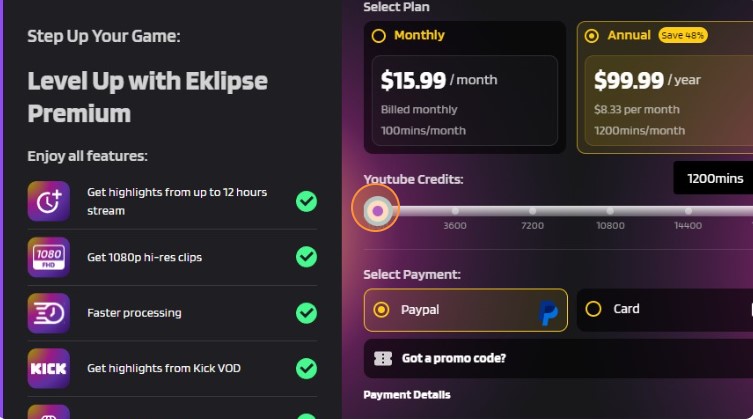
Eklipse is a powerful tool that helps you clip viral highlights from your motivational YouTube videos. With Eklipse, you can easily create short powerful motivational videos that are perfect for sharing on social media.
With our new YouTube Video Highlights feature, all you need to do is to just copy and paste your YouTube video link, and our AI will automatically identify the most engaging moments. You can then select the clips you want to keep and Eklipse will generate high-quality videos that are TikTok-ready.
Here are just a few of the things you can do with Eklipse:
- Clip viral highlights from your motivational YouTube videos automatically
- Create short, engaging videos that are perfect for sharing on social media
- Promote your motivational videos to a wider audience
Eklipse is the perfect tool for both beginners and experienced video creators. It’s easy to use and produces high-quality videos.
Click here to register for Eklipse today and start creating viral motivational videos that will inspire millions!
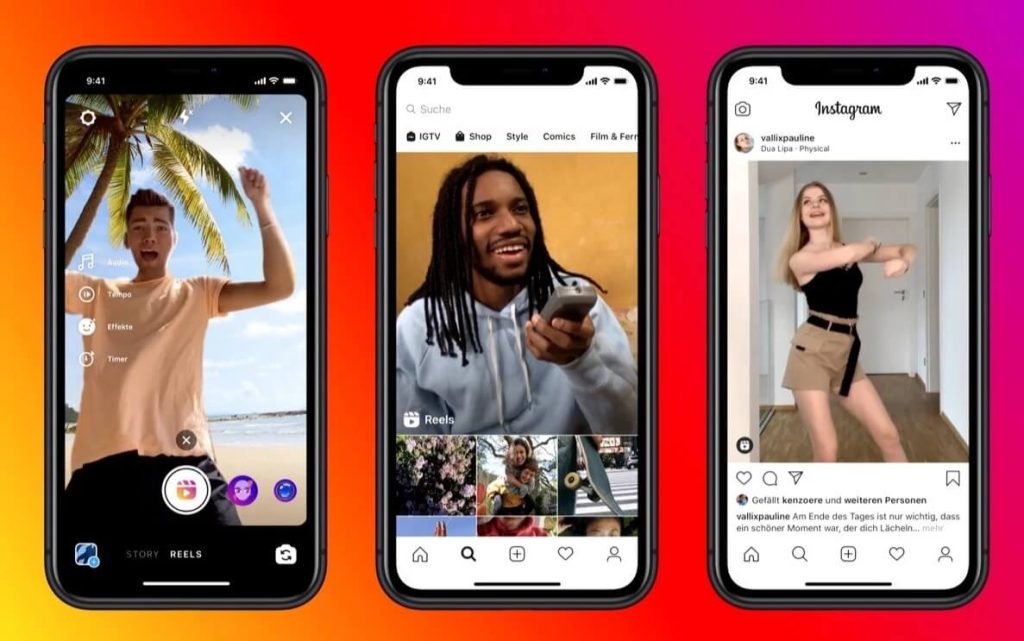
More on Eklipse Blog>>> How to Make Viral Motivational Reels for Instagram Using AI
Conclusion
In conclusion, powerful motivational videos serve as a valuable resource for individuals seeking inspiration, guidance, and motivation. Whether you’re facing adversity or looking to enhance your personal growth journey, these powerful motivational videos can provide the encouragement you need to thrive.
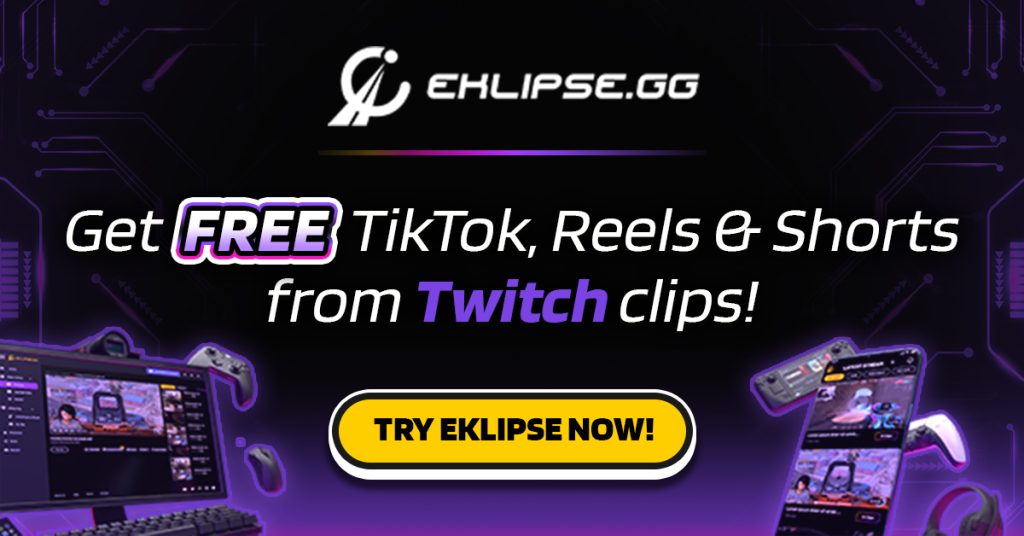
Maximize your Black Ops 6 rewards—Create highlights from your best gameplay with with Eklipse
Eklipse help streamer improve their social media presence with AI highlights that clip your Twitch / Kick streams automatically & converts them to TikTok / Reels / Shorts