To start streaming, you need five things: a PC or console capable of running your game, a stable internet connection (at least 6 Mbps upload), streaming software, a microphone, and a capture method. Everything else — webcam, lighting, capture card, stream deck — is an upgrade, not a requirement.
Most guides bury you in expensive gear lists before you’ve gone live once. That’s backwards. The best streaming setup is the one you actually launch with — not the one you spend six months saving for.
This guide breaks down exactly what you need at each stage: the true minimum to go live today, the $200-$500 upgrade kit that makes a real difference, and the pro setup for when streaming is serious business.
Key Takeaways
- You can start streaming with gear you already own — a gaming PC and a headset mic are enough for day one
- The biggest upgrade for viewer experience is audio, not video — a decent USB mic matters more than a webcam
- Upload speed matters as much as hardware: you need at least 6 Mbps sustained for 1080p60 streaming
- OBS Studio is free and used by most professional streamers — no need to buy software
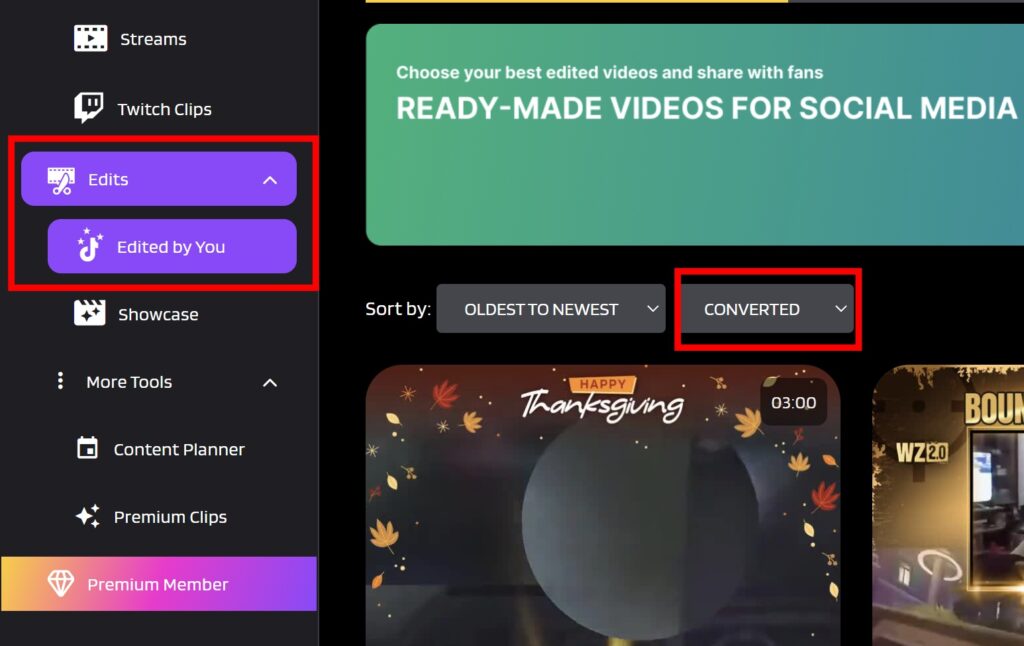
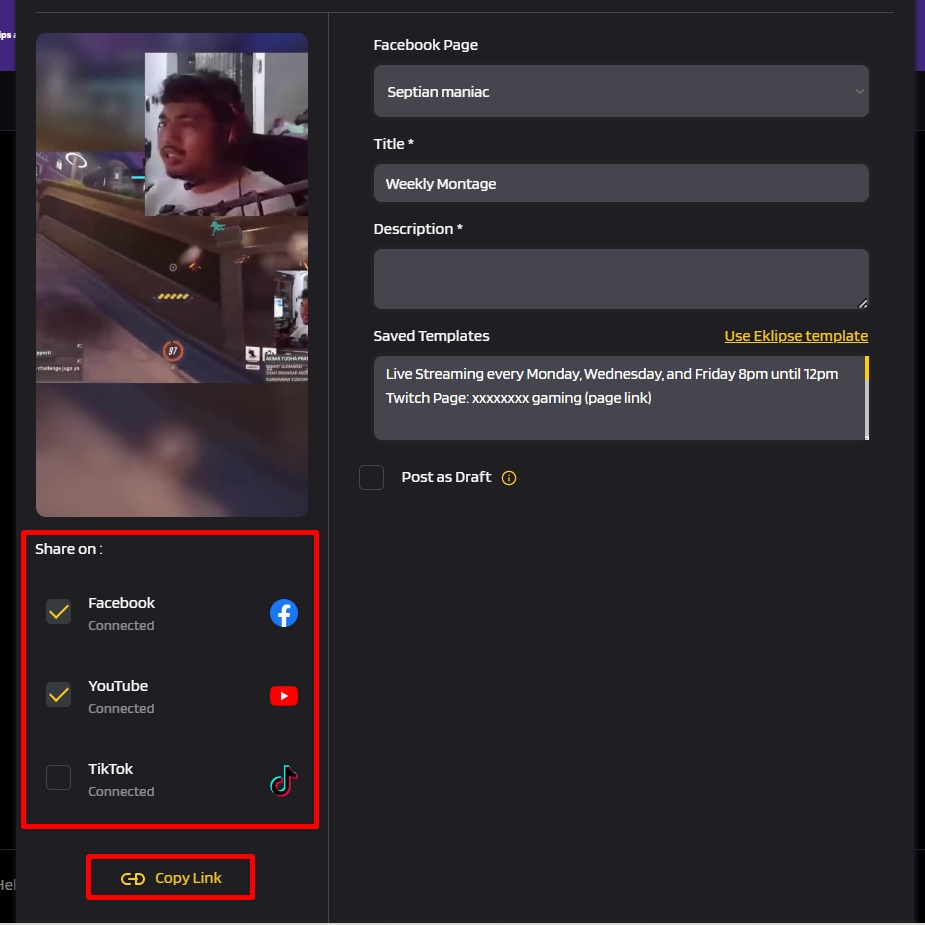
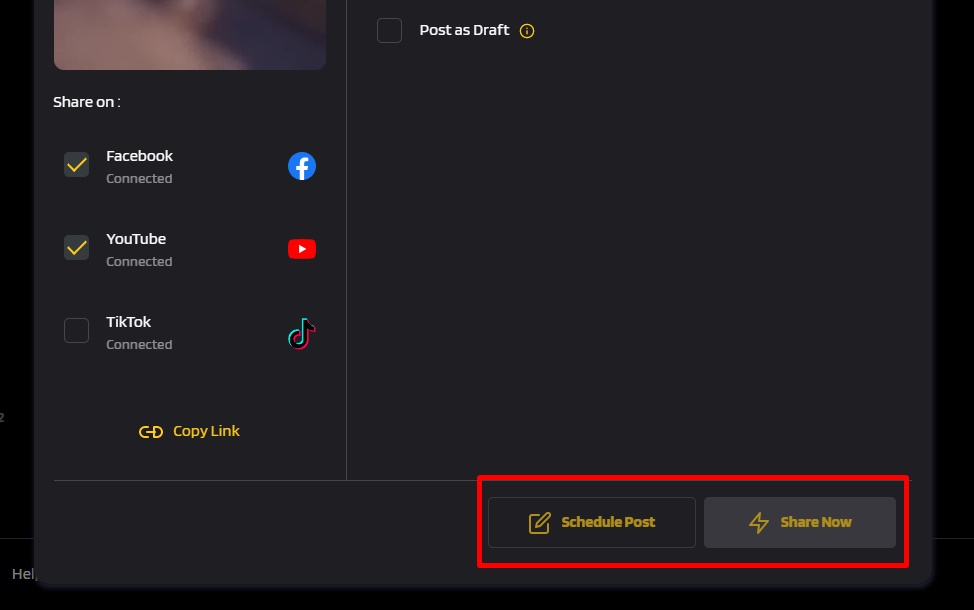
- Clip creation and content repurposing (via tools like Eklipse) can grow your channel faster than better gear
The True Minimum Streaming Setup
Let’s be direct about what “minimum” actually means. Not “minimum for decent quality” — minimum to go live and have viewers able to watch.
The absolute floor:
- A gaming PC (or PS5/Xbox with built-in streaming)
- 6+ Mbps upload speed
- OBS Studio (free) or Twitch’s built-in streaming on console
- Any microphone — even a headset mic
That’s it. No webcam, no ring light, no capture card, no fancy desk. The Twitch channel exists in your browser, OBS is a download, and your internet connection is already there.
Case Study: Ryan started streaming Minecraft in January 2025 with a five-year-old gaming laptop and his Xbox headset mic. No webcam. No ring light. His stream quality wasn’t great — but it was live, and he was building the muscle of showing up consistently. By month three he had 87 followers and a clear sense of what gear actually bothered him. He bought a USB mic. That was his only hardware purchase in the first year, and his channel grew to 600 followers regardless.
The lesson: launch first, optimize second. Most streaming gear you think you need on day one is gear you’ll actually understand you need after a month of streaming.
PC Requirements for Streaming
Your PC is the most important piece of streaming equipment. If your PC can’t run your game AND encode the stream simultaneously, you’ll have either choppy gameplay or dropped frames — or both.
Minimum Specs for Streaming in 2026
| Component | Minimum | Recommended |
|---|---|---|
| CPU | Intel i5-10400 / AMD Ryzen 5 3600 | Intel i7-12700K / AMD Ryzen 7 5800X |
| RAM | 16 GB | 32 GB |
| GPU | GTX 1660 / RX 5500 XT | RTX 3070 / RX 6700 XT |
| Storage | 500 GB SSD | 1 TB NVMe SSD |
| Internet | 6 Mbps upload | 20+ Mbps upload |
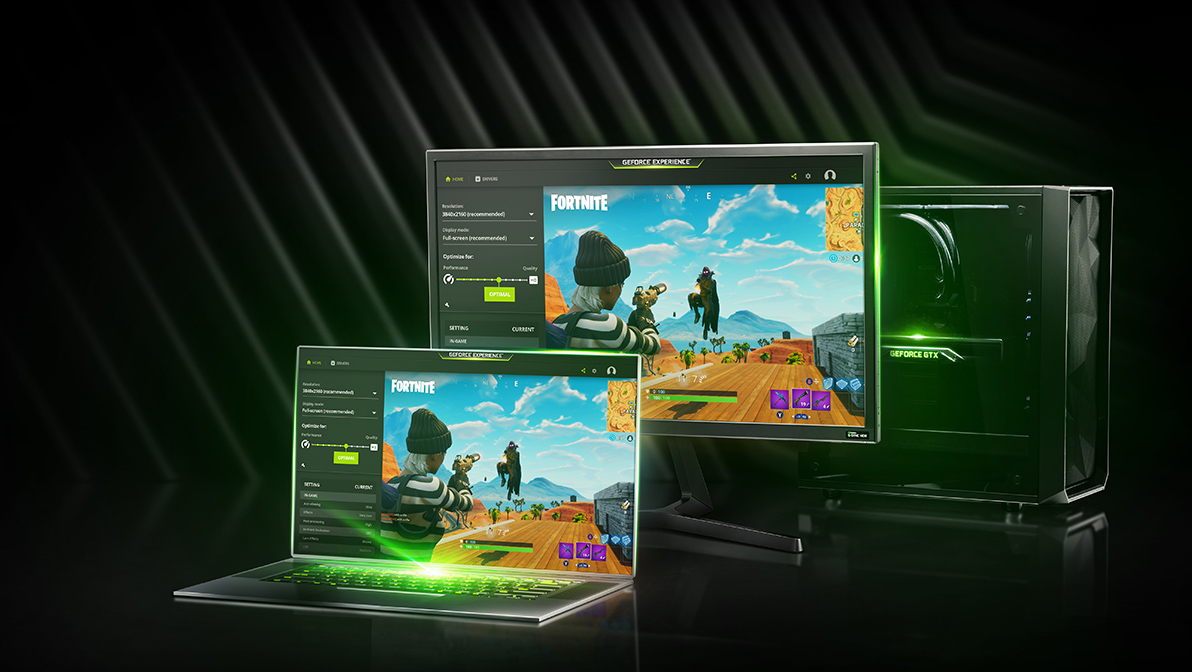
Modern Nvidia and AMD GPUs include hardware encoders (NVENC and AV1 respectively) that offload stream encoding from the CPU. If you have an RTX 20-series or newer, use NVENC in OBS — it produces better quality at lower CPU cost than software encoding.
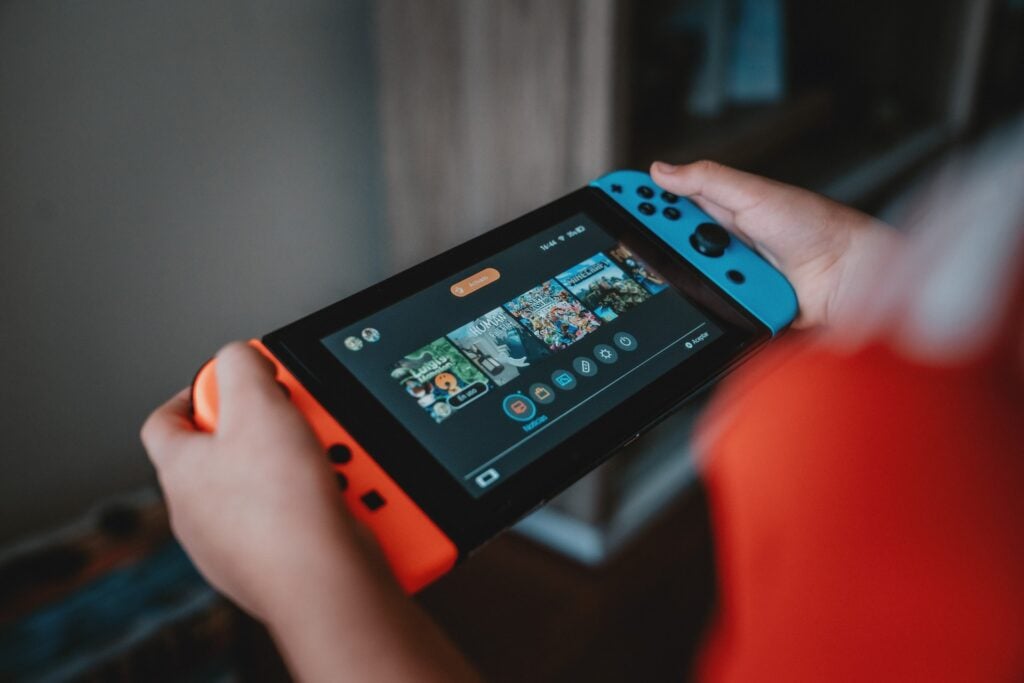
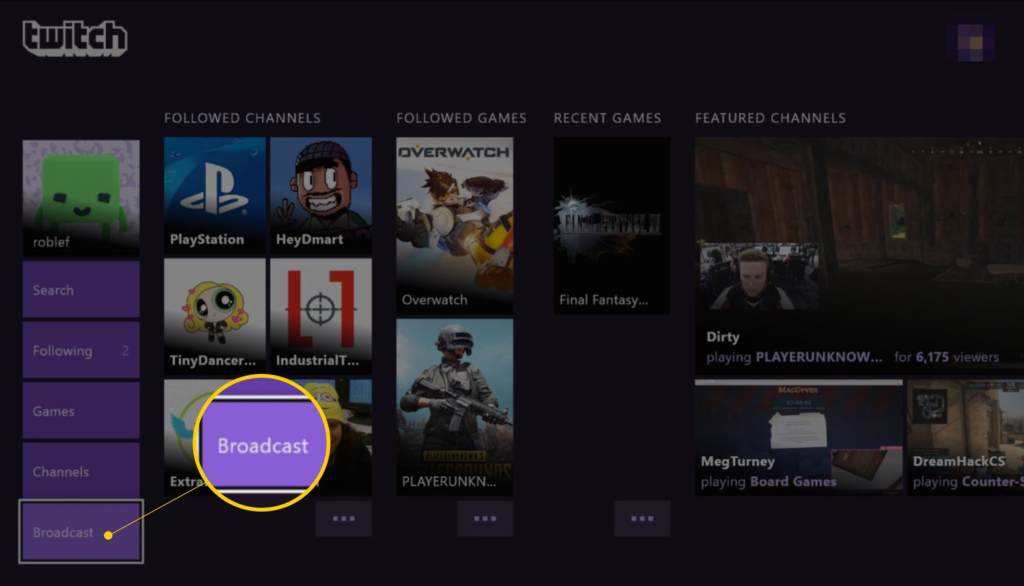
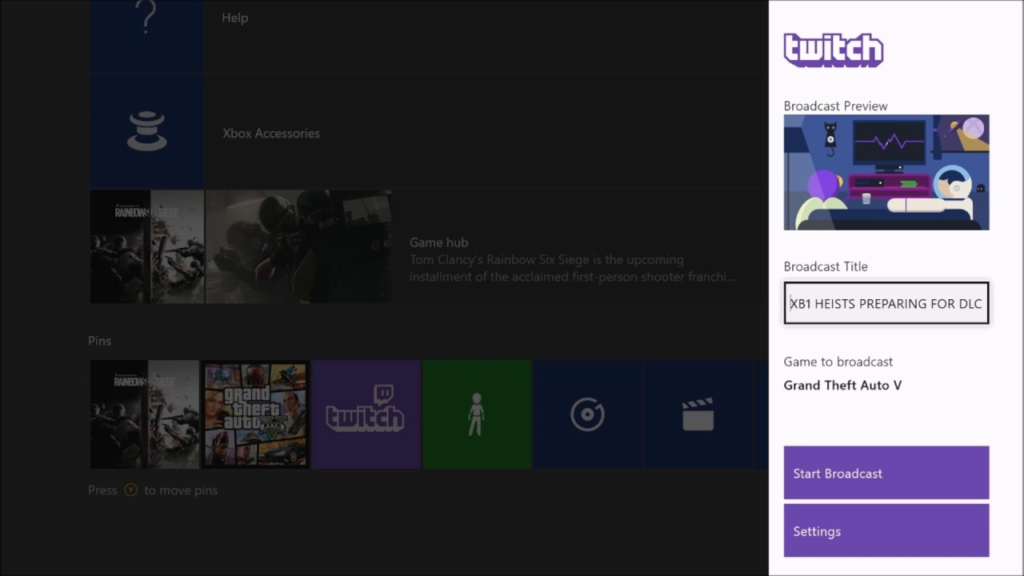
Console Streaming
If you’re on PS5 or Xbox Series X, both consoles have built-in streaming tools. PS5 streams directly to Twitch or YouTube through the Share button. Xbox does the same. The quality caps at 1080p60 and you can’t customize overlays or alerts, but it works.

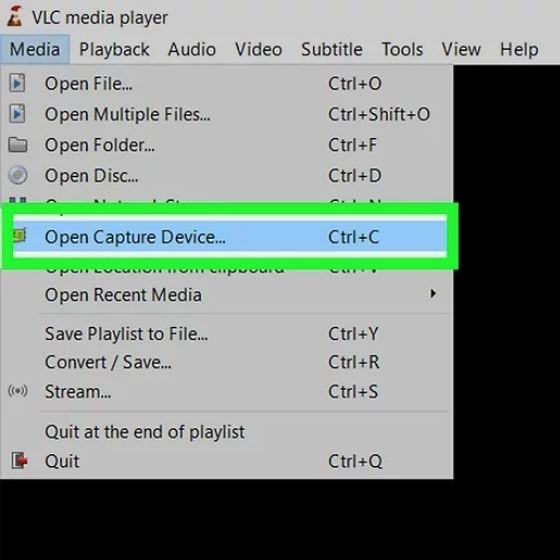
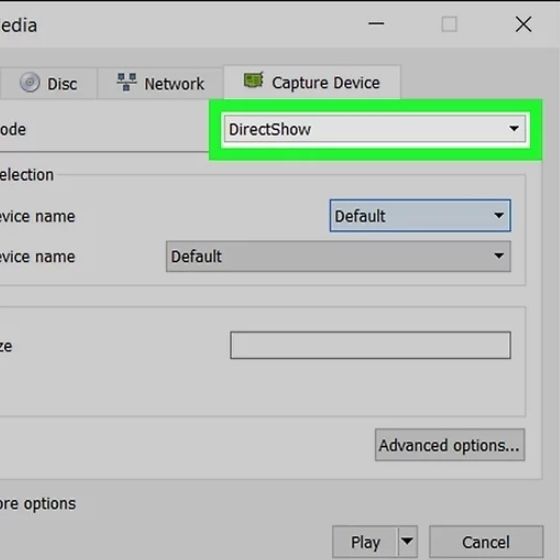
Capture cards (more on those below) let you bring console footage into OBS on your PC for full customization.
Microphone: The Most Important Upgrade
Before webcam. Before lighting. Before anything else — upgrade your microphone.
Why? Because viewers tolerate average video. They will leave within 30 seconds of poor audio.
Headset Microphone (Day One)
If you have a gaming headset with a built-in mic, you already have something. Headset mics are generally okay — not great, but usable. The problem is proximity: they pick up everything (keyboard, room noise, breathing) because they’re not designed to isolate voice specifically.
Use your headset mic to start. See if you like streaming. Then upgrade.
USB Microphones ($50-$130)
For most beginner streamers, a USB microphone is the ideal first upgrade. No audio interface needed — plug it into your PC and it works.
Strong options in 2026:
- HyperX QuadCast S ($130): Cardioid pattern, solid build, looks good on stream
- Blue Yeti ($99-$129): Multiple polar patterns, widely supported, widely copied for good reason
- Elgato Wave:3 ($150): Built-in software mixing, great integration with Elgato ecosystem
- Fifine AM8 ($60): Budget pick that punches above its price point
A cardioid USB mic in the $60-$130 range will transform your stream audio compared to a headset mic. It’s not glamorous advice, but it’s the single highest-ROI hardware purchase a beginner streamer can make.
XLR Microphones ($100-$400+)
XLR mics require an audio interface (an extra $100-$200 minimum), but they give you more control and generally better quality at the same price point. This setup makes sense when you’re serious about audio quality and already have the rest of your setup dialed in.
Webcam: Optional, But It Helps
Facecam is not required to stream. Plenty of successful streamers go facecam-free, especially in games where the screen dominates. But having a webcam does help — viewers connect to a person, not just a game.
Built-In Laptop Camera
If you stream from a laptop, your built-in camera is a starting point. The quality is usually mediocre (720p, bad in low light), but it’s something.
USB Webcams ($50-$200)
The standard recommendation for years was the Logitech C920 ($80), and it’s still valid. The Logitech C922 adds better low-light performance for $100. If you want to step up further, the Logitech Brio 4K at $170-$200 gives you 4K capture (though Twitch won’t stream it at 4K, it gives you better quality downsampled to 1080p).
For 2026, also worth considering:
- Elgato Facecam ($130): Excellent software integration, great glass quality
- Razer Kiyo Pro Ultra ($200): Strong low-light performance
Using Your Phone as a Webcam
iPhones (Continuity Camera) and Android phones (via DroidCam) can function as high-quality webcams. If you have a recent iPhone, this is a legitimate alternative to buying a webcam — the camera quality beats most webcams under $200.
Lighting: The Other Upgrade That Matters
Good lighting makes a $50 webcam look better than bad lighting makes a $200 webcam look.
Natural Light
The easiest (and free) option: position yourself facing a window. Sunlight from the front is flattering and produces great video quality. The problem is consistency — sunlight changes throughout the day, and night streams look different from afternoon streams.
Ring Lights ($25-$80)
A ring light positioned behind your monitor, facing you, creates even, flattering light that’s consistent regardless of time of day. A basic 10-inch ring light from Amazon at $25-$35 will improve your video quality noticeably. You don’t need the $80 Elgato Key Light to start — that’s an upgrade for when you care about color temperature control.
Key Light + Fill Light Setup
For professional-looking streams, the standard setup is a key light (your main light source, angled slightly) and a fill light (softer, from the opposite side to reduce shadows). The Elgato Key Light ($130) and Key Light Mini ($80) are purpose-built for streamers with software color control. But a ring light and a simple desk lamp as fill will get you 80% of the way there for $50 total.
Case Study: Priya had been streaming for four months with decent audio but dark video. She sat in front of a dark wall with only ambient room lighting. Her Logitech C922 produced grainy, yellowish footage. She bought a $30 ring light and repositioned her desk to face her window. In two days, her stream went from looking like a conspiracy video to looking like a genuine gaming channel. No new camera. No new mic. Just light.
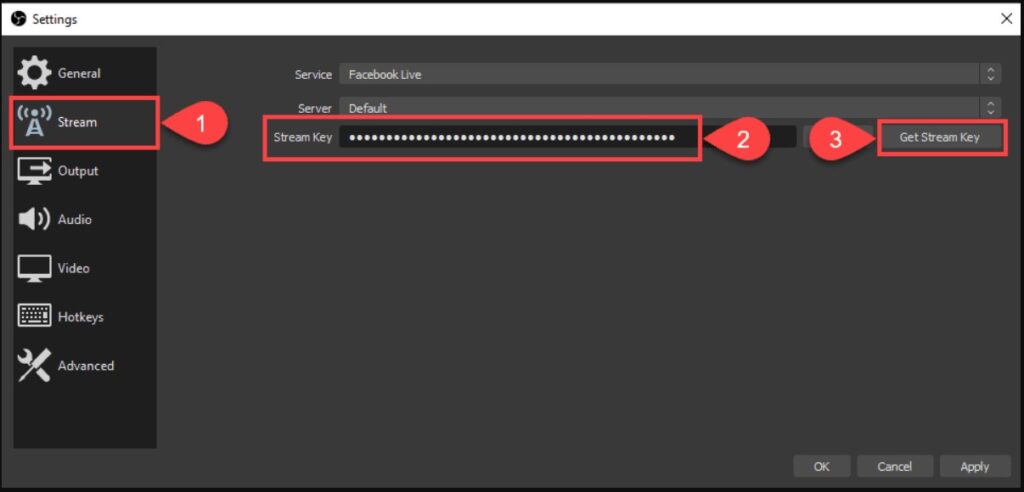
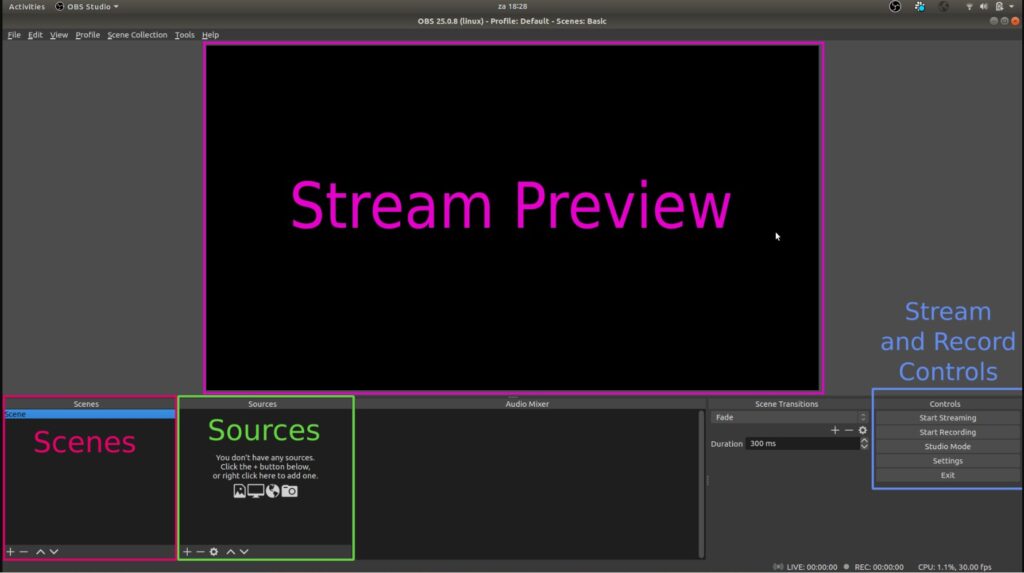
Streaming Software: OBS Studio (Free)
OBS Studio is the standard. It’s free, open-source, runs on Windows, Mac, and Linux, and is used by everyone from day-one streamers to full-time professionals with tens of thousands of concurrent viewers.
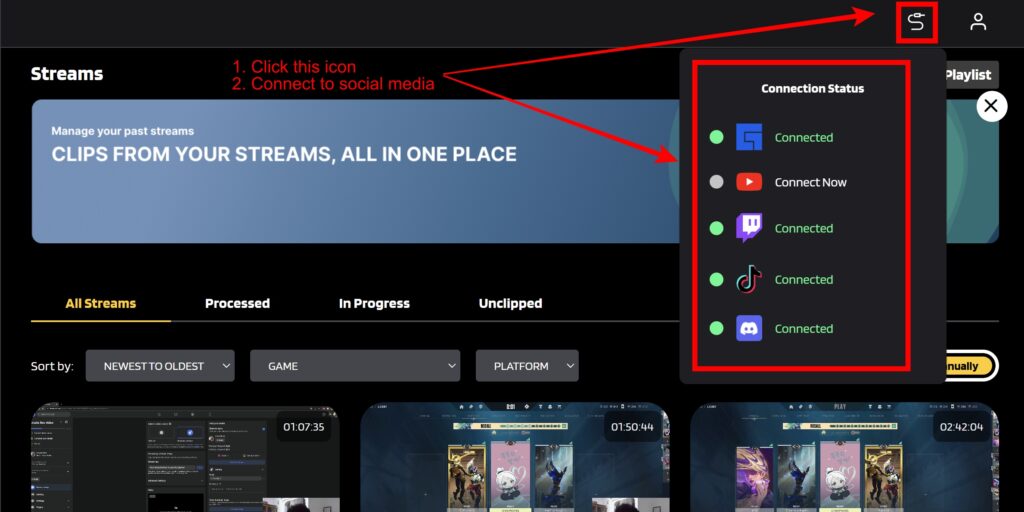
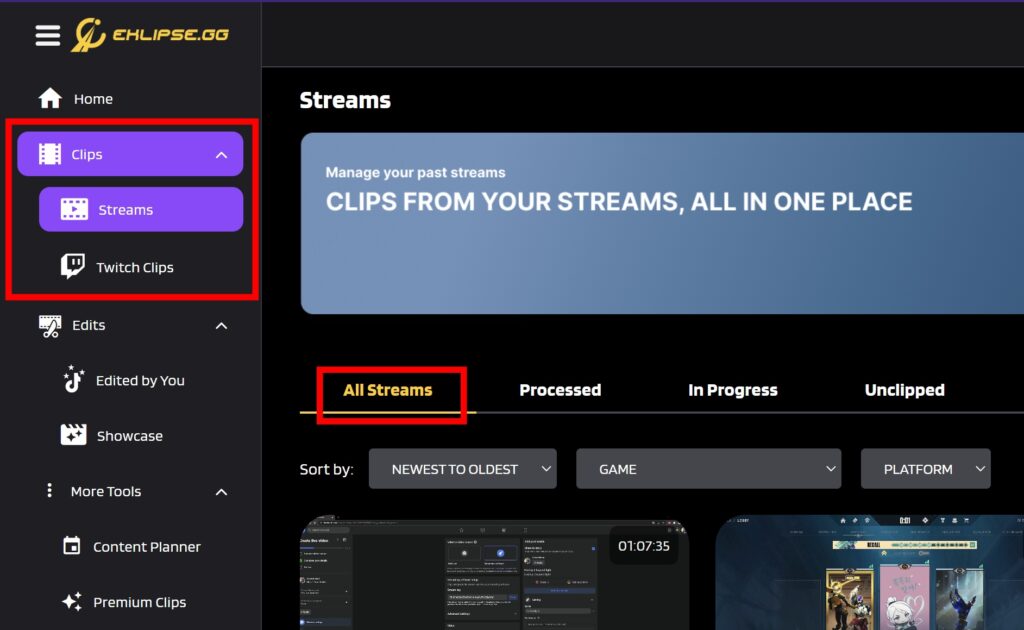
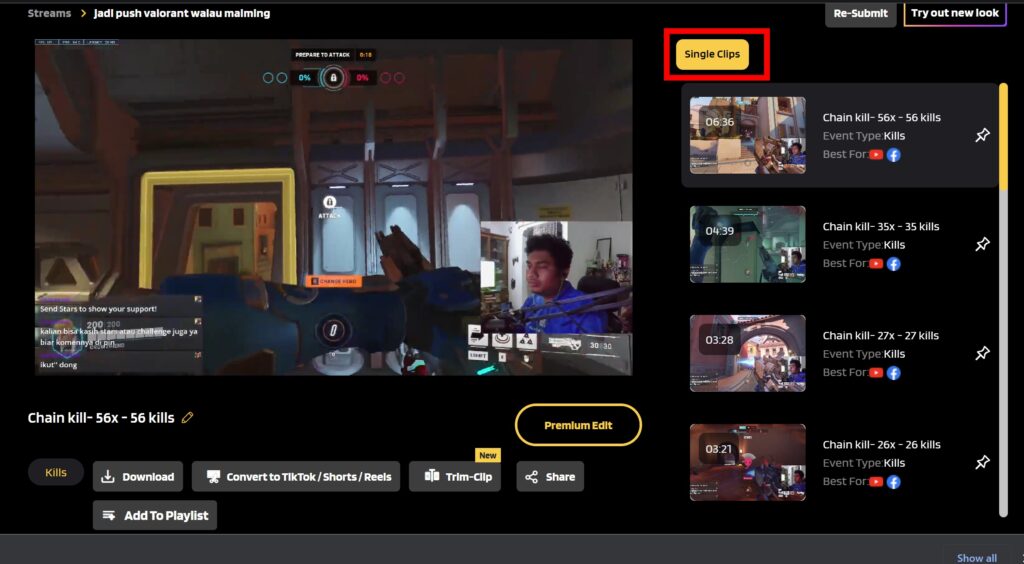
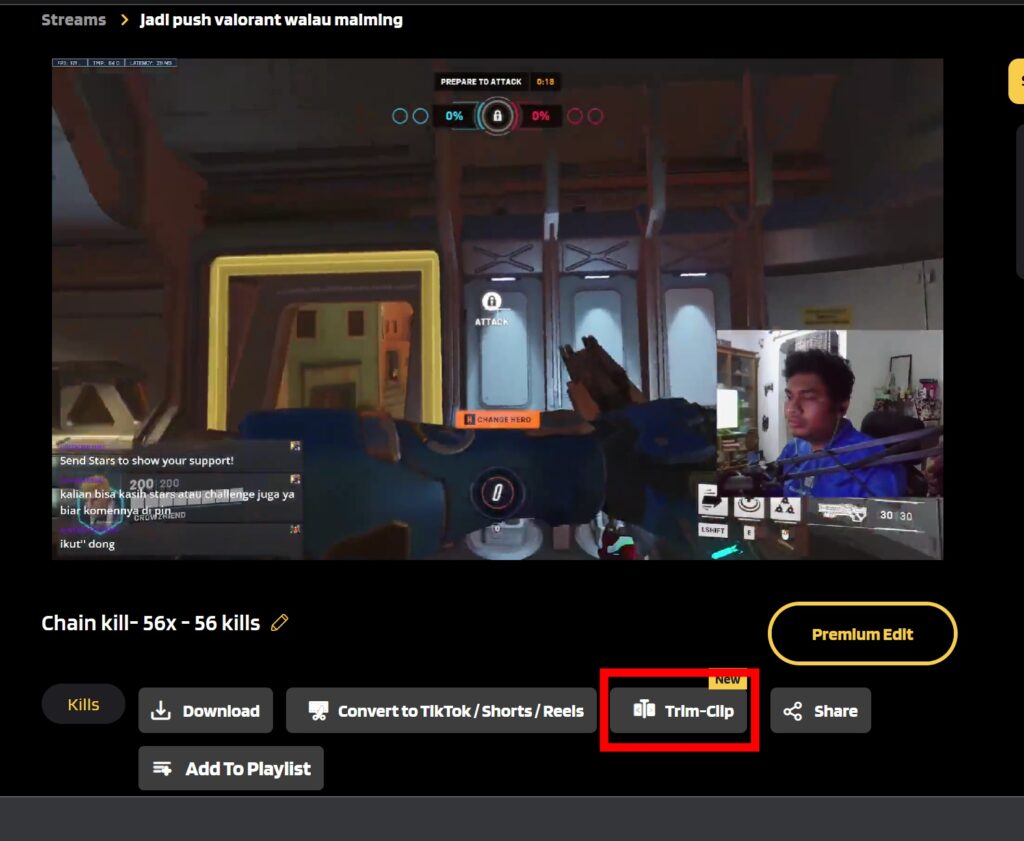
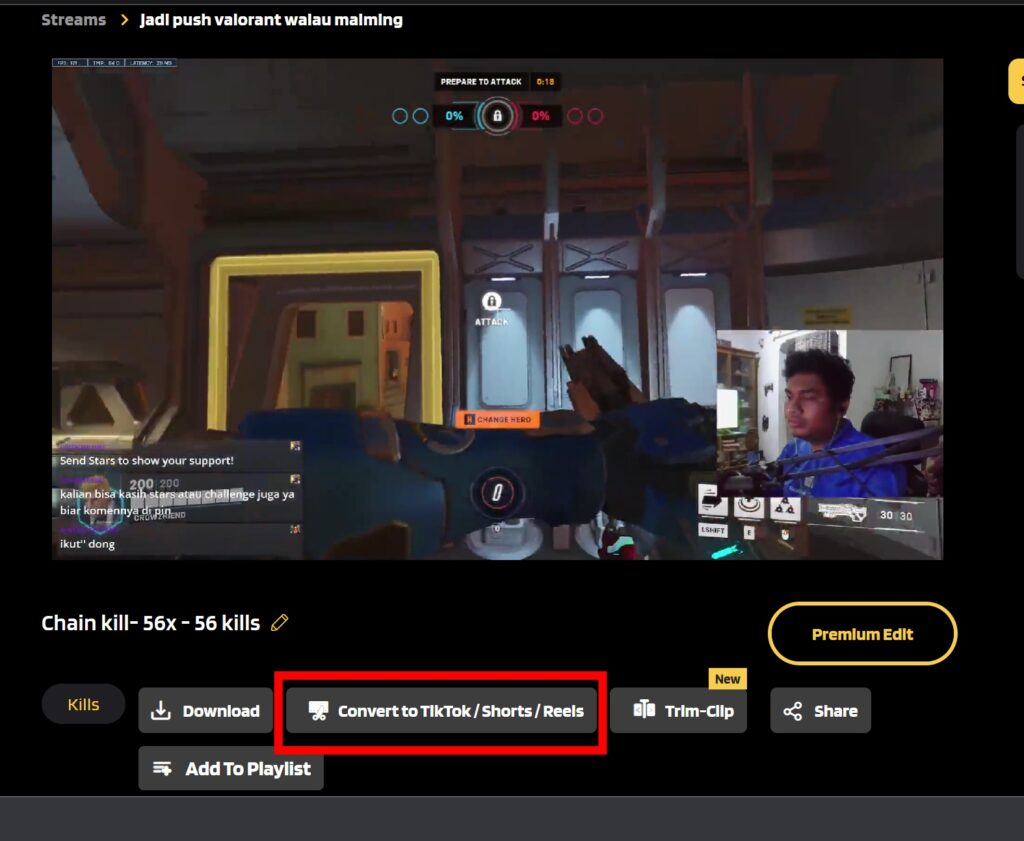
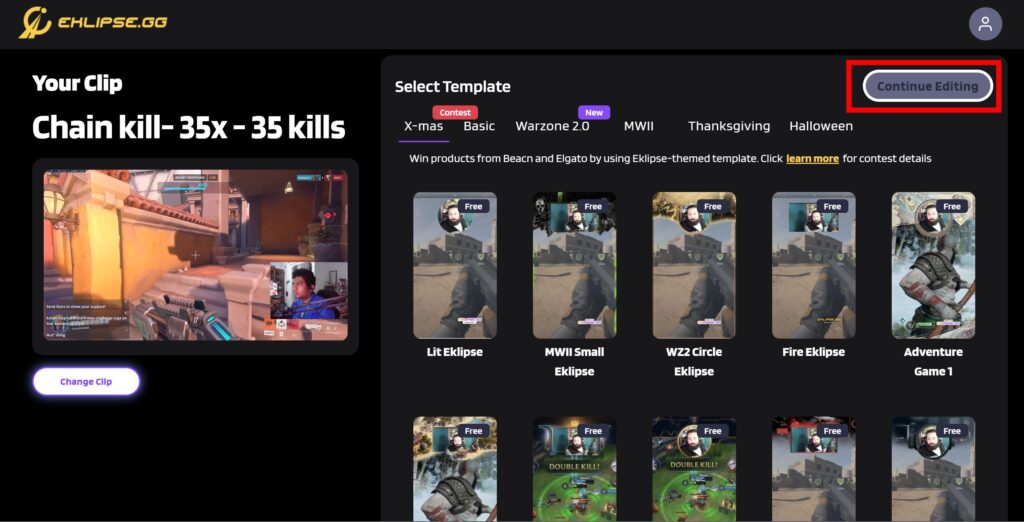
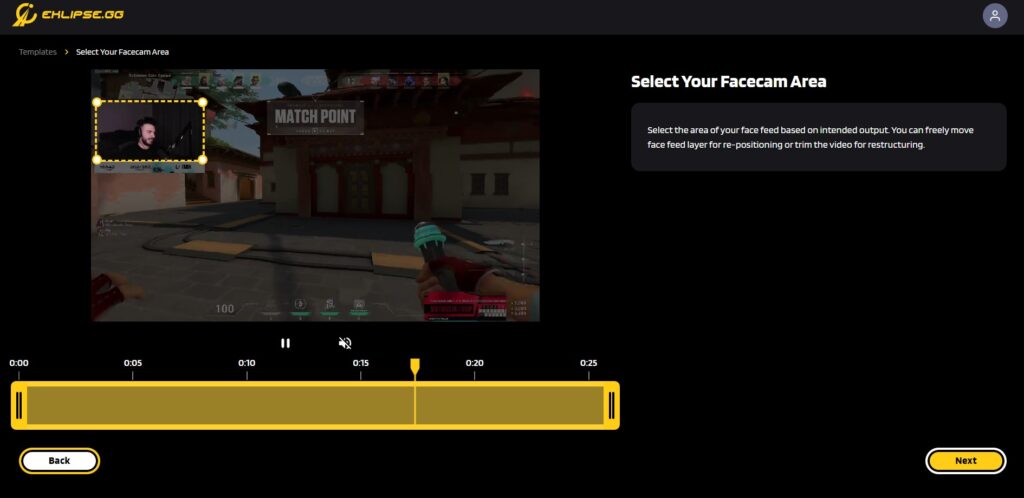
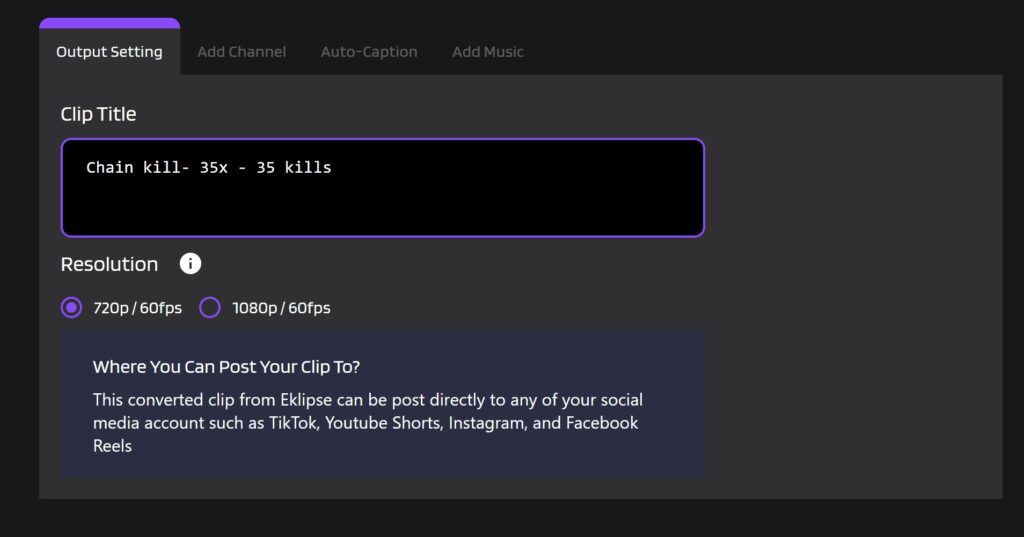
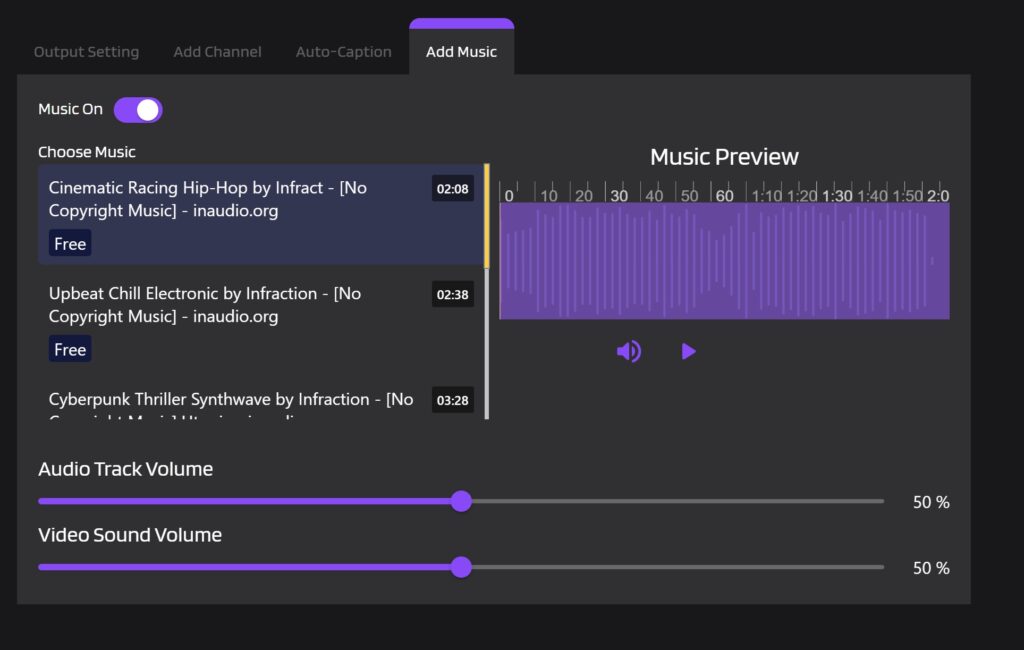
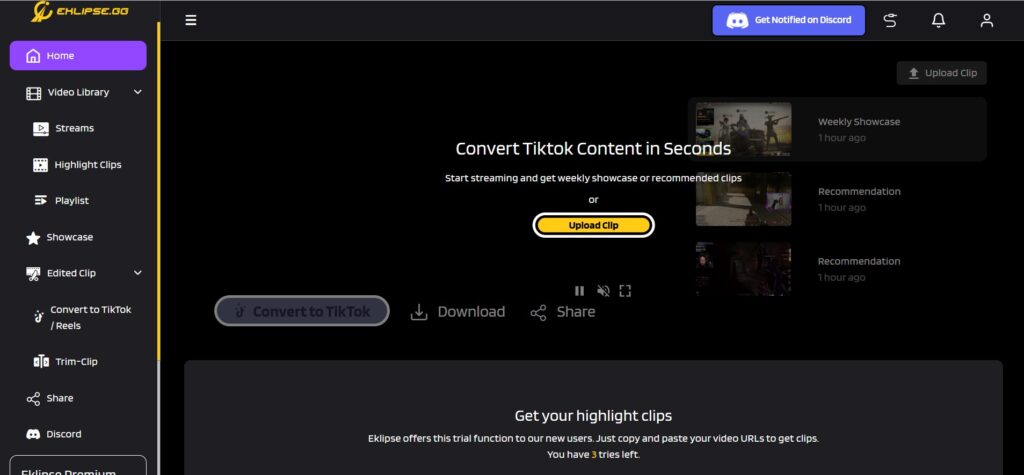
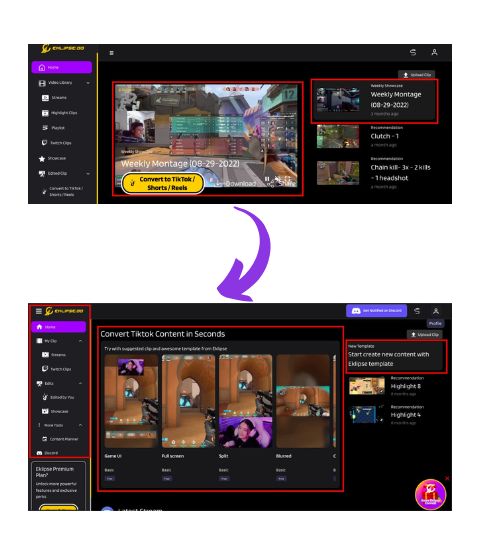
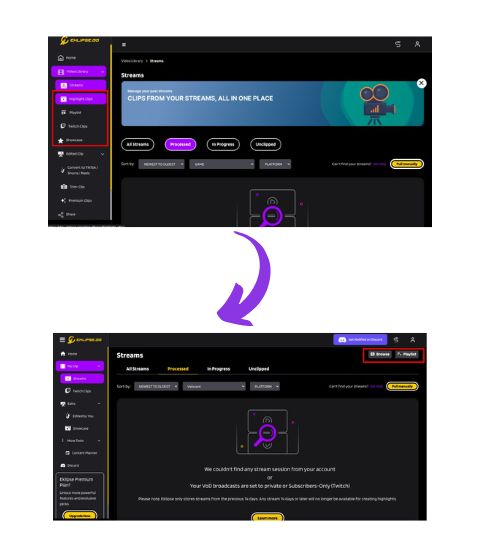
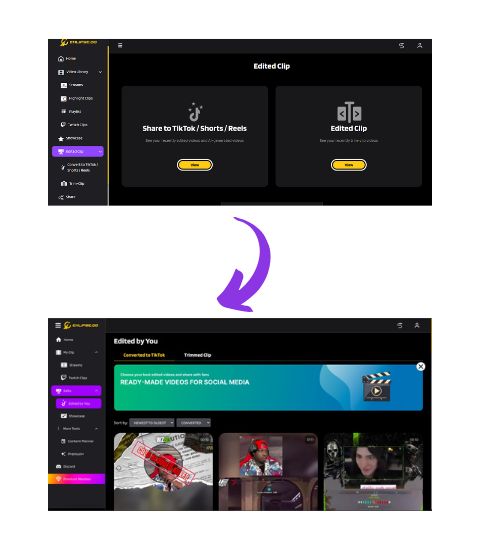
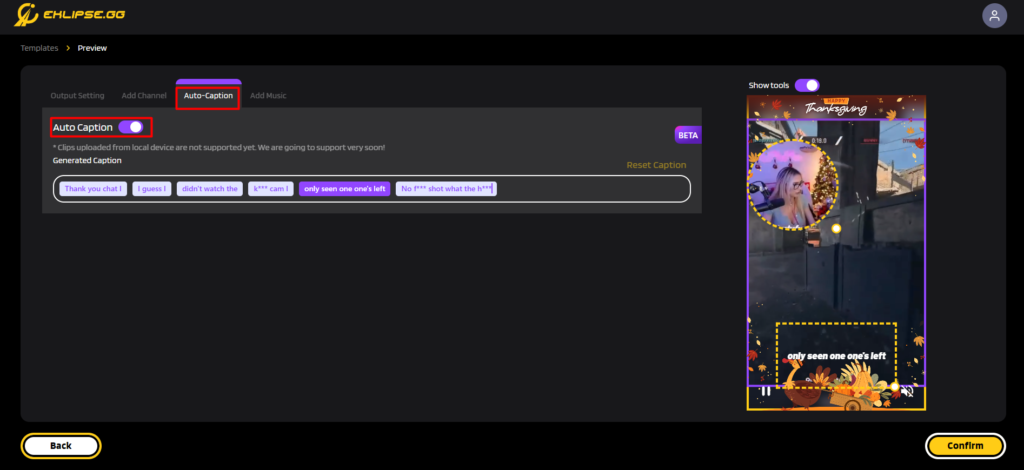
Grow Your Stream Faster With Eklipse
Turn VODs into clips automatically. Try free, no credit card needed.