Learning how to edit YouTube videos to make them stand out is a must-do thing if you want to grow your channel. It is because the quality of your video will be the key point to attracting viewers and even subscribers.
To be able to edit the video seamlessly, of course, you’ll need a powerful video editing tool. However, most editing tools have expensive pricing plans that might be less affordable for some people.
Thankfully, YouTube Studio has been created to enable you to do some light editing to your videos. Don’t worry, this feature is completely free to use! If you are interested to try this feature, just keep reading.
How to Edit YouTube Videos Using YouTube Studio
Here are some steps you should follow to produce great and appealing YouTube videos.
1. Open YouTube Studio
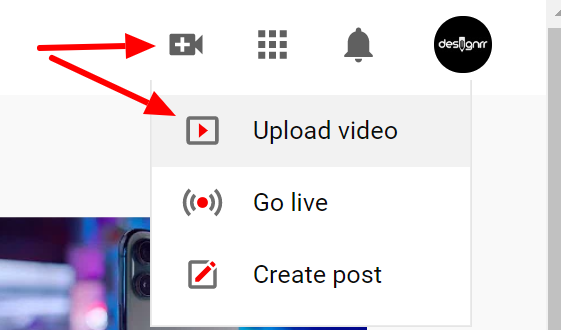
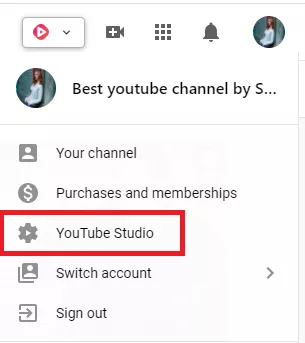
To begin with, head to YouTube and be sure to log in with your account. Once you are on the homepage, click on your account icon. Then on the drop-down menu, hit the YouTube Studio.
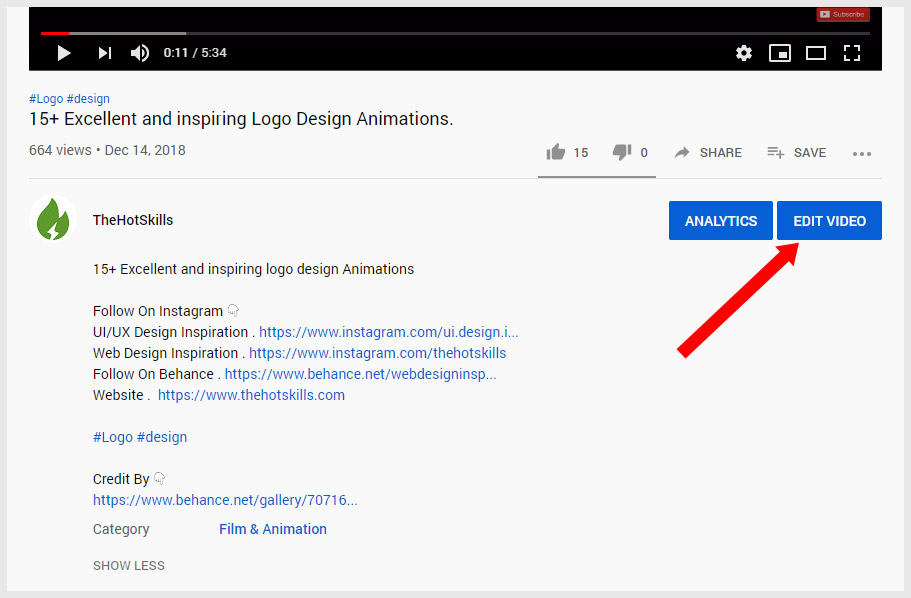
2. Find the video
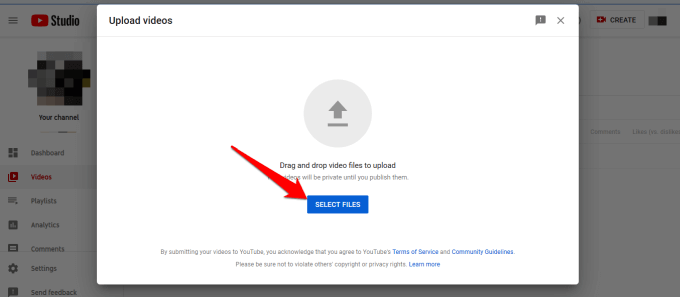
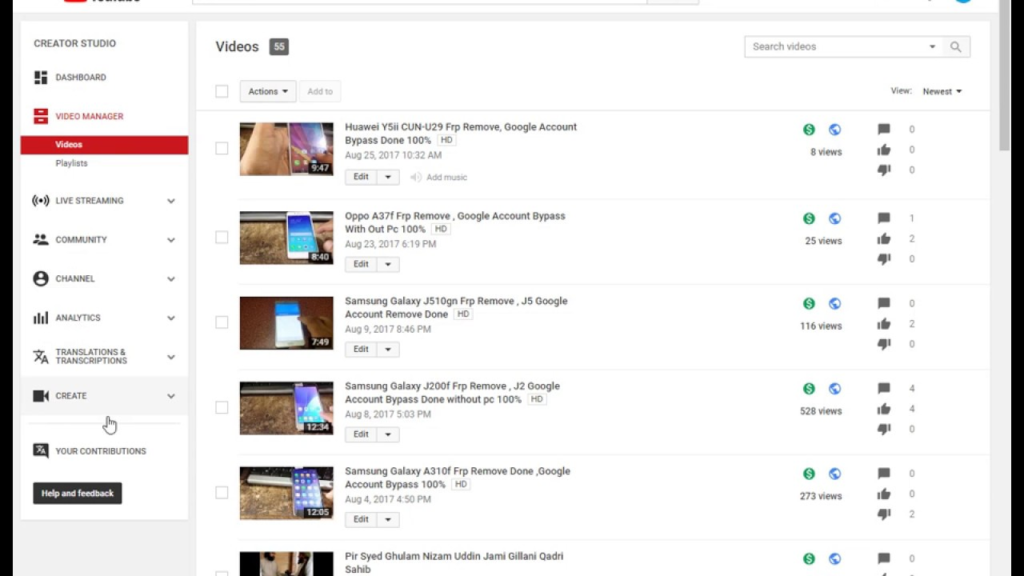
After heading to the YouTube Studio, navigate to the Videos option on the left sidebar. You’ll see a list of your posted videos. Select certain videos to edit by clicking on the thumbnail.
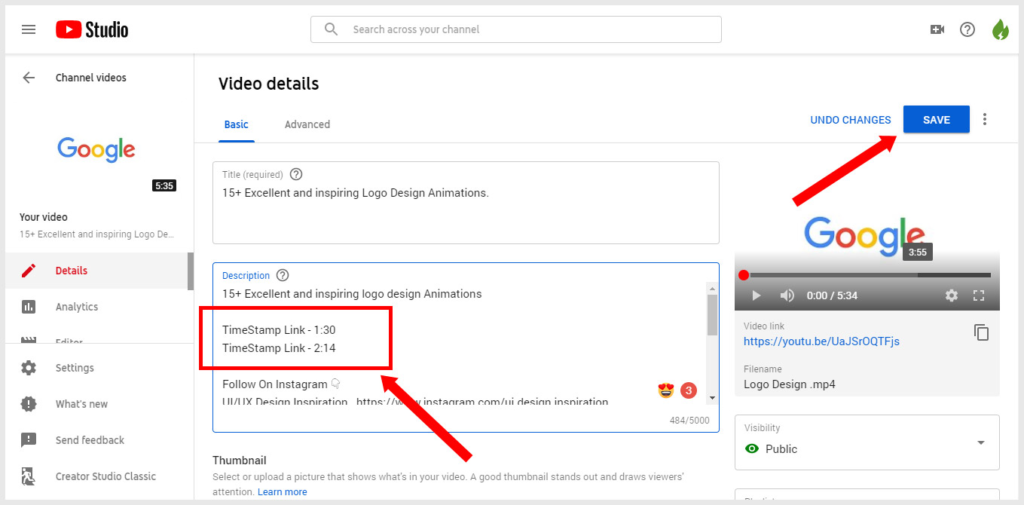
3. Edit the video
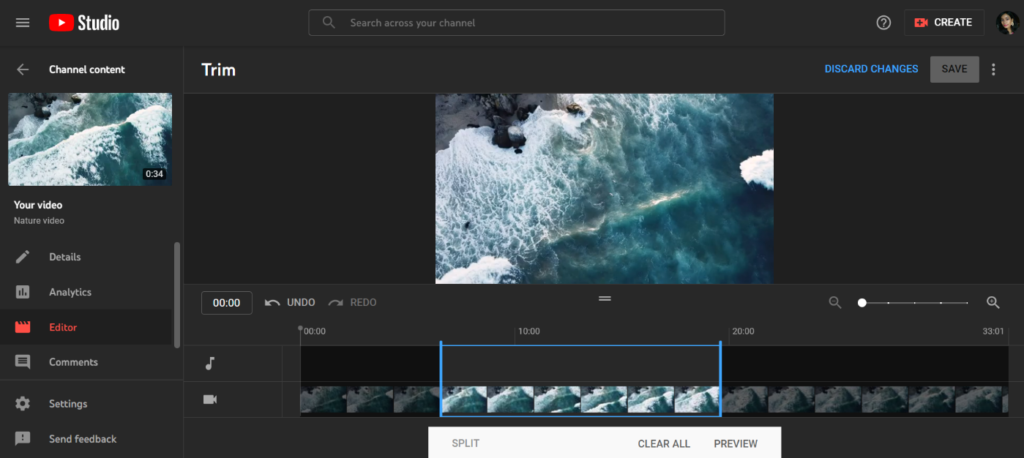
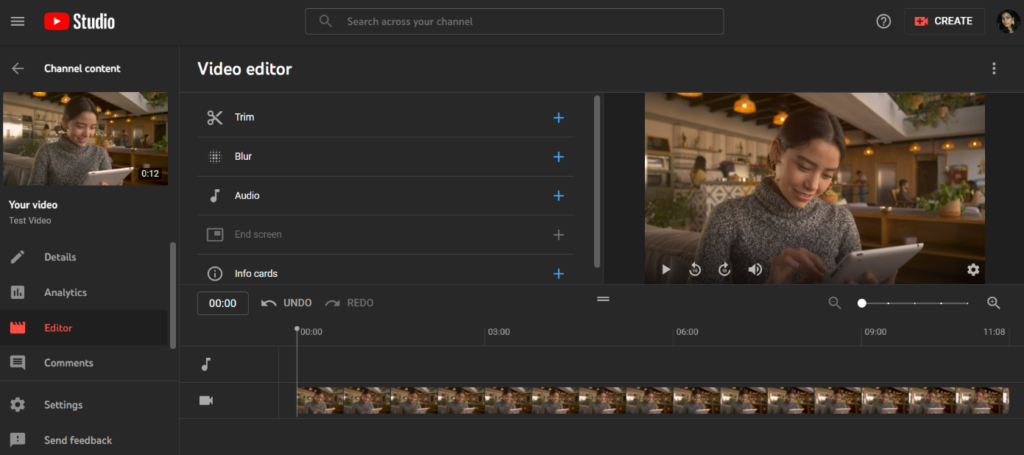
To use various editing tools, hit the Editor option on the left sidebar. Then, if you want to trim the video, click the Trim option under the video preview. Adjust the start and end points to select the video timeline. Hit Save to keep the changes.
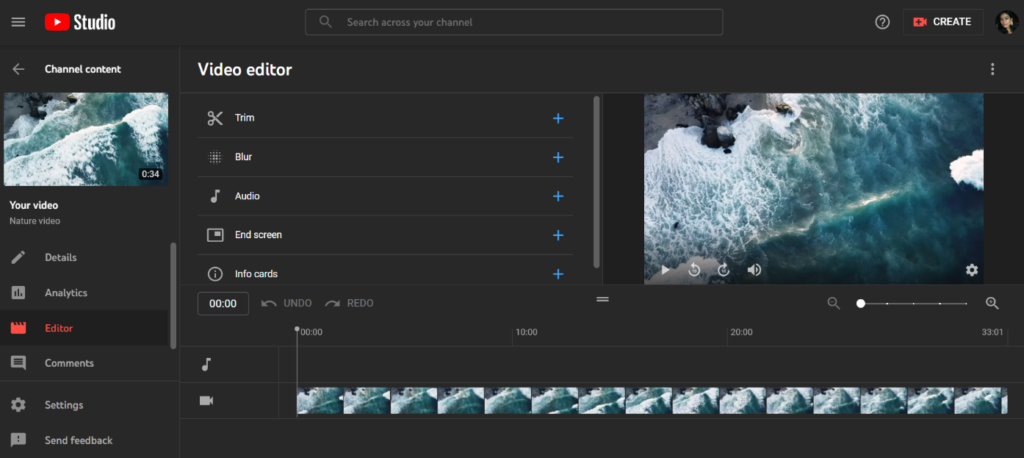
Do the same way to trim the clips out of the middle of the video. Adjust the start bar and hit Split, then follow with moving the end bar and hit the Spilt option again.
In addition, you can also blur certain aspects from the footage by hitting Add Blur to add the effect. Play with the editor tools and don’t forget to hit the Save button to keep the changes.
4. Preview the video before showing them
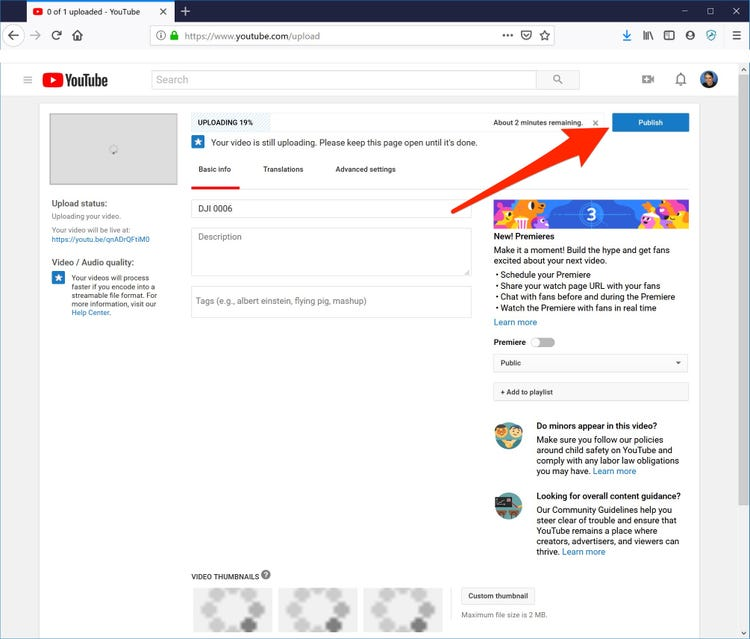
Now, you’re all set and your video is ready to post. However, it’d be better to click the Preview to make sure that there are no more things you need to change inside your video. If you have satisfied, then let it air.
Are you wondering how to edit YouTube videos on Android or iPhone? Well, fortunately, YouTube Studio is also available for mobile phones. But unlike when you edit through a PC or laptop, you are required to download and install the YouTube Studio app.
How to Edit YouTube Videos Using Eklipse

Alternatively, you can also edit your YouTube videos using other tools, such as Eklipse. Eklipse is basically an AI clip maker that is able to process your video automatically just in a few seconds.
You will only be required to do some clicks, and voila! Your video is ready and you can share them directly on social media such as TikTok, Facebook, and YouTube.
If you want to learn about how Eklipse can edit your YouTube video, go to our blog and take a look at Eklipse tutorials there. Try it now!
Conclusion
So, that’s all about how to edit YouTube videos for free using YouTube Studio and Eklipse. Even if you’re a beginner in video editing, you can create incredible videos easily. Go try them both and show the result to your friends or family.