Are you a gaming enthusiast looking to create engaging clips from your gameplay? Do you want to showcase your best gaming moments on social media platforms like TikTok, Instagram Reels, and YouTube Shorts? Look no further, as this ultimate guide will provide you with comprehensive information on clip creation in gaming.
From tools and services to step-by-step instructions, we’ve got you covered.

Understanding Clip Creation in Gaming
Clip creation in gaming involves capturing the most exciting or memorable moments from your gameplay and turning them into short, shareable video clips.
These clips are then uploaded to various social media platforms to entertain and engage with your audience. Whether it’s a stunning kill streak or an epic victory, creating compelling clips can help you build a strong online presence as a gamer.
Tools and Services for Clip Creation
- YouTube Video Highlights: Never miss the best moments from your YouTube videos. Grab all your highlights from your favorite VODs.
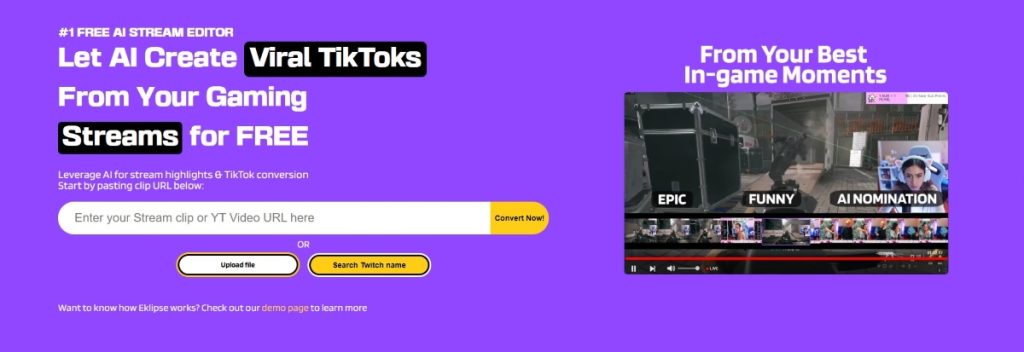
- AI Stream Clipper: Generate clips automatically from streams with Eklipse AI.
- Video Editing Service: Professional clip editing service from Eklipse. Supercharge content and boost social media engagement.
- TikTok Video Editor: Transform Twitch Clips to TikTok in seconds with Eklipse free tools.
- Shorts Video Editor: Create YouTube Shorts easier than ever with templates and fun stickers in Eklipse time-saving tools.
- Reels Video Editor: Instantly create Facebook or Instagram Reels using free templates in Eklipse easy-to-use tools.
- Kick Support for AI: Clip Kick streams with AI and convert them to TikTok instantly!
These tools offer a range of features such as automatic clip generation, professional editing services, and seamless integration with popular social media platforms.
Eklipse: The Best Gaming Clip Creator
Not only the tools above but there’s one ultimate tool that you can use for clip creation in gaming. Eklipse
uses cutting-edge AI to automatically generate epic highlight reels from your gameplay, saving you time and effort while amping up your content.
But how does this digital wizardry work? Eklipse analyzes your gameplay footage, identifies key moments like kills, clutch plays, and funny glitches, and then assembles them into a polished montage complete with music, transitions, and even text overlays. It’s like having a personal hype editor built right into your gaming experience.
More on Eklipse Blog>>> What is Eklipse.gg? A complete info guide
- AI-Powered Highlight Detection: No more manually reviewing hours of footage. Eklipse uses its smarts to find the best moments, ensuring you never miss a highlight.
- Automatic Montage Creation: Sit back and relax as Eklipse seamlessly stitches together your clips, adding music, transitions, and text overlays for a professional-looking result.
- Customizable Styles: Choose from a range of editing styles to match your taste, from fast-paced action montages to laid-back chill vibes.
- Social Media Ready: Export your clips in the perfect format for sharing on Twitch, YouTube, TikTok, or any other platform.
- Weekly Showcase: Every week, Eklipse automatically picks some of your best moments and creates a special highlight reel, perfect for showcasing your progress and keeping your audience engaged.
- Integrations: Connect Eklipse with your Twitch or YouTube account to automatically upload your clips, streamlining your content creation workflow.
Make sure to leverage the power of AI-driven tools like Eklipse to take your gaming clips to new heights! This ultimate AI video editing tool designed for streamers and content creators. Save a whopping 90% of your editing time and transform your streams into viral clips with just one click.
Still hesitating? Try Eklipse for free here and experience the impressive power of AI editing. Don’t miss out—sign up now and watch your content go viral!
Maximize your Black Ops 6 rewards—Create highlights from your best gameplay with with Eklipse
Eklipse help streamer improve their social media presence with AI highlights that clip your Twitch / Kick streams automatically & converts them to TikTok / Reels / Shorts
Strengths and Weaknesses
Strengths:
- Automated clip generation saves time and effort.
- Professional editing services enhance the quality of your clips.
- Seamless integration with social media platforms allows for easy sharing.
Weaknesses:
- Some services may have limitations on free usage.
Conclusion
In conclusion, clip creation in gaming is an essential aspect of building an online presence as a gamer. With the right tools and services at your disposal, you can easily capture the most thrilling moments from your gameplay and share them with the world.