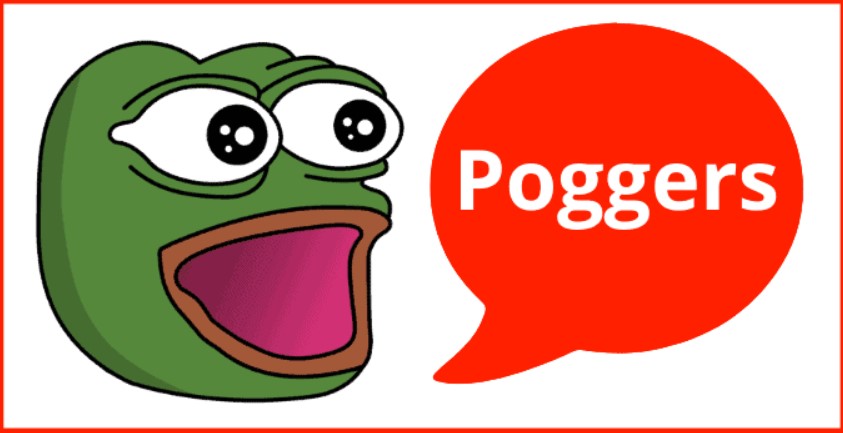
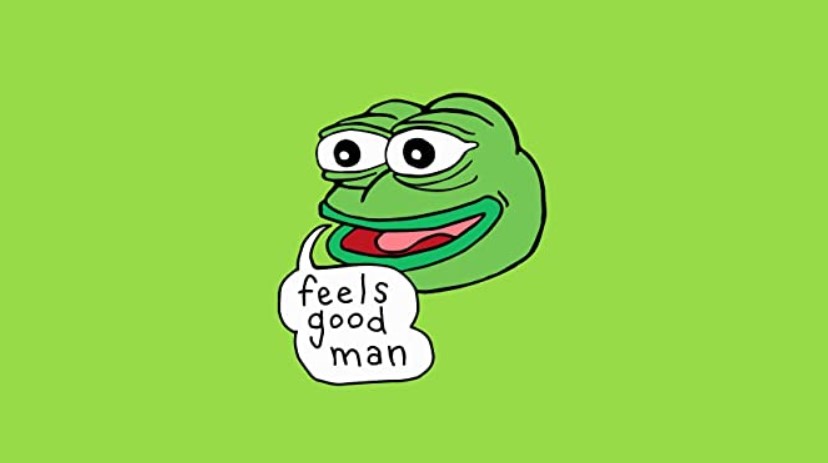
The FeelsGoodMan BTTV emote has gained popularity as a way to express joy and celebrate. success in the streaming community, especially on Twitch.
In this article, we’ll explore the meaning and origin of the FeelsGoodMan BTTV emote.. Let’s dive in and discover it!
The Origin and Evolution of “Feels Good Man”
The origins of “Feels Good Man” can be traced back to a comic series called Boy’s Club. The comics was created by San Francisco artist Matt Furie and published by Buenaventura Press in 2006.
FrogThe comic features four characters, including Pepe the frog. The comic engage in humorous situations involving bodily functions and using catchphrases popularized in the 90s, such as “Got Milk?” and “As if!”
Initially, Furie shared his comics on his MySpace blog, showcasing the adventures of the Boy’s Club characters. However, his MySpace account has since been deleted, making those original posts inaccessible. Furie recalls uploading the comics in late 2005 in an interview with Know Your Meme.
In early 2008, a user on 4chan’s /b/ board shared a scan of a page from the Boy’s Club comic. One panel depicting Pepe pulling down his pants to urinate, revealing his buttocks, then says “FeelsGoodMan”. This image gained attention and started to circulate on the internet.
FeelsGoodMan’s Twitch Emote Origin
The exact date when the FeelsGoodMan emote was released as a Twitch BTTV emote is unknown. However, the spread of FeelsGoodMan itself is can be traced back to 2008.
The spread started on February 4th, 2008. Jon Hendren, also known as @fart is a contributor to Something Awful. He posted the “Feels Good Man” comic to the site. Since that moment the FeelsGoodMan start to be known to a wider audience.
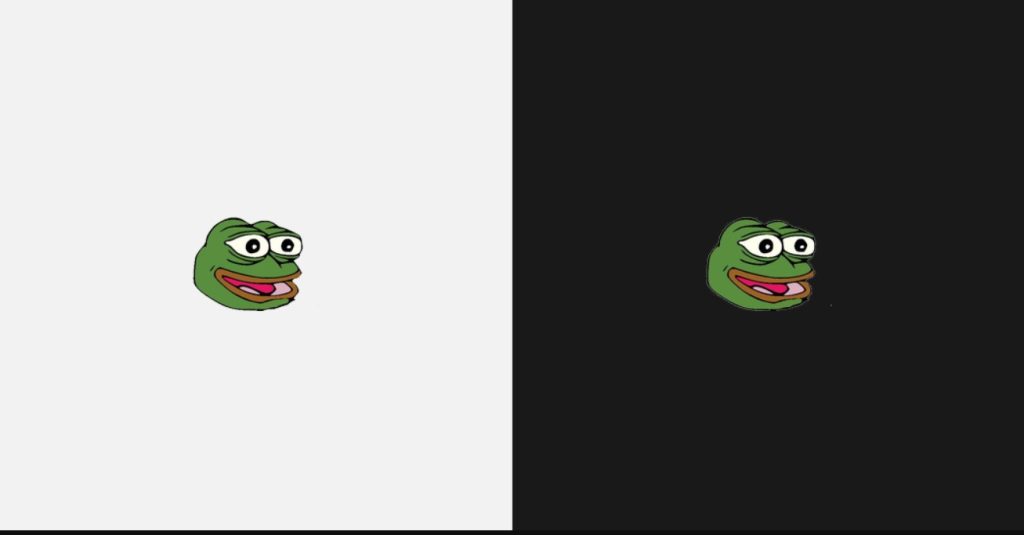
Users began photoshopping Pepe’s face from the final frame of the comic to create an exploitable image macro.
It became a common practice to combine “Feels Good Man” with images of Pokémon characters. The catchphrase itself took on a life of its own. It’s often used as a simple response on message boards to explain one’s actions or behavior.
In 2009, an edited version of the comic featuring a distressed Pepe with the caption “Feels bad man” emerged as a reaction image on 4chan and the Body Building Forums, representing a contrast to the original optimistic expression.
How to Use FeelsGoodMan Emote on Twitch
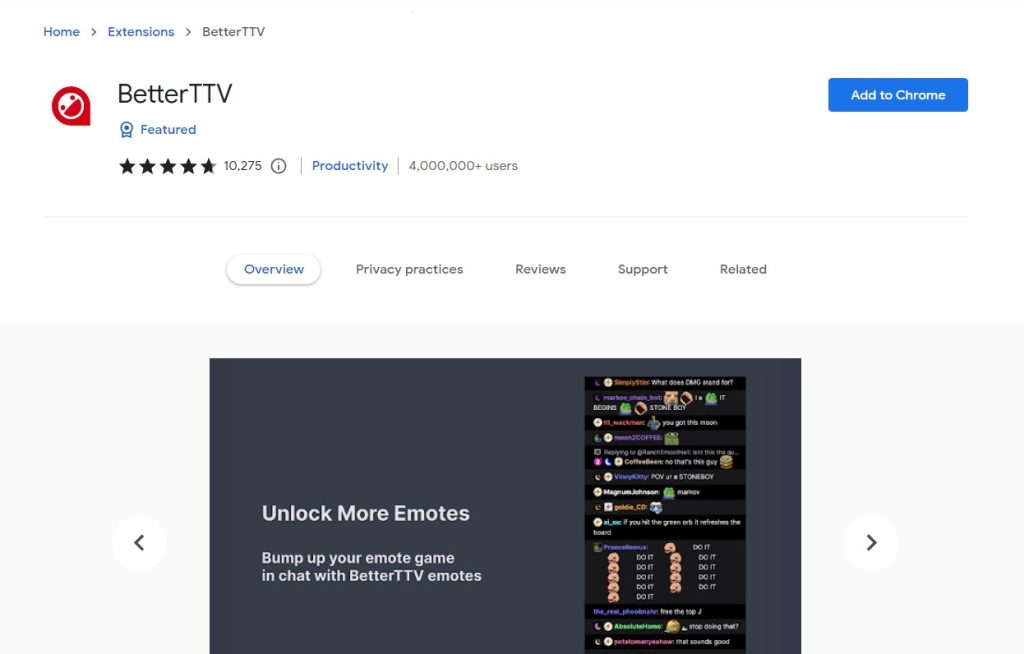
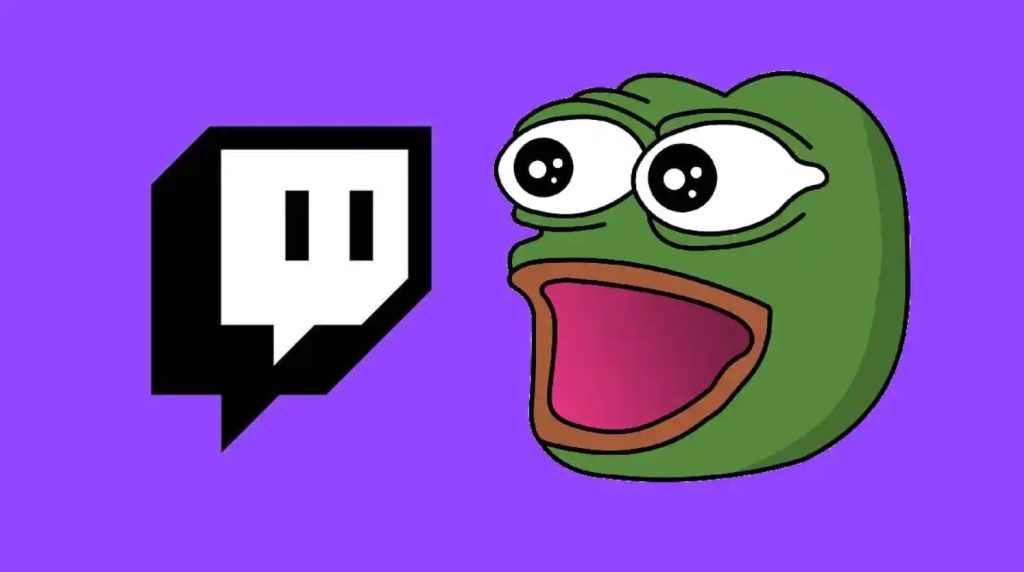
If you’re a fan of the FeelsGoodMan emote and want to use it in the chat of your favorite Twitch streamer, you’ll need to install the BTTV (BetterTTV) extension.
While FeelsGoodMan is not available on the Twitch platform itself, BTTV allows you to access and utilize a wide range of additional emotes, including FeelsGoodMan.
Installing BTTV is a straightforward process, similar to installing any other browser extension. Once you have successfully installed BTTV, you’ll notice the inclusion of the FeelsGoodMan emote in your emote list. Now, you’re ready to unleash the power of FeelsGoodMan in Twitch chat.
To use FeelsGoodMan, simply type “:FeelsGoodMan” in the Twitch chat where you want to express your joy or celebrate a positive moment. The emote will then appear in the chat for you and others to see, spreading the good vibes and adding an extra layer of communication to your Twitch experience.
Remember, BTTV not only grants you access to FeelsGoodMan but also opens the door to a plethora of other emotes and features that enhance your Twitch interactions.
Conclusion
In conclusion, the FeelsGoodMan BTTV emote has gained significant popularity as a means of expressing joy. Most of the community celebrates a success moment within the streaming community, particularly on Twitch, with this emote.
Before You Go…
Speaking of Twitch, are you thinking to start your streaming career but have no idea on how to grow your channel? You should try Eklipse!
Eklipse is an innovative AI highlight generator designed to help streamers grow their social media presence. With its automated clipping and conversion of livestream content to platforms like TikTok, Eklipse empowers streamers to reach a wider audience and maximize their potential.
Visit Eklipse.gg to learn more and sign up now to start growing your channel.
Maximize your Black Ops 6 rewards—Create highlights from your best gameplay with with Eklipse
Eklipse help streamer improve their social media presence with AI highlights that clip your Twitch / Kick streams automatically & converts them to TikTok / Reels / Shorts
Maximize your Black Ops 6 rewards—Create highlights from your best gameplay with with Eklipse
Eklipse help streamer improve their social media presence with AI highlights that clip your Twitch / Kick streams automatically & converts them to TikTok / Reels / Shorts
")