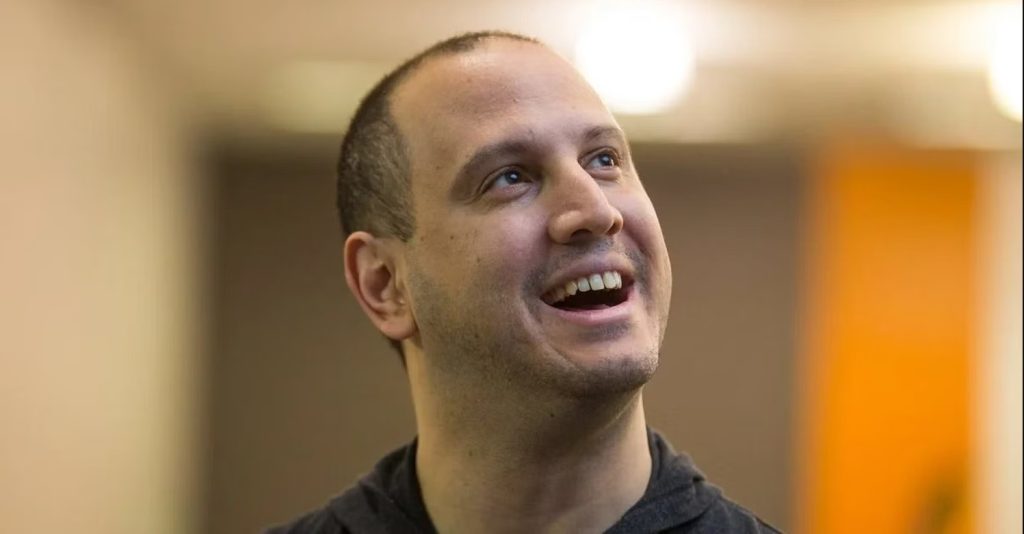
In a surprising announcement, Emmett Shear, the long-standing CEO of Twitch, the popular livestreaming platform for video game enthusiasts, revealed his departure from the company. This decision comes following the birth of his first child.
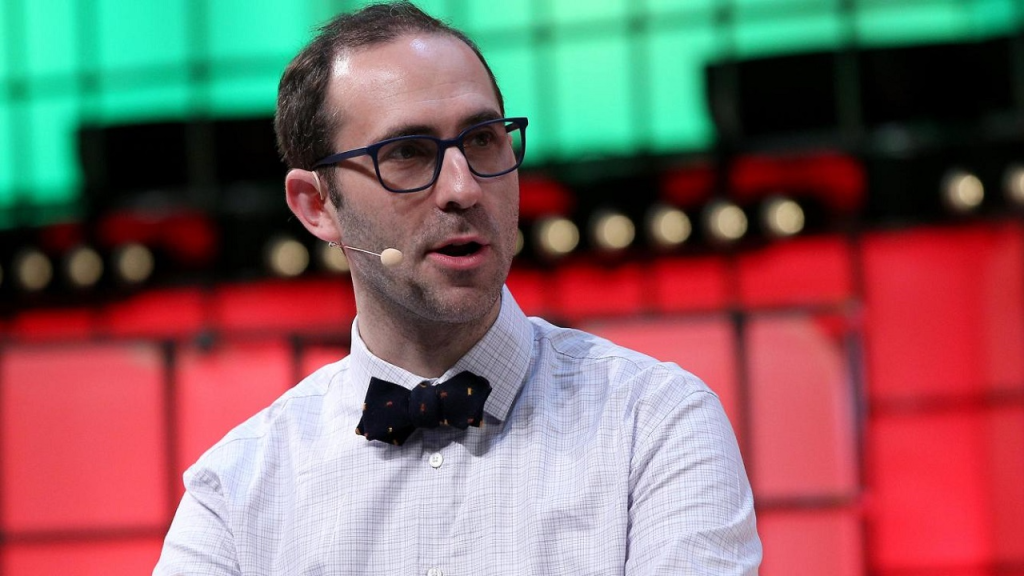
Dan Clancy, the current President of Twitch, will step into the role of CEO with immediate effect. Shear, however, reassured the community that he will continue to contribute to Twitch in an advisory capacity.

A Decade of Leadership
Amidst the joyous occasion of becoming a father, Emmett Shear took time to reflect on his relationship with Twitch and its growth over the years. Comparing Twitch to a child he raised, he expressed his belief that the platform, now 16 years old, is ready to embark on an independent journey. Shear made the difficult decision to resign as CEO to prioritize being fully present for his son and to embrace new challenges.
Emmett Shear’s tenure as CEO of Twitch began in 2011 and continued for over a decade. In 2014, Amazon acquired Twitch for a staggering $970 million. Shear conveyed his gratitude towards Amazon for being an exceptional acquirer, providing the necessary support for Twitch’s distinct identity and allowing it to flourish.
Twitch, More Than Just a Platform
Twitch holds a special place in Shear’s heart, not only as a streaming platform for gamers but also as a community. He emphasized the significance of Twitch in his life, confessing that he has spent more time on the platform than anywhere else.
Shear reminisced about the origins of Twitch, which can be traced back to an ambitious project in 2006. Initially conceived as a 24/7 live reality TV show centered around Justin Kan’s life, the concept evolved into Justin.tv—a platform that allowed users to lifecast through online videos. Alongside co-founders Justin Kan, Michael Seibel, and Kyle Vogt, Shear observed how gamers began leveraging Justin.tv to stream their gameplay.
In response, the company launched the dedicated Twitch.tv service in 2011, eventually rebranding as Twitch Interactive in 2014. Shear credited Kevin Lin, Jacob Woodsey, Jon Shipman, and Mike Ossareh as the core team responsible for driving Twitch’s pivot within Justin.tv.
Presently, Twitch boasts over 8 million streamers each month, signifying the platform’s incredible popularity. Shear acknowledged that although the initial concept of a 24/7 reality TV show was not successful, the idea of interactive live video on the internet proved to be a stroke of genius.
Conclusion
Emmett Shear bids farewell to his role as CEO of Twitch, leaving the platform in the capable hands of Dan Clancy. As Twitch continues to thrive and evolve, Shear will be remembered as an instrumental figure in shaping the livestreaming community that millions around the world cherish.
Maximize your Black Ops 6 rewards—Create highlights from your best gameplay with with Eklipse
Eklipse help streamer improve their social media presence with AI highlights that clip your Twitch / Kick streams automatically & converts them to TikTok / Reels / Shorts