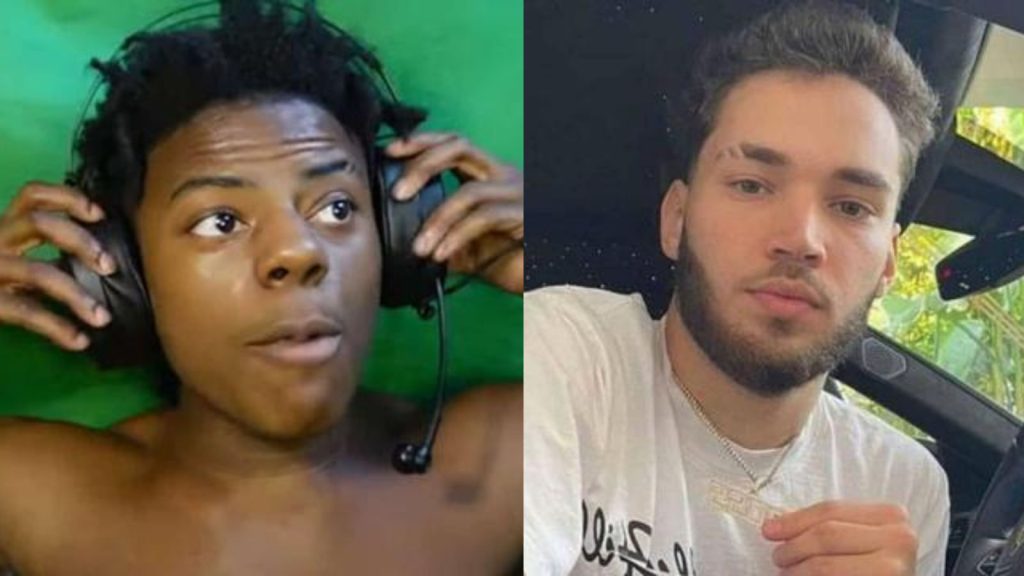
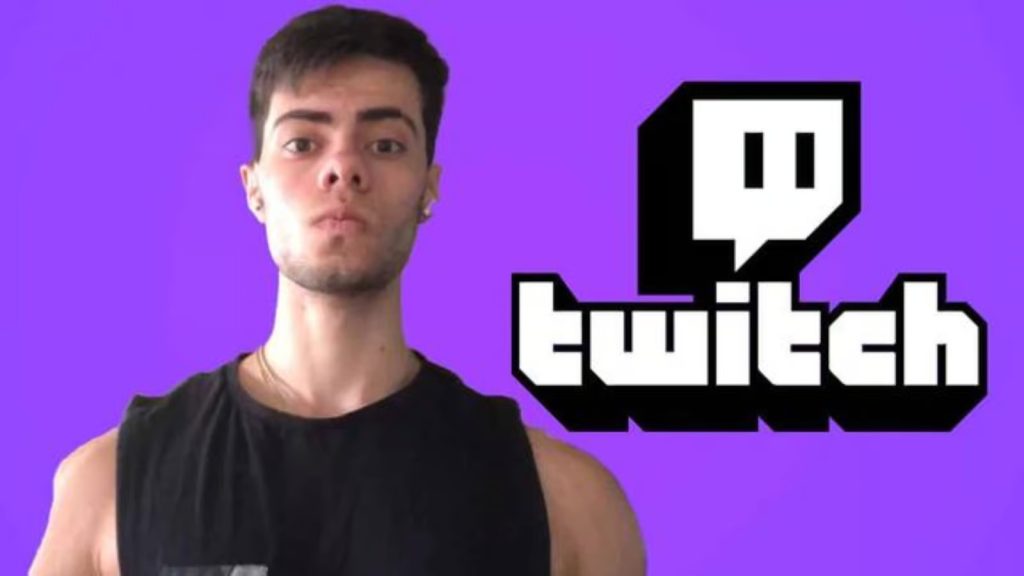
In a recent stream with iShowSpeed, popular Twitch streamer Kai Cenat blasted his criticism on the streaming service Kick, boldly declaring that they “could have had us.” This statement comes as a blow to Kick, which had been eyeing Kai Cenat as a potential addition to their platform.

Kai Cenat Shifts Focus to Rumble
Kai Cenat’s relationship with Twitch has been strained in recent months, primarily due to multiple bans for violating the platform’s Terms of Service. Capitalizing on this situation, Kick sought to win over the prominent streamer by attempting to establish a connection.
However, it appears that Kai Cenat has moved on from any consideration of joining Kick. In the same clip where he criticized Kick, he enthusiastically promoted Rumble, the service that he and iShowSpeed have partnered with for their new livestreaming show.
Kai Cenat Rejects Kick’s Offer
During the stream with iShowSpeed, Kai Cenat firmly shut down the possibility of joining Kick. He initially told the streaming service to “get back,” though he later apologized before reiterating his callout.
With a mix of defiance and excitement, Kai exclaimed, “I’m sorry Kick. Rumble up! You know what? You know what? Yo, Kick! If you wanted us, you could have had us! W Rumble.”
It remains unclear whether iShowSpeed shares the same sentiment, as he remained silent throughout the clip.
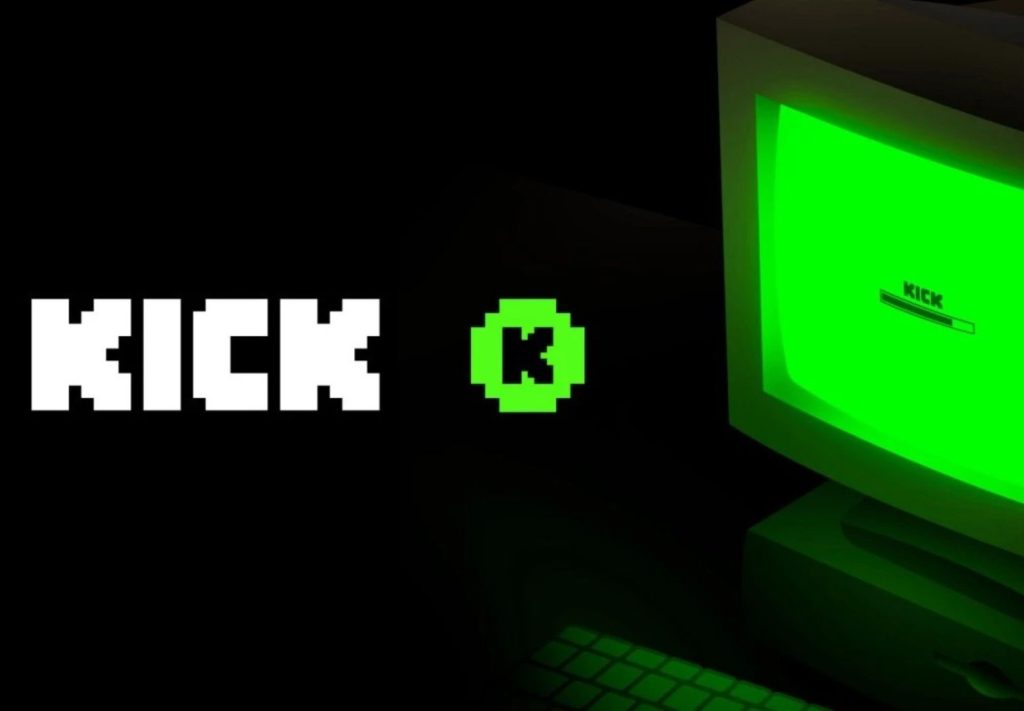
Kick’s Failed Attempt to Woo Kai Cenat
Despite Kick’s previous support for Kai Cenat during his Twitch ban, defending him and labeling the ban as a “priceless” mistake, their efforts to win him over seem to have fallen short.
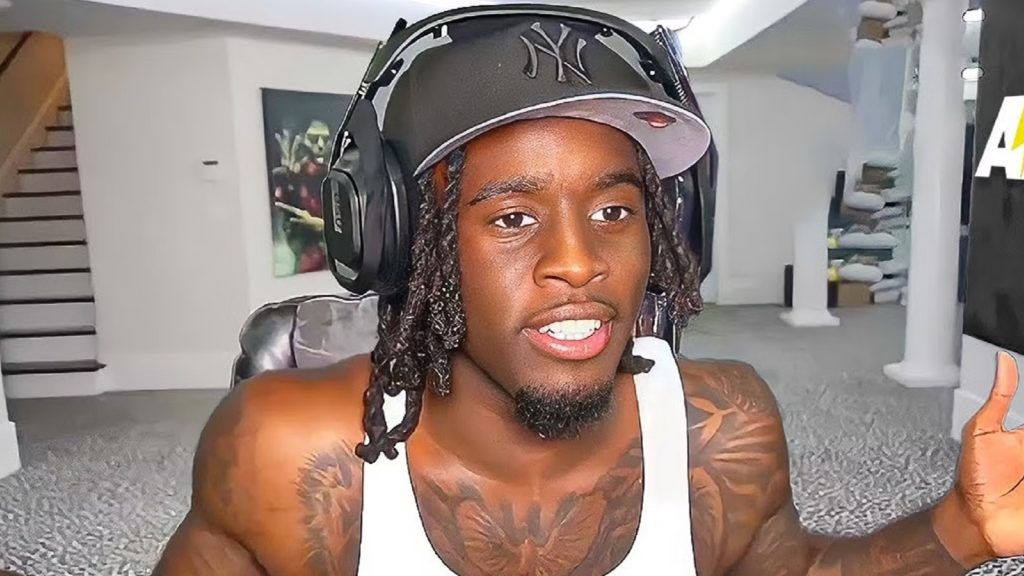
Furthermore, fellow streamer Adin Ross, Kick’s top creator and a staunch advocate for the platform, repeatedly tried to recruit both Kai Cenat and iShowSpeed. He expressed his disappointment, claiming to be “hurt” by their decision to partner with Rumble for their new show.
Conclusion
Kai Cenat’s rejection of Kick and his endorsement of Rumble marks a significant shift in his streaming career. This turn of events highlights the tensions between the streamer and Twitch, as well as the allure of Rumble as a new platform for content creators.
Maximize your Black Ops 6 rewards—Create highlights from your best gameplay with with Eklipse
Eklipse help streamer improve their social media presence with AI highlights that clip your Twitch / Kick streams automatically & converts them to TikTok / Reels / Shorts