Keyframe interval OBS is one of the most important settings in OBS Studio, but it’s also one of the most misunderstood. Keyframe interval is the number of frames between each keyframe. Keyframes are full frames that contain all of the information needed to decode and display the video. Delta frames, on the other hand, only contain the changes that have been made to the previous frame.
Achieving optimal quality and performance is of utmost importance when live streaming your content, whether it’s on Twitch, YouTube, or any platform of your choice.
In this article, we will guide you in understanding and correctly setting the keyframe interval in OBS Studio. Read on to learn more about OBS settings for keyframe intervals.

Correct Keyframe Interval OBS Settings

Choosing the correct keyframe interval is crucial for maintaining the video quality of your streaming content.
By default, OBS Studio sets the Keyframe Interval to 0 (auto). However, it’s important to note that the auto setting actually corresponds to an 8-second keyframe interval. This default setting may not be sufficient for game streamers, especially those streaming fast-paced games like Valorant or Call of Duty.
For game streamers on Twitch who want to ensure optimal quality, it is recommended to manually set the keyframe interval to 1 second in OBS. This adjustment allows for more frequent updates and reduces motion blur or artifacts during rapid changes in the content.
However, if you are streaming static scenes such as in the “Just Chatting” or “Podcasts” stream categories, a keyframe interval of 2 seconds is generally recommended. This setting strikes a balance between quality and bandwidth usage, ensuring that viewers have a smooth streaming experience.
More on Eklipse Blog>>> Best OBS Settings for Streaming on Kick
How to Change Keyframe Interval Settings?
Adjusting the keyframe interval in OBS Studio is a straightforward process. Follow these steps to modify the settings:
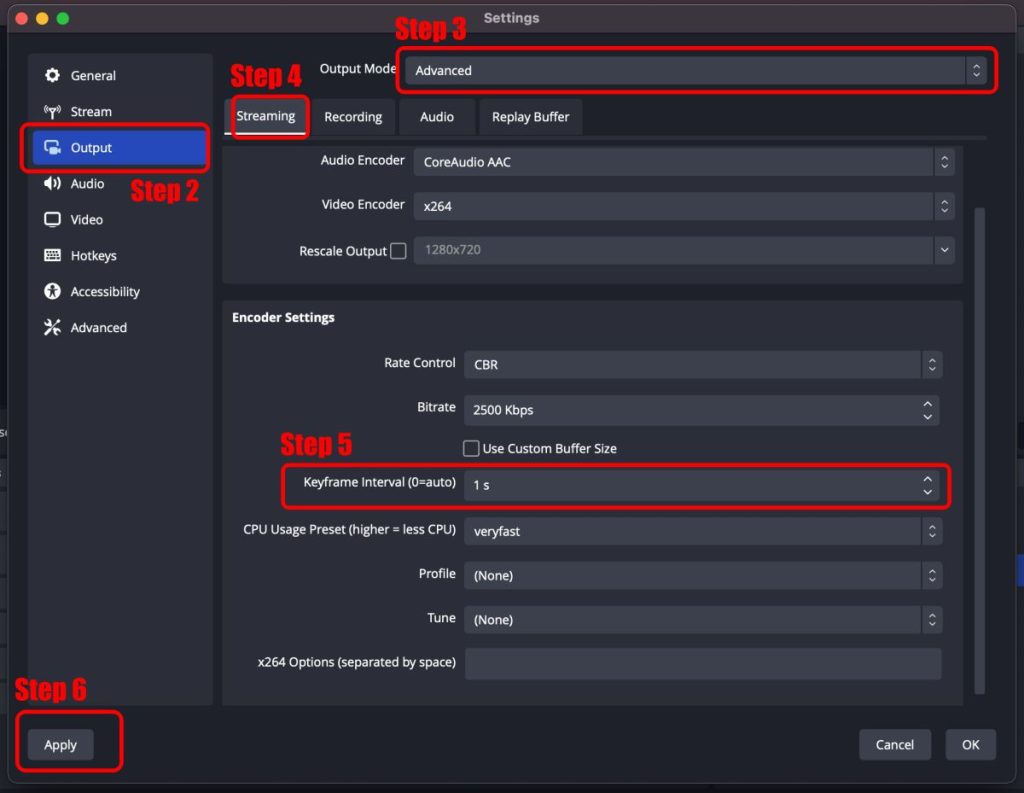
- Open OBS Studio and go to Settings.
- Select Output.
- Set Output Mode to Advanced.
- Select Streaming find Encoder Settings.
- Enter 1 or 2 in the Keyframe Interval box.
- Click Apply to save your changes.
Experiment with different keyframe intervals and observe the impact on the streaming output. Find the setting that strikes the right balance between visual quality and bandwidth usage for your particular content.
What is Keyframe Interval?
The keyframe interval in OBS Studio determines how often complete images are transmitted in a video stream. This setting can determine the output quality of your stream or recording
It reduces redundant data and bandwidth usage. Keyframes serve as reference points for subsequent frames, ensuring accurate content display. Choose the right interval based on motion and complexity to optimize quality and enhance the streaming experience.
A smaller number in OBS indicates that your image will be broadcast more frequently to the streaming platform provider, such as Twitch. On the other hand, a larger number results in increased latency in image broadcasting.
More on Eklipse Blog>>> How to Stream to TikTok from OBS: A Comprehensive Guide for Content Creators
Conclusion
That concludes our discussion on keyframe interval settings in OBS.
In summary, there are two key settings to remember: set the keyframe interval to 1 second in OBS for gameplay streaming, and use a keyframe interval of 2 seconds for “Just Chatting” or “Podcast” streaming categories.
By adjusting the keyframe interval according to the nature of your content, you can optimize the streaming quality and provide a better experience for your viewers.
More Importantly…
Creating stream clips and sharing them on social media is essential for boosting your viewership.
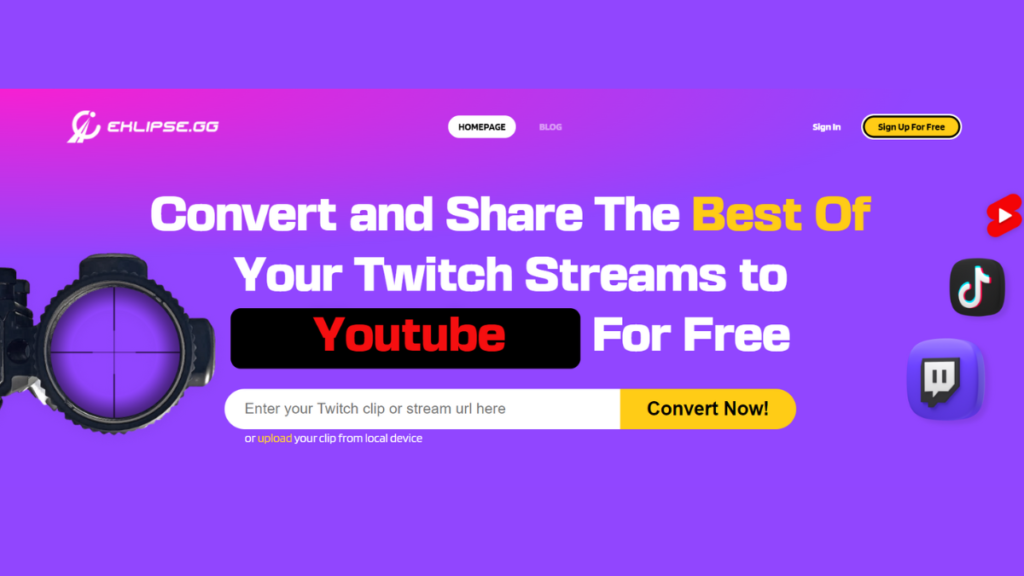
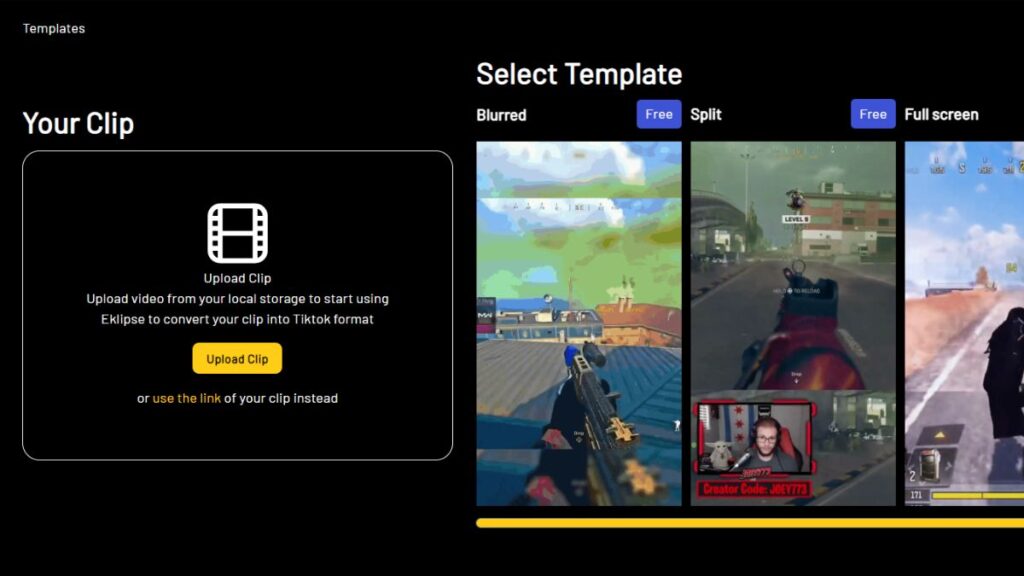
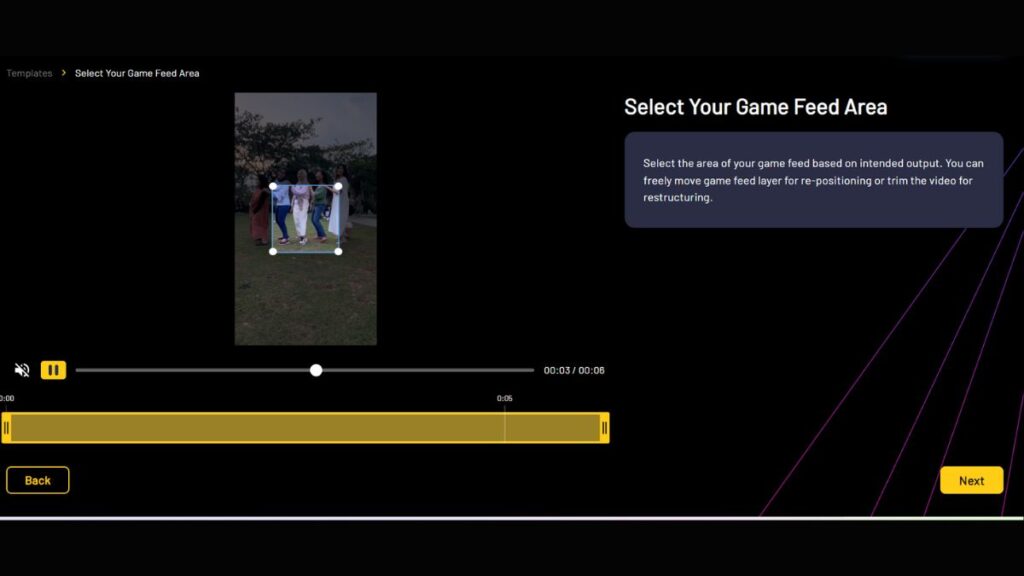
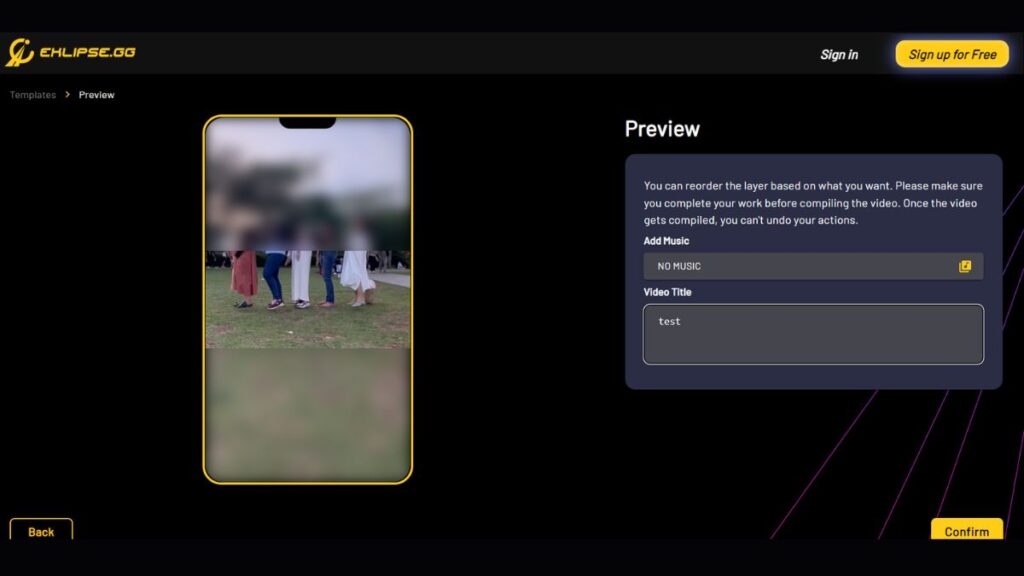
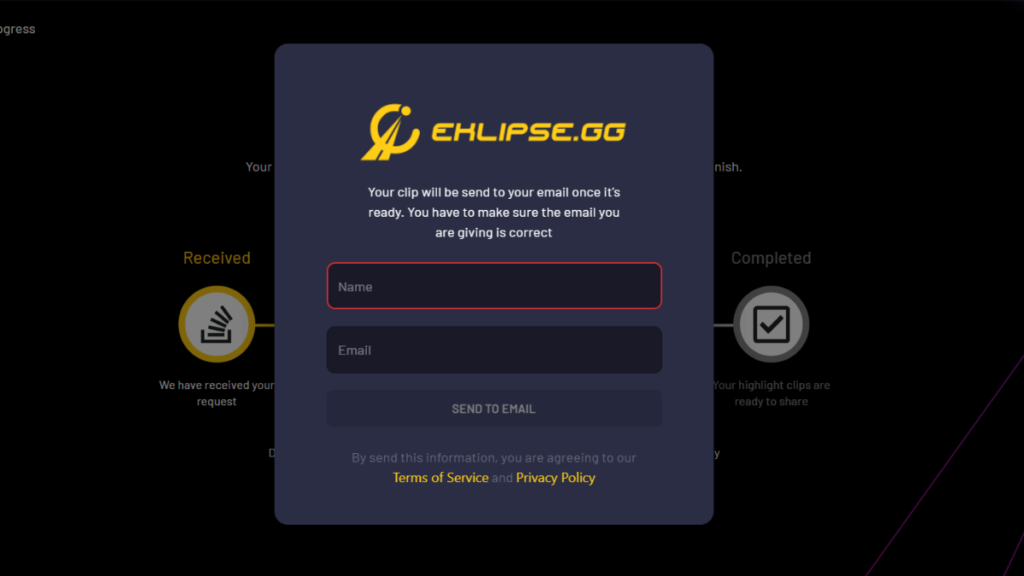
Introducing Eklipse, an AI-powered highlight generator that automatically clips your live stream content with a seamless convert TikTok editor tool. Grow your audience and unlock new opportunities with Eklipse.
Visit Eklipse.gg to learn more and sign up now to start growing your channel.
Maximize your Black Ops 6 rewards—Create highlights from your best gameplay with with Eklipse
Eklipse help streamer improve their social media presence with AI highlights that clip your Twitch / Kick streams automatically & converts them to TikTok / Reels / Shorts


 Source: Alphr
:max_bytes(150000):strip_icc()/001-download-twitch-videos-4151697-7a0e0e40c80f4ae183a1e107d97f2bda.jpg) Source: Lifewire
Source: Lifewire Source: Tech Advisor
 Source: Alphr
 Source: The Windows Club
 Source: Doc. Alphr
:max_bytes(150000):strip_icc()/006-download-twitch-videos-4151697-0b13633a976a45608e6ab4fbb0de1fda.jpg) Source: Lifewire
Source: Lifewire Source: 4K Video Downloader
 Source: Doc. Alphr
 Source: Stream GaGa
 Source: Alphr
 Source: StreamGaGa
 Source: Doc. Alphr
 Source: Komando Tech