
It’s necessary to know how to enable live streaming on YouTube if you’re going to go live there. Sometimes, for beginners, you have prepared every single thing regarding activate live streaming youtube on YouTube such as preparing the software, equipment, and even the topic you’re going to bring in. But on another side, they just forgot how to prepare YouTube itself.
Going live and uploading the existing video requires different steps. You need to know this basic thing if you really want to go deep on this platform. However, don’t worry because this article will give you a comprehensive explanation of how to enable live streaming on YouTube PC or in mobile. Let’s just begin.
Preparation Before You Go Live On YouTube
Before we are able to enable the streaming button on YouTube, there are several things you need to do.
- A compatible PC
- PS4/mobile phone/Switch (optional)
- Microphone
- Headphone/headset
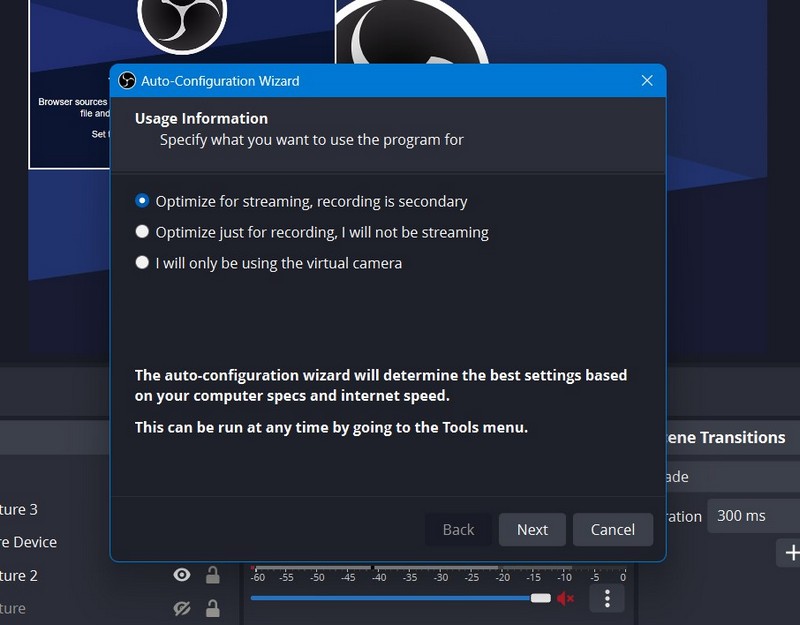
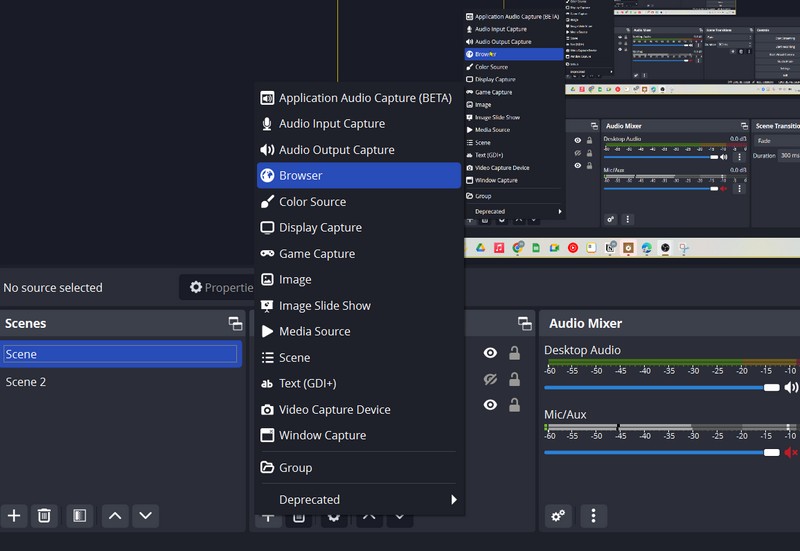
- Streaming software
- Internet connection
- Active YouTube account
Connect A Camera and Streaming Software To Your PC
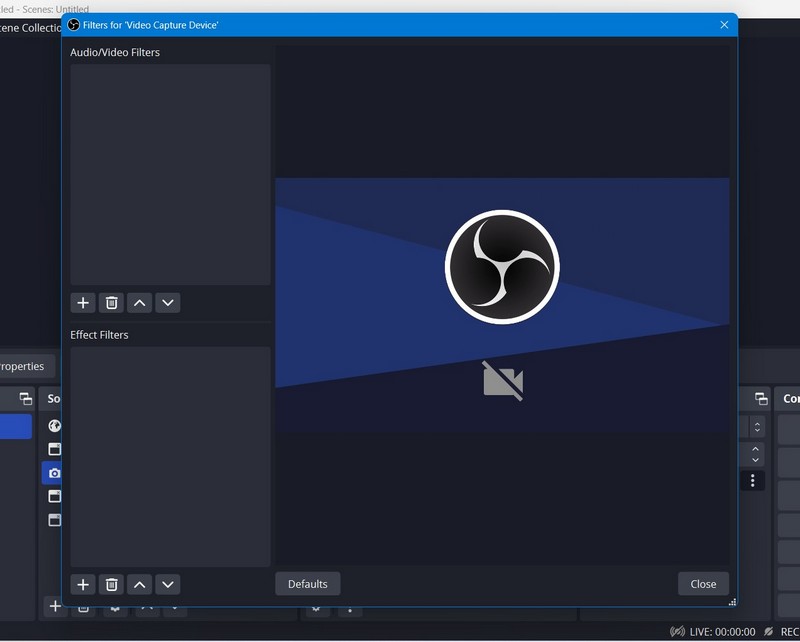
The most important thing that you need to do before you turn on YouTube’s streaming feature is to connect a camera and microphone to your PC. This is important to capture and show your screen through the camera.
Imagine, how can people see your face if you’re not trying to show it by transferring the screen using a webcam? But once you got a camera on your PC or laptop, you can directly do live streaming from YouTube.
In addition to that, you can go live not only through a PC or laptop but also from your mobile phone as well. Nonetheless, you have to know how to enable live streaming on YouTube mobile besides from PC. It’s because it has a little different way to do it.
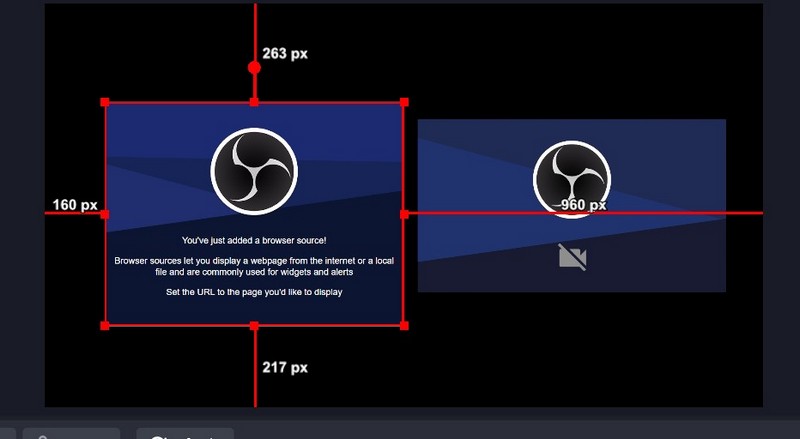
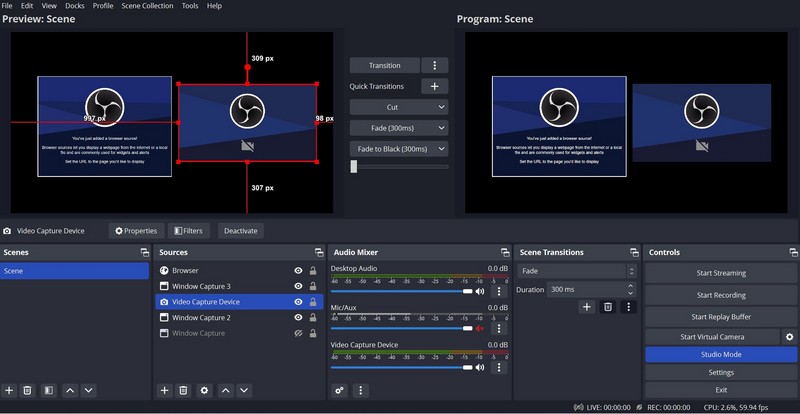
Besides a camera, you also need streaming software to help you capture the screen. For example, if you want to play a game or simply do a webinar and you wish to show it through YouTube, you need streaming software to capture and record those other apps. Thus, people can see your screen.
How To Enable Live Streaming On YouTube On a PC/Laptop
Since you have connected a camera, streaming software, and other stuff to support you going live on PC, now you can learn how to access YouTube to enable the live streaming feature on PC. Actually, you’ll only need several steps. Let’s take a look at what you can do:
- Go to youtube.com and log in with your account
- Then, click the ‘+’ button next to the search box
- After that, choose Go Live > Click Webcam

- Write a title and descriptions, then select the privacy setting

- Hit More Options > Advance Settings
- Then, hit Next and your camera will take a thumbnail
- Choose the correct webcam and microphone
- Finally, click Go Live to start streaming

If your content is intended for adults, you can set the privacy setting to public. Otherwise, if your content is for under 17 years old, set it to private.
Other than that, you can also add tags, change settings and monetization during your live streaming. No need to end the streaming first, just click on Edit. If you’ve finished the streaming, just click End Stream. You are able to go live for up to 24 hours.
Enabling YouTube Live Streaming on Mobile Phone
Now, let’s move on to enable live streaming YouTube on mobile. A bit different from going live on a PC, live streaming on a mobile phone obliged you to fulfil several requirements. To be able to go live through mobile phone, you must at least:
- Have 50 subscribers, or if you’re still 17, you need to have 1,000 subscribers
- Got no live streaming restrictions on your channel within the last 90 days
- Verify your account
- Wait 24 hours to enable live streaming
- Own Android 5.0+ device
Now that you have 1,000 subscribers, you still have to wait several weeks to be able to remove the audience limitation. Then, you can go live freely as long as you don’t violate the policies.
Additionally, this is how you can do to enable live stream on YouTube via mobile phone:
- Open the YouTube app on your mobile phone and login into your account
- Then, tap on the ‘+’ button at the bottom of the screen > Go Live
- If you are a first-timer, then you have to wait for 24 hours to be able to go live instantly
- During live streaming, you can also make any changes such as setting the monetization, age restriction, and live chat by tapping More Options > Show More. Then, tap Next.
- After that, tap Create Channel > hit Share Screen
- Next, tap Go Live
- Finally, you can start to live stream
- If you want to end the streaming, tap Finish
Then, how to go live on YouTube without 1,000 subscribers? Easy, you can just move to your PC/laptop and do live streaming there. There are no certain requirements if you try to go live through a PC
Conclusion
That’s how to activate live streaming on YouTube. Easy yet tricky, right? Once you’ve got the requirements and the equipment, you can do live streaming anywhere. Just try it now and build your channel!


![How to Split/Trim Video | MiniTool MovieMaker Tutorial [Help]](https://moviemaker.minitool.com/images/uploads/help/trim-video/trim-video-1.jpg)