While Discord is typically used to connect gamers who are working as a team to dominate the game, it can also be used for multiple other purposes.
There is a broad range of Discord server types out there. People are able to find like-minded individuals in almost any category. But what if they are looking for love? In this post, we will cover five of the most popular Discord dating servers on the internet.
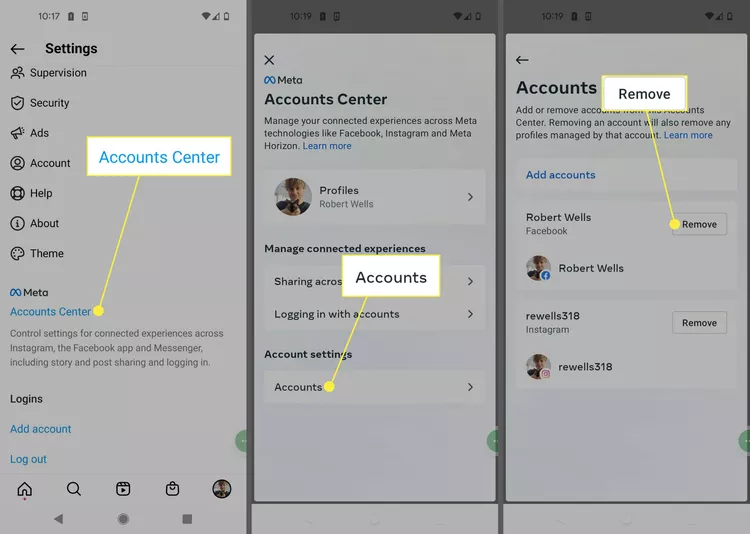
What is a Discord Dating Server?
A Discord dating server is a Discord server that was created for the purpose of helping other users meet new people to potentially date. The best dating servers have several options available to help people meet. They will also allow you to add roles to your profile so that others know what you are looking for.
7 Best Discord Dating Servers
Here is a list of 5 Discord Dating Servers for those who are over the age of 18 years old:
1. PlayRoom
A popular dating server with diverse users. Follow the verification guide to interact and find connections. Optional paid options available. Features “Blind match” for speed dates.
2. Like 18+
Active server with 15,000+ members. Emphasizes gender and age verification for a safe environment. Choose roles like gender, age, and sexual orientation. Selfie-sharing channels available.
3. Noose 18+
Welcomes all ages, but NSFW access requires ID verification. Set roles based on gender, orientation, and relationship status. Offers giveaways and voice chat rooms.
4. World’s Lounge
Read and agree to rules for access. Age verification unlocks NSFW channels. Assign roles like age, gender, and location. Text and chat channels for sharing and contests.
5. SKINS
Acknowledge rules for access. Verification required for NSFW content. Adult channels exclusively for verified members. It have chat channels and events like cooking shows.
6. Cutie Club
18+ server encouraging gender/age sharing. Active chat channels, profile browsing, and selfie sharing. It’s an active community, members are consistently sharing dating tips in advice channel.
7. Little Bunny
Assign roles based on gender, age, and more. Comprehensive rules and issue reporting. Verification needed for NSFW channels. Text and voice chat channels. Suggest features in suggestions channel.
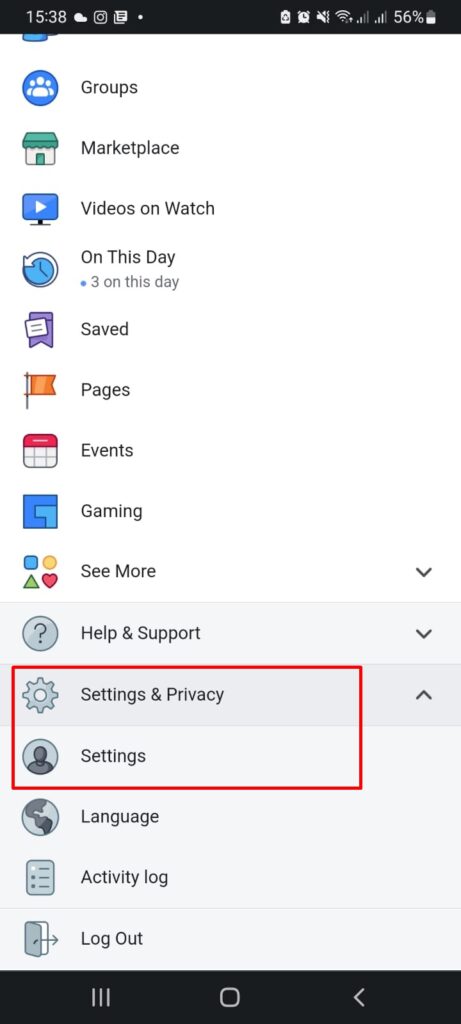
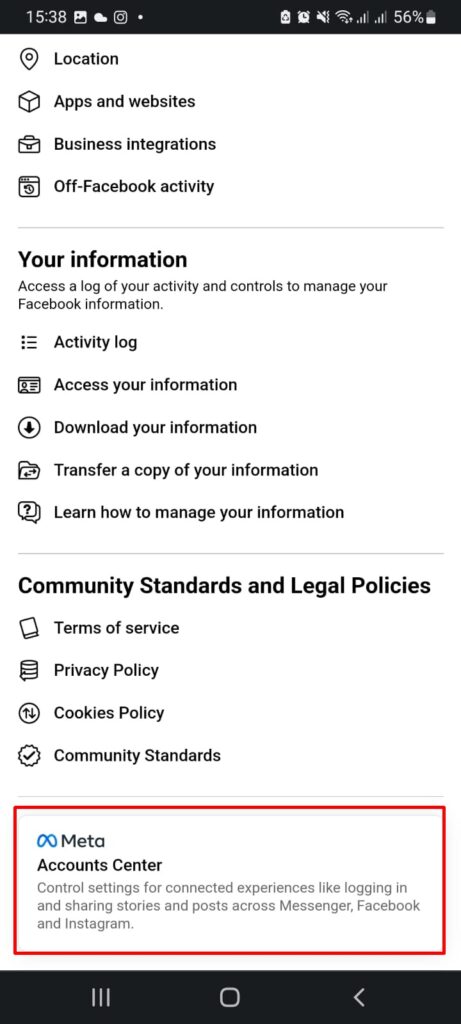
Where to Find Discord Dating Servers
If you are looking for a niche dating server on Discord or prefer servers with fewer than 500 members, you can explore several promoted servers on the following three sites:
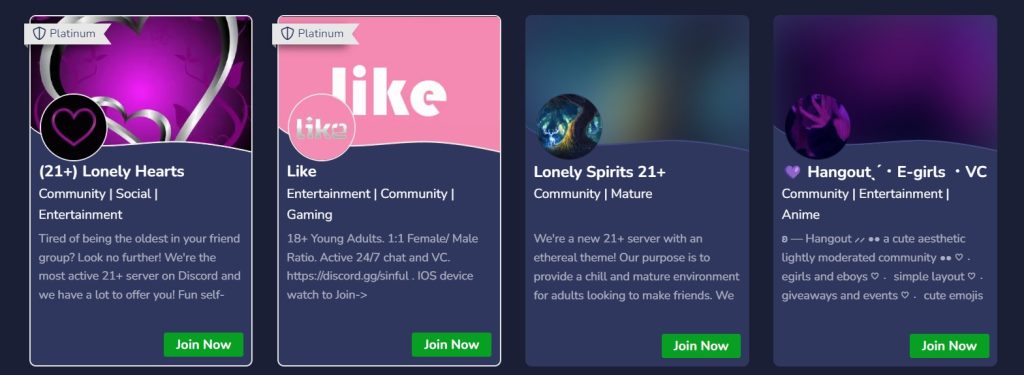
1. Top Discord Servers
On Top Discord Servers, you can search for specific niches or browse dating servers based on votes or member counts.
Each server on the website comes with a brief description and the number of members, making it easier for you to find a server that suits your preferences.
2. Disboard
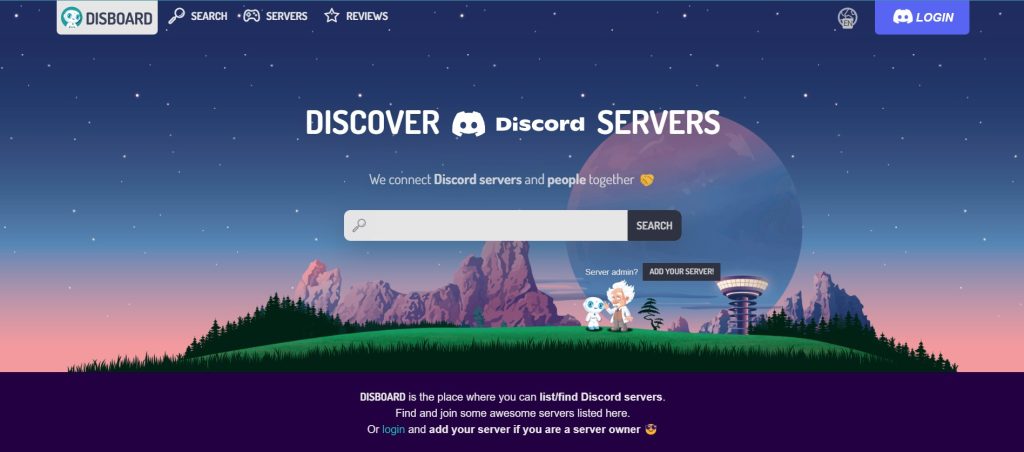
Disboard is another platform where you can discover and join various Discord servers, including dating servers.
The servers are categorized, and you can search based on tags, server size, and language. It also provides information about the server’s rules and a description to help you decide which server to join.
3. Discord.me
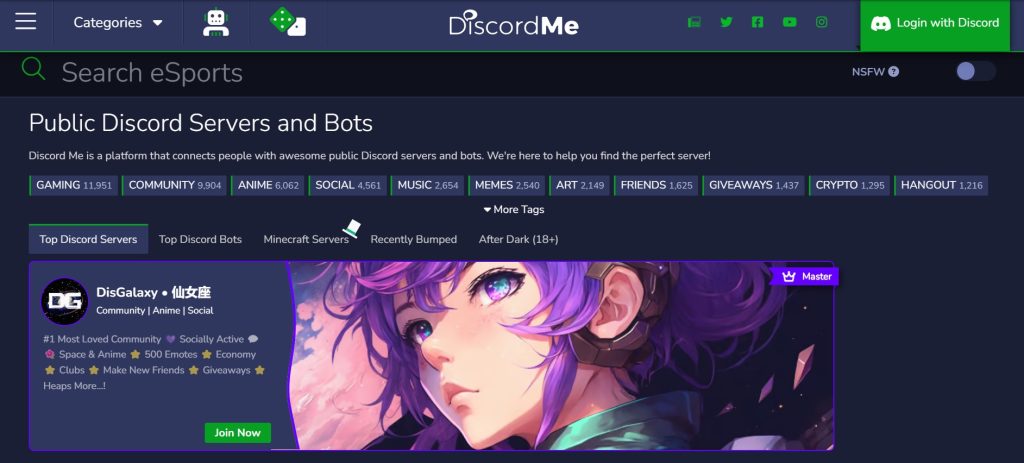
Discord.me is a website dedicated to promoting Discord servers across different categories, including dating.
You can browse through the dating category and explore servers that catch your interest. Each server listing includes a short description, member count, and tags to help you find the right server for you.
Conclusion
In conclusion, Discord offers diverse dating servers where users can meet new people and find potential love interests.
These servers provide a platform for meaningful connections and conversations, whether you’re looking for something casual or a serious relationship.
Don’t overlook the possibilities that Discord dating servers offer in your search for love.
–
Do you know what Discord is best for, other than looking for a love interest? That’s right, it’s the ideal place to grow your network, especially if you’re starting your career as a Twitch streamer.
But there’s an even better tool available to help streamers enhance their presence on social media.
Introducing Eklipse!
It utilizes AI highlight generators to automatically clip your livestream content and convert it into captivating TikTok videos. It’s a fantastic tool for expanding your online reach and connecting with a broader audience. Give your streaming career a boost with Eklipse today!
Visit Eklipse.gg to learn more and sign up today. It’s free!
Maximize your Black Ops 6 rewards—Create highlights from your best gameplay with with Eklipse
Eklipse help streamer improve their social media presence with AI highlights that clip your Twitch / Kick streams automatically & converts them to TikTok / Reels / Shorts