Since the game is notoriously difficult, you’ll be needing Elden Ring cheats to help you go through some missions. Elden ring cheat engine work to make your gaming experience a lot easier, by adding more health, upgrading items, or even to level up.
However, the cheat codes are not similar to the GTA Vice City cheats or maybe other games where you can just type the codes from your keyboard, but you need a cheat engine instead.
But do not worry, because in this article we are going to give you a guide about how to use the cheats, and even how to install the cheat mod or cheat engine. Without any further ado, let’s just start the discussion.
Brief Explanation About Elden Ring Cheats
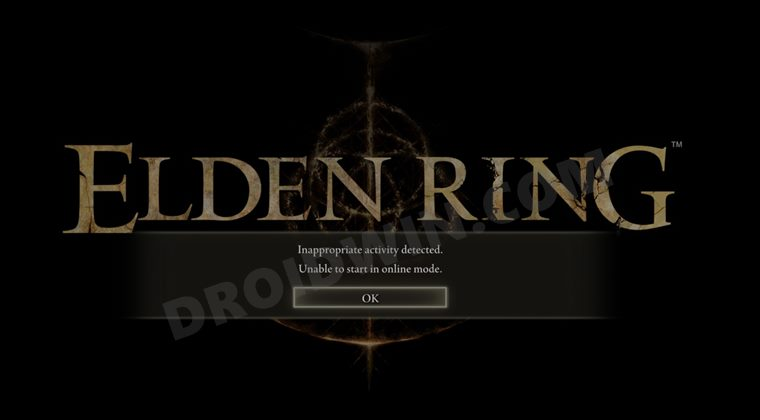
Can you use cheats while playing Elden Ring? Yes, you can. But since game cheating is considered for being an illegal thing, this cheating is only available for offline versions. If you try to activate the cheats while you are online, the system will detect it and ban you instantly for several days.
Additionally, since Elden Ring doesn’t have built-in cheat codes, you need to use the outside mods from any site. One thing that is necessary to note is some of the mods will require an additional app called Cheat Engine.
Have got confused yet? Let’s go to the next section to know how to get and operate the cheats mod, along with Elden Ring cheat engine.
How To Install Elden Ring Cheats Mod
To be able to use the cheats in this game, you need to download some cheat mods from reliable sites such as NexusMods or anything else. Here is the step by step on how you install the mod.
- First of all, go to the official website of NexusMods.
- Second, find the Elden Ring’s cheat table from the website and download it.
- Disable the Elden Ring’s Anti-cheat setting by heading to the steam install folder.
- Once you find the specified folder, rename the “start_protected_game.exe” folder to something else. Do not worry, you can still change it back.
- Then, find another folder with the name “eldenring.exe” to “start_protected_game.exe” to replace the original Easy Anti-cheat launcher.
- Until this session, your game is supposed to run offline.
- Just in case it doesn’t happen, you can close the game and run the Steam in offline mode.
- After that, you can start to run the cheat table and attach it to the folder named “start_protected_game.exe”.
- The table will perform typical CheatEngine-y functions, and you can edit the stats, equipment, or anything.
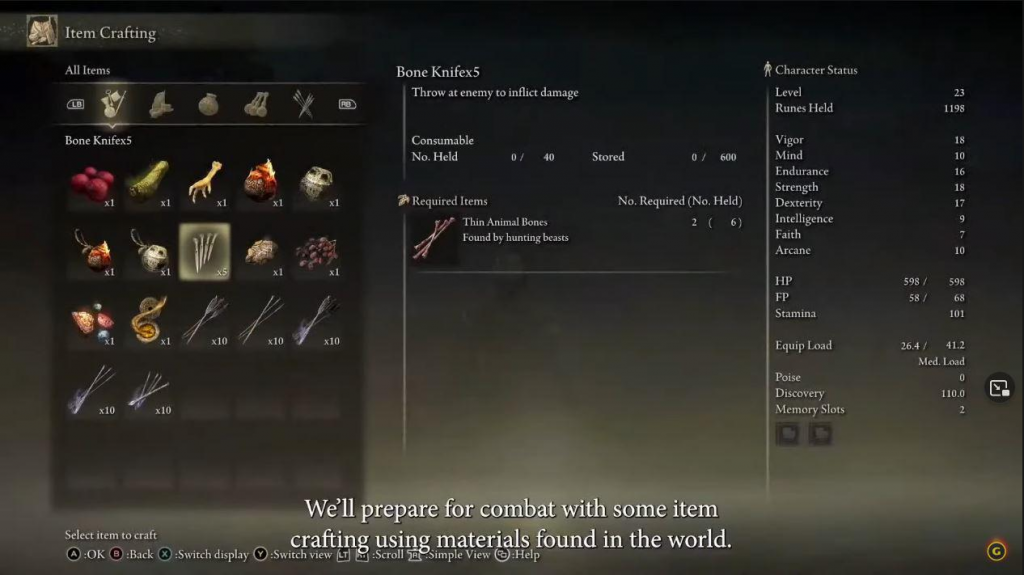
Though you can activate the codes instantly from the cheat table, you’ll also need the ID codes to cheat for any various weapons, gear, Sites of Grace, or even new armour. Do not worry, the Elden Ring IDs have already been available.
Unleashing the Power of Elden Ring Cheat Engine
Prepare to embark on an extraordinary journey through the vast and treacherous world of Elden Ring. But wait, what if you could shape this world to your liking? With the mighty Elden Ring Cheat Engine at your command, you hold the power to unleash a realm of endless possibilities. Let’s delve into the incredible features and functionalities that make this cheat engine an indispensable tool for intrepid gamers like yourself.
Difficulty Adjustments
The Elden Ring Cheat Engine grants you the ability to tweak the game’s difficulty settings, catering to your skill level and preferences. Whether you crave an adrenaline-pumping challenge or seek a more relaxed experience to soak in the game’s rich lore, the cheat engine lets you fine-tune the difficulty to your heart’s content. No more feeling stuck or overwhelmed – conquer the game on your own terms.
Unlocking Hidden Content
Are you a seeker of secrets and a treasure hunter extraordinaire? The Elden Ring Cheat Engine has your back. With its help, you can reveal hidden content that lies dormant within the game’s depths. Unlock mysterious areas, discover clandestine paths, and unearth rare items that may otherwise remain forever out of reach. Become the ultimate explorer and unveil the enigmatic wonders that Elden Ring conceals.
Character Customization
Every hero needs their own unique identity, and the Elden Ring Cheat Engine enables you to forge your character into a true legend. With a few clicks, you can tweak character attributes, alter appearances, and even modify abilities to suit your desired playstyle. Unleash your creativity and fashion a hero that embodies your vision. Stand out among the heroes of Elden Ring with a character that is truly one-of-a-kind.
Enhanced Gameplay Mechanics
Are you yearning for a taste of power beyond the game’s natural constraints? The Elden Ring Cheat Engine empowers you to modify specific gameplay mechanics, enhancing your overall experience. Increase your movement speed to traverse the realm swiftly or fine-tune combat mechanics to sharpen your skills in battle. With the cheat engine, you can transcend the boundaries of the ordinary and embrace a gameplay experience that is uniquely tailored to you.
Expanding Modding Capabilities
If you’re a fan of tinkering and a creator at heart, the Elden Ring Cheat Engine opens up a realm of limitless possibilities. It provides a platform for modding, allowing you to create and share your own custom content. Craft new weapons, design awe-inspiring levels, or introduce innovative gameplay mechanics – the choice is yours. Join the vibrant modding community and leave your mark on the world of Elden Ring.
Conclusion
So, that’s all about Elden Ring cheats that you can try to use during the game. However, before you decide to use it in the game, make sure that you are ready to face any risks of this. In addition to that, do not forget to re-enable the Easy Anti-Cheat if you want to play the game online. All you need to do is undo the steps in reverse.