If you are a content creator on TikTok, you might know that TikTok has launched a Q&A option on their platform. This new feature allows content creators to respond directly to the questions their viewers have. Aside from that, it is available to every content creator regardless of their geographical location. Luckily, this article will tell you how to add Q&A on TikTok.
Additionally, this feature allows creators to easily respond to the audience’s questions via text or videos. They are also able to post links to their Q&A in the bio so the audience can reach them there.
Aside from that, all the questions are stored on this page and you can visit it whenever you feel like replying to your audience. Well, now let’s take a look at how you can enable this feature.

What Is TikTok Q&A and How Does It Work?
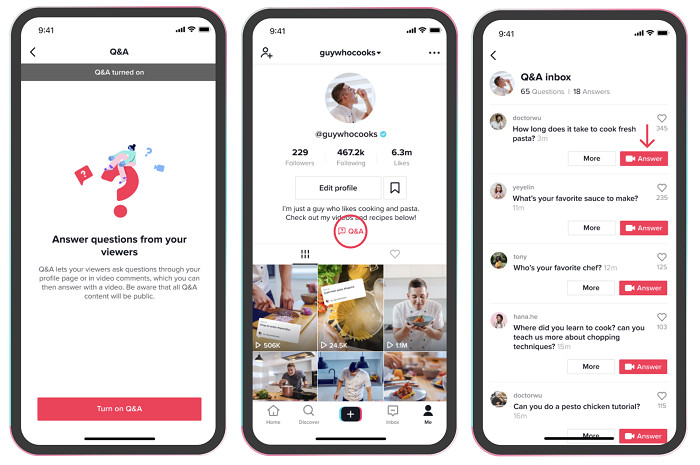
The Q&A feature on TikTok is a way for users to interact and engage with each other by asking and answering questions. This feature allows users to see questions suggested by other users and have the option to provide their own answers.
They can also ask their own questions and invite other users to answer them. This feature also allows users to save their questions and answers in specific tabs for later reference.

Additionally, this feature is basically great to help creators engage with their viewers as well. Viewers can ask questions and get to know the creator better, and creators can share more information about themselves by responding to questions in a separate video or the comments section of the original video.
One quick note this feature is currently only available for users with a TikTok Creator account. And to be able to switch your account to TikTok Creator, you’ll need to have at least 10k followers and 100k video views in the past 30 days.
More on Eklipse Blog>>> Top 6 TikTok Video Editor Apps – Pick Your Favorite Ones!
How to add Q&A on TikTok: Step-by-step guide
To enable the Q&A feature on TikTok, you have to manually turn it on. Here’s how you can do that.
- Start with ap the three horizontal lines in the top-right corner of the app to open a menu.
- Now tap “creator tools” in that menu.
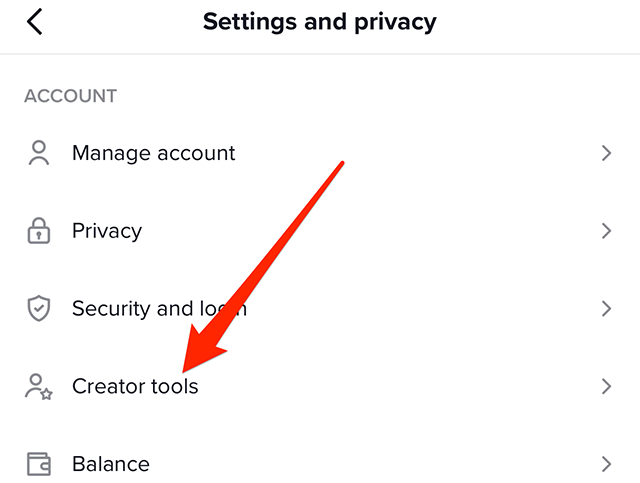
- Go to the Q & A option in the creator tools section.
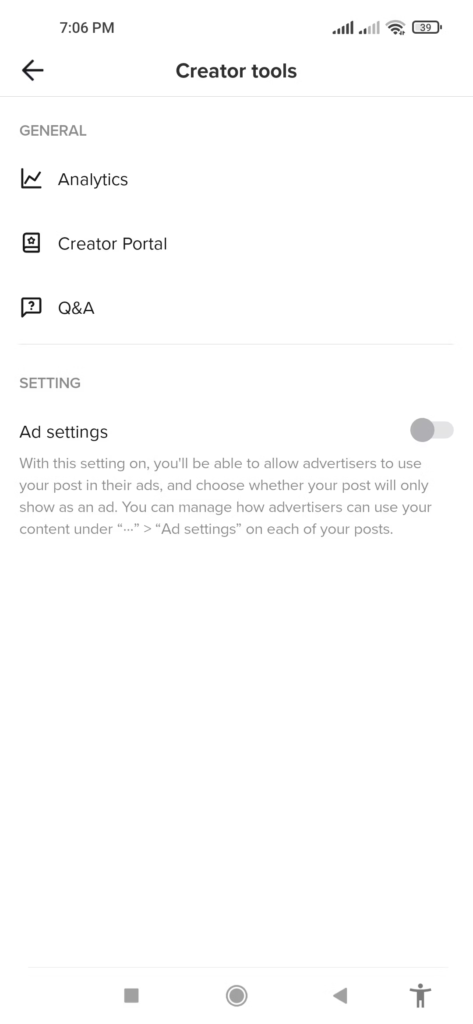
- You can now click “turn on Q&A” at the bottom of the app to enable the Q&A feature.
- Now, you can use the Q&A feature to respond to your viewer’s questions. A link to the Q&A will also be added to your TikTok profile.
Benefits of Using Q&A TikTok
The Q&A feature on TikTok has several benefits for both creators and viewers. Some of the benefits include:
- Increased engagement and building trust: The Q&A feature allows for a more interactive experience between creators and viewers, which can lead to increased engagement and a more loyal audience.
- Provides a variety of fresh perspectives on different subjects: It’s like having your own personal focus group. It provides crowd-sourced answers where you can get real-time feedback and perspectives on any subject you can think of.
- A better understanding of the audience: Creators can use the Q&A feature to get to know their audience better by learning what topics they are interested in and what questions they have.
- Perfect opportunity for businesses or influencers: Using the Q&A feature, users can showcase their expertise and provide value to their audience. Through this feature, users can also build trust and credibility with their audience, which can lead to increased conversions and sales.
Conclusion
So that’s how you can enable the Q&A feature on your profile. It’s a short and simple procedure. All of you have to do is visit the creator tools menu and turn on Q&A. Hopefully you find this article helpful to grow your TikTok channel.
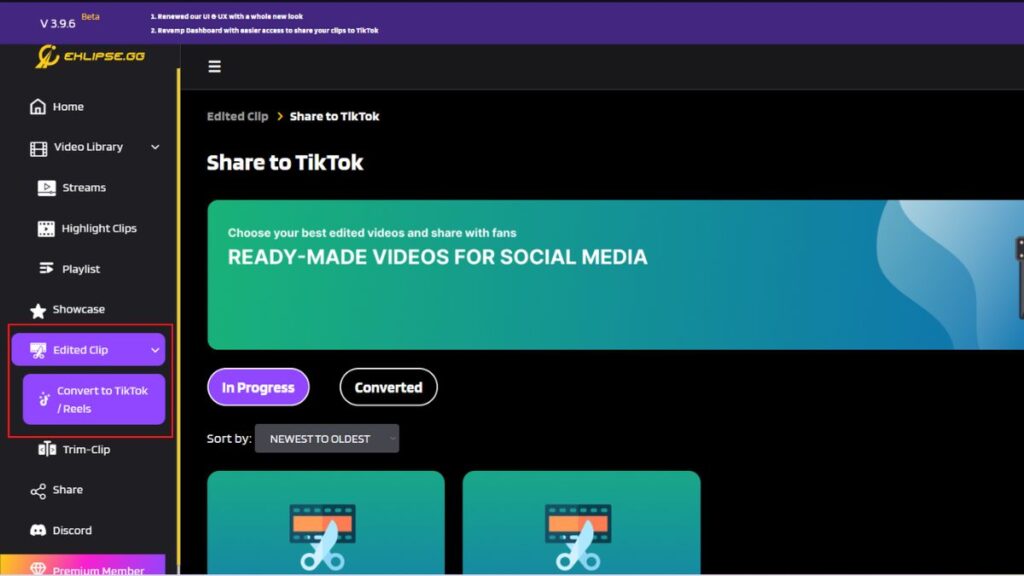
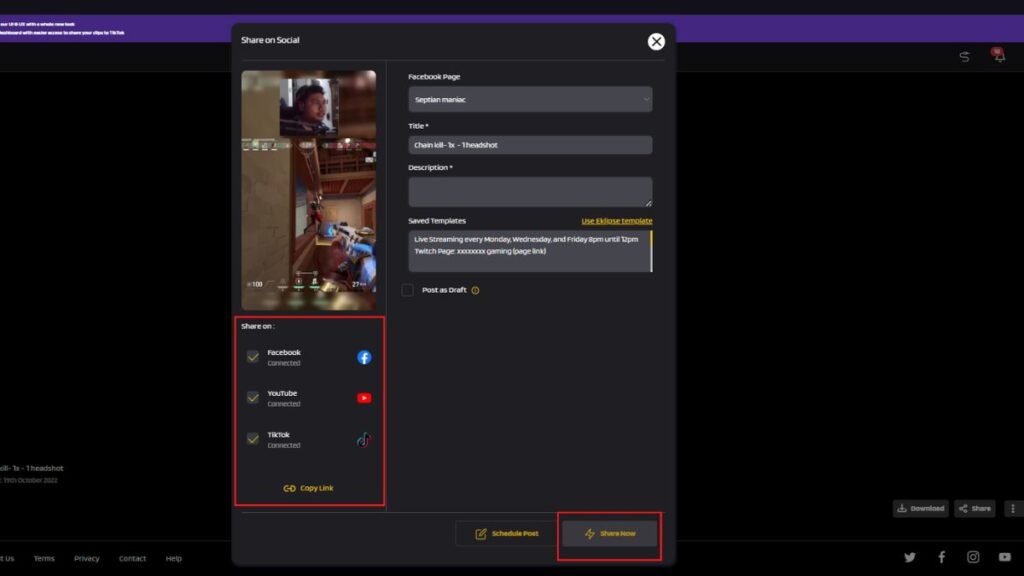
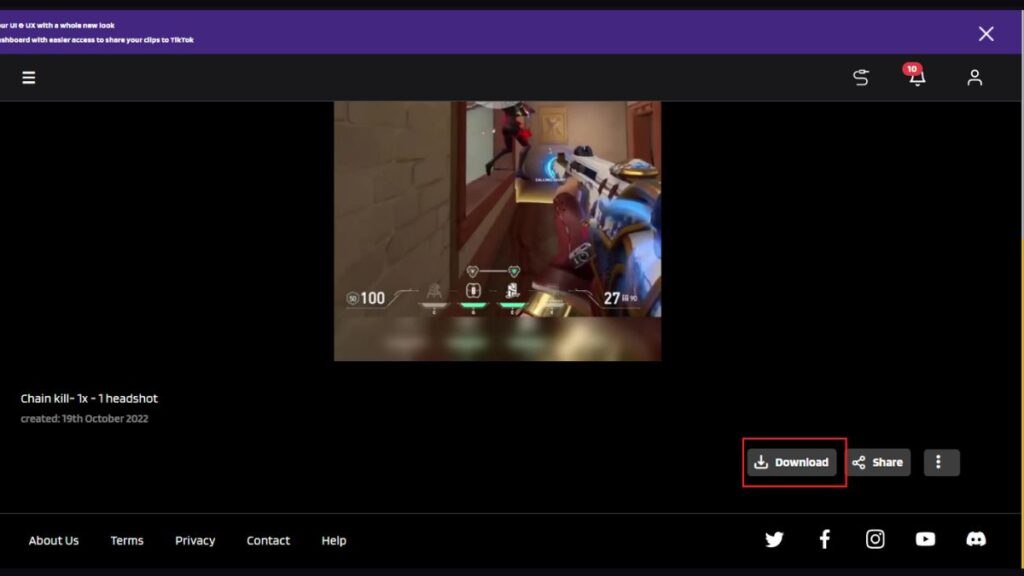
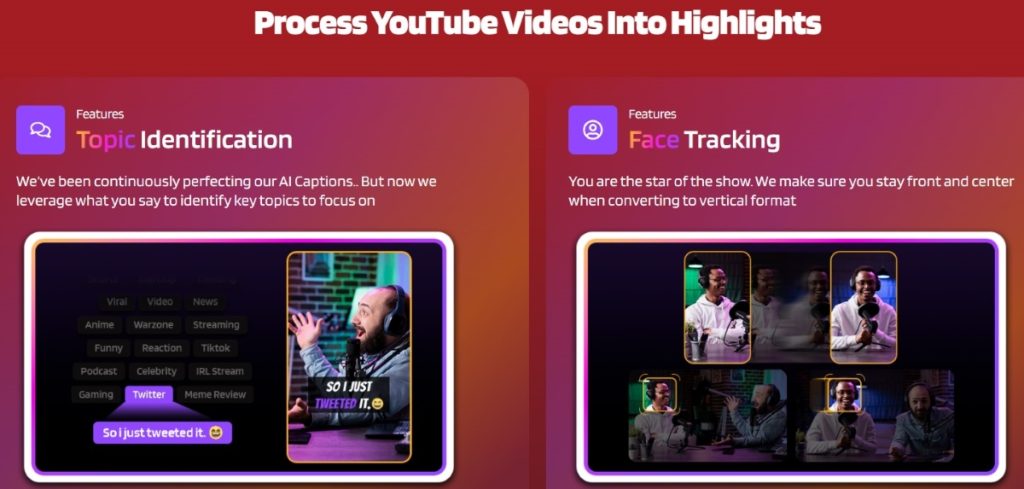
If you’re a TikTok creator, you know how important it is to create engaging and visually appealing content. But creating high-quality TikTok videos can be time-consuming and challenging, especially if you’re working with long video footage.
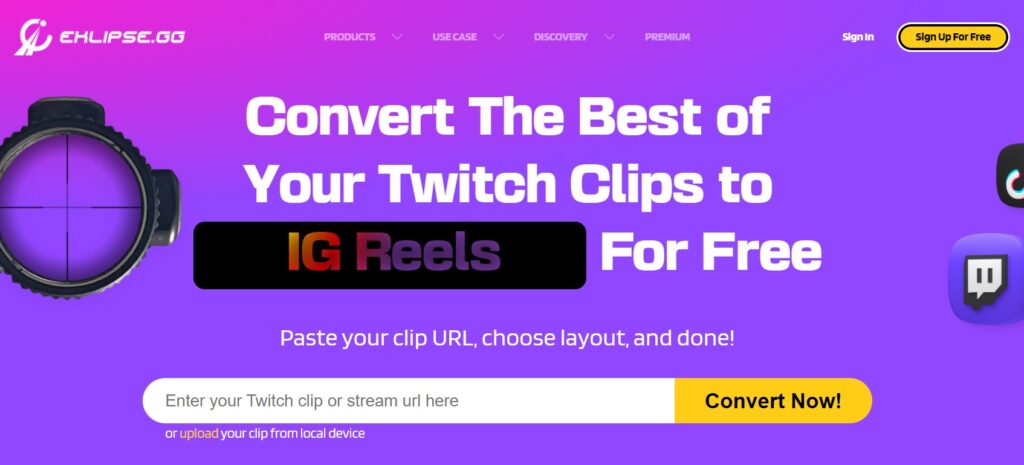
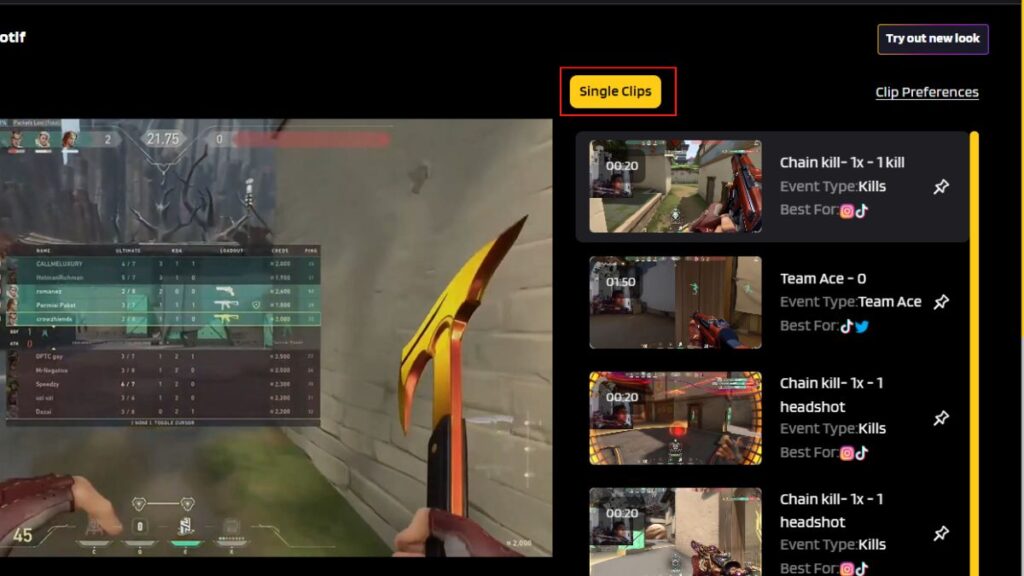
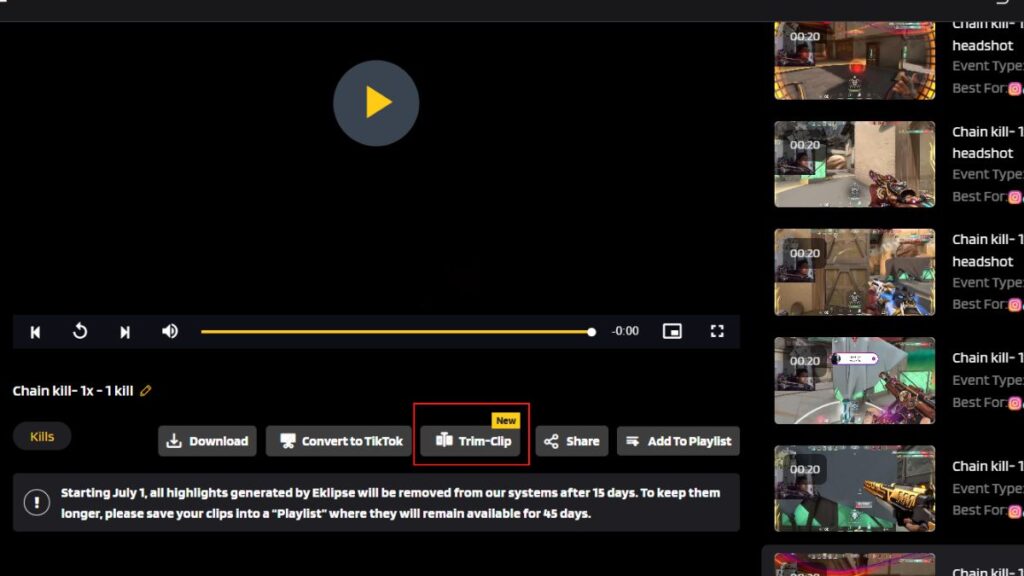
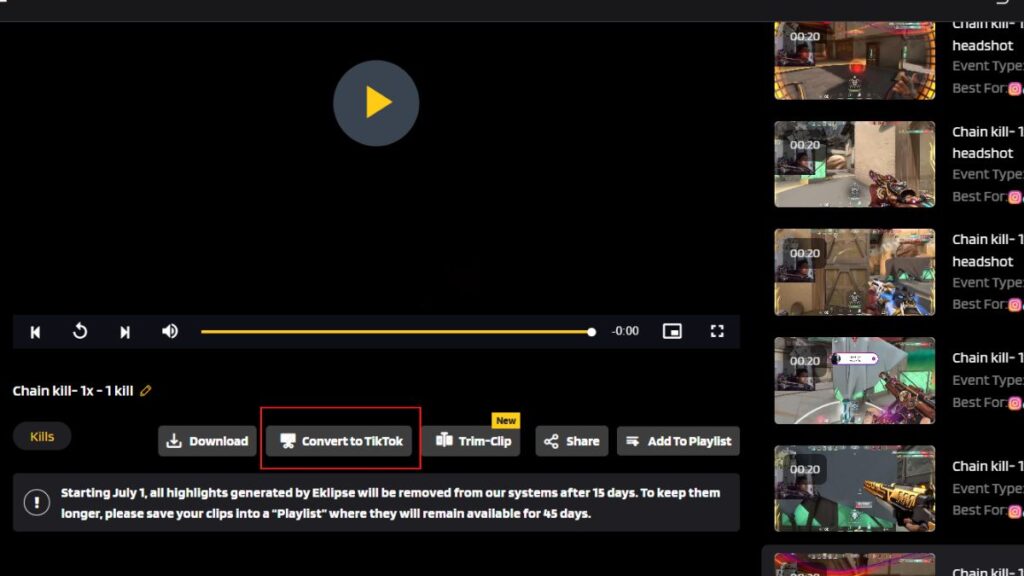
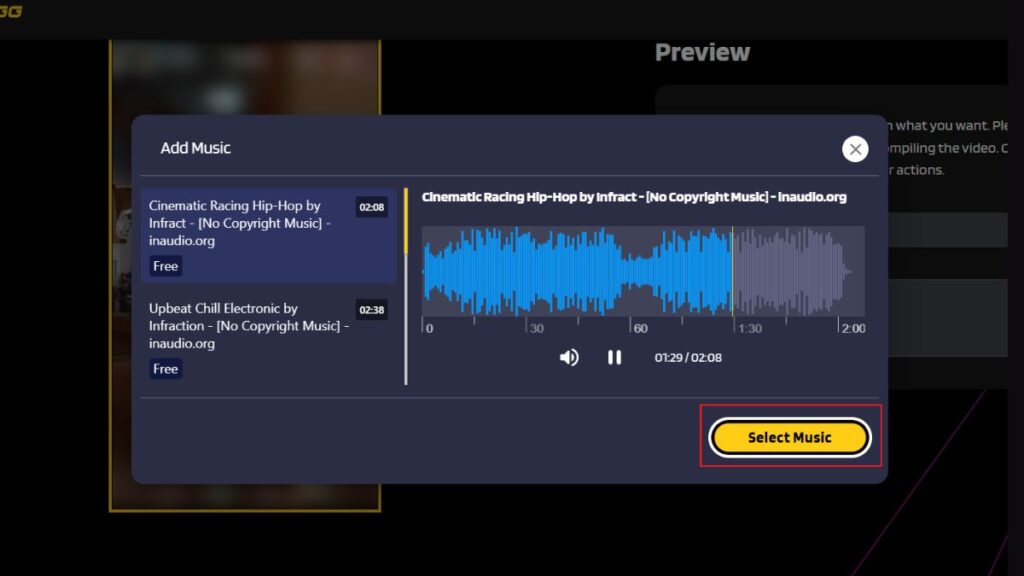
That’s where Eklipse comes in. Eklipse is an AI-powered tool that can help you convert long videos into short, vertical TikTok highlights in seconds. Simply upload your video to Eklipse and it will automatically identify the best moments and create a highlight clip for you.
Sign up for Eklipse today and start creating amazing TikTok highlights from your long videos!
Maximize your Black Ops 6 rewards—Create highlights from your best gameplay with with Eklipse
Eklipse help streamer improve their social media presence with AI highlights that clip your Twitch / Kick streams automatically & converts them to TikTok / Reels / Shorts